


Feedback
Last date modified: 2026-Mar-18
Importing data using Import/Export
You can use Import/Export to import unprocessed raw native files, document load files, image load files, production load files, and Relativity Dynamic Objects. Refer to Import/Export load file specifications and Data upload size limitation for more information regarding load files. Also see General recommendations for structured data import and export jobs.
After documents are imported using Import/Export, you can automate creating a dtSearch index or run a search terms report with those documents using Automated Workflows. To learn more, visit Automated Workflows
- Document load file import—use this workflow to import load files containing document metadata, native files, or extracted text into Relativity.
- Image load file import—use this workflow to import load files containing images and PDFs into Relativity.
- Production load file import—use this workflow to import load files containing productions into Relativity.
- Relativity Dynamic Object load file import—use this workflow to import dynamic object (RDO) data into Relativity.
- Access DB load file import (MDB)—use this workflow to import an Access DB load file (MDB) into Relativity.
- Unstructured data workflow with Processing—use this workflow to import raw (unprocessed) native files that require processing in Relativity.
- Transcript data import for Processing—use this workflow to import transcript MDB data with the linked audio/video files into RelativityOne.
Structured data import from Staging
You can now import structured data directly from the Staging area using the Structured (Processed) Data workflow. This option works just like other Structured Import workflows, with the only difference being the source location.
To use this option, you must have Allow Staging Import permission enabled. With this permission:
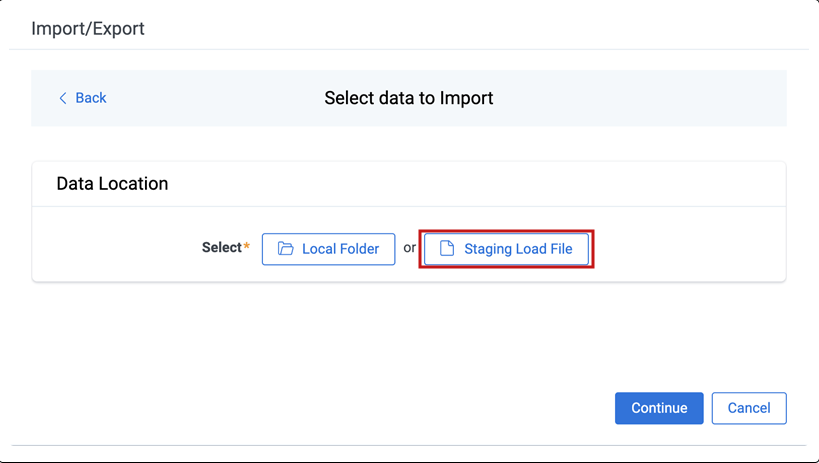
- When Express Transfer is active, Staging Load File button is available on the Select data to Import dialog.
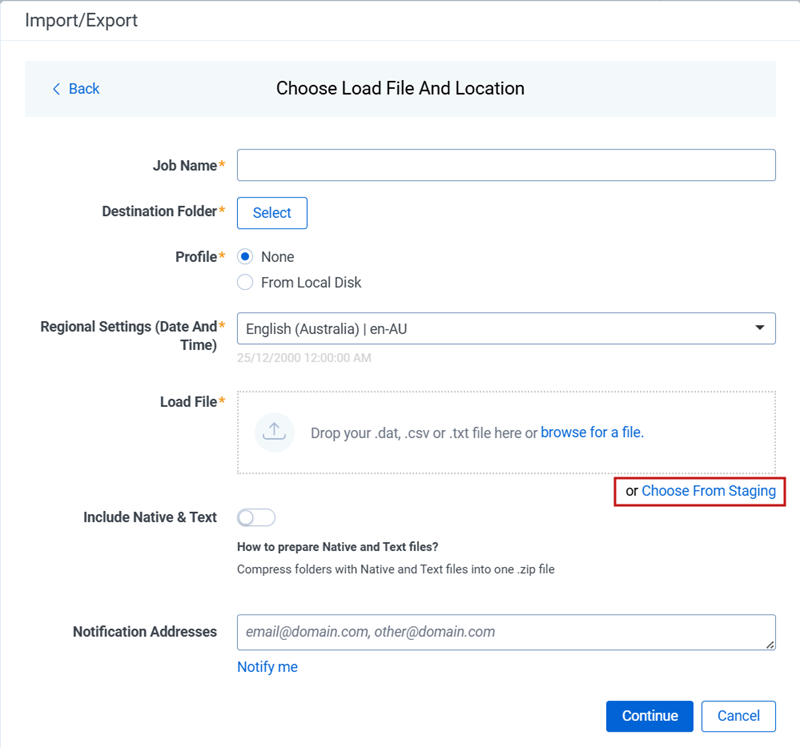
- When Express Transfer is not active, Choose From Staging button is available on the Choose Load File and Location dialog.
This feature is only available when appropriate set of permissions is granted. For details, see Workspace-level permissions and the
Pre-check Load File
The Pre-check Load File is an optional process when configuring an import job. It ensures consistency of data before the import job starts.
This feature helps to identify data inconsistencies early, allowing you to correct the source load file for a successful import job. That way, you don't need to run the entire import job, including transferring native files and images, to detect potential load file errors. The Pre-check Load File process reduces time required to complete load file imports using Import/Export, particularly for large load files. It also detects duplicated file references that could otherwise lead to unexpected billing consequences.
The Pre-check Load File process validates different data depending on the import workflow.
The Pre-check Load File feature is not available in workflows that utilize Staging. If your import job is configured to use Staging, the Pre-check step will be skipped, and validation will occur during the actual import process.
Document and RDO load file import
For these workflows, the Pre-check Load File validations are based on the configured Fields Mapping. The load file metadata is compared with the mapped workspace fields. It is also checked if the metadata can be successfully imported to the selected fields.
The Pre-check Load File process validates the following:
- Date/Time format— checks if the metadata mapped to Data/Time fields is within acceptable format, expected by the Relativity field.
- Field type—checks if the metadata type matches the expected type of the selected field, for example Date/Time, Number, Text, Boolean.
- Field length—checks if the text metadata is not longer than maximum number of characters defined for the selected Relativity field.
- Number of the load file cells—checks if each row of the load file contains the same number of columns and if it matches the number of the mapped fields.
- Number of folders and choice fields—checks total number of folders and choice fields that will be created during the import job. Large total number may significantly extend the job processing time.
- File paths for native and extracted text files—checks if the file paths lead to actual files to be uploaded during the import job.
The Pre-check Load file process validates all load file rows against the metadata consistency. It also validates random 1,000 rows across the entire load file against the file paths errors. The file paths validation is run when using either Express Transfer or Web Upload for importing files.
After the validation, the summary dialog displays identified errors, which are divided into error categories. You can click the down arrow next to any error category to view its details.
The summary dialog displays a maximum of 1,000 errors for each error category, so your web browser responsiveness is not affected. For example, if an error category has 2,000 errors, only the first 1,000 will be displayed in the drop-down list.

Image and Production load file import
For these workflows, the Pre-check Load File validates if image or PDF file paths lead to actual files which will be uploaded during the import job.
During that process, random 1,000 rows across the entire load file are checked against the file paths errors. The file paths validation is run when using either Express Transfer or Web Upload mode for importing files.
After the validation, the summary dialog displays identified errors, which are divided into error categories. You can click the down arrow next to any error category to view its details.

Working with Pre-check Load File results
When the Pre-check Load File process is complete, you may choose to correct the errors in the source files and upload the files again. To do so, keep clicking back to the Choose Load File And Location dialog. Then, upload the corrected files and perform the import steps again.
If you don’t want to correct the source files, click the Import button and proceed with importing the data.