


Feedback
Last date modified: 2026-Feb-09
Importing transcript MDB data for Processing via Import/Export
Import/Export uploads raw (unprocessed) data to the ProcessingSource folder and triggers the Processing application. The ProcessingSource folder is included in your Staging threshold. To avoid additional storage costs, you may want to delete the uploaded raw (unprocessed) data from this folder once it is no longer needed.
You can use Import/Export to import transcript MDB data with the linked audio/video files into RelativityOne. This will automatically trigger a Processing job to extract metadata from the selected transcript MDB file, create documents and link them with audio/video content included in the dataset, in one operation. Once the transcript data is successfully imported into your workspace, you can use the Relativity Transcripts application to review the content.
Before you begin
The following applications should be installed in a workspace before you begin using Relativity Transcripts:
- Import/Export
- Processing
- Transcripts
If you want to use Import/Export with Express Transfer active, which is the recommended workflow for data transfer, refer to Express Transfer overview for more information.
To import transcript MDB data with linked audio/video files for Processing:
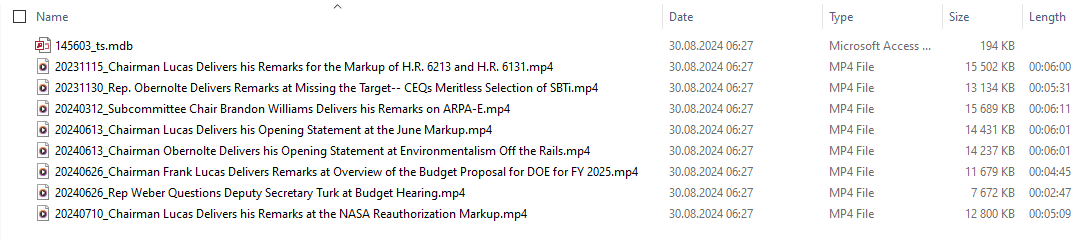
- Prepare the transcript dataset for import with Import/Export by creating a single ZIP file that contains the transcript MDB file and all linked audio and video files. No ZIP size limits apply.
- All files, including the MDB file, should be located on the top level of the ZIP file structure. The audio and video files cannot be included in a nested container.
- Do not edit the MDB file, and do not change the video file names. Changing the file names can cause errors.

- Do not add any other container or loose files to the ZIP file. Otherwise, the import job may fail.
- If you need to process additional data, do it in a separate set.
Importing transcript MDB data
- Use tabs, search, or the quick nav bar to navigate to the Import/Export Job page.
- On the Import/Export Job page, click the New Import/Export Job button to start a new job.
- On the Choose Workflow dialog, the Import button is selected by default. Next, click the Raw (Unprocessed) and Transcript MDB data workflow box.
 If Express Transfer has been activated, the Express Transfer section will display a status of Active. See Activating and deactivating Express Transfer for more information.
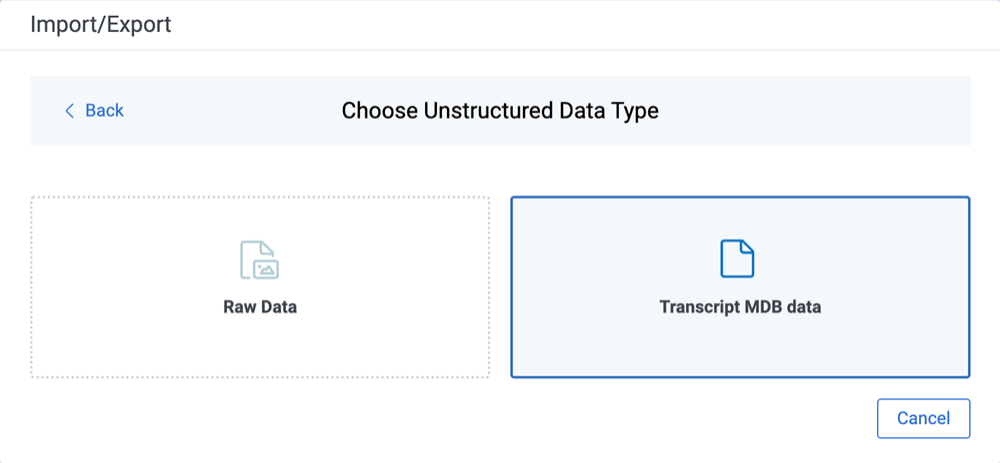
 - On the Choose Unstructured Data Type dialog, click the Transcript MDB data workflow box.
- Select the transcript data files to import as follows depending on the activation status of Express Transfer:
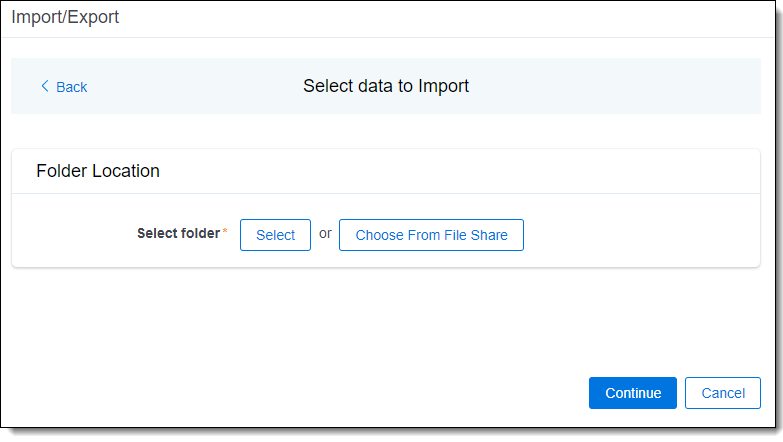
- With Express Transfer Active: Click Select on the Select data to Import dialog to browse to your local drive and select the folder that includes only the zipped transcript data you want to upload. In the case of universal naming convention (UNC) paths, you can copy and paste the path into the Select Folder address bar in the dialog box to access the desired folder. For example, \\ServerName\SharedResourceName\FilePath. You also have the option on the dialog to choose from file share by clicking Choose from File Share, selecting the import source folder that includes only the zipped transcript data, and clicking Select Folder. Once the folder has been selected, click Continue. When you select a folder to upload, ensure that it contains only the zipped Transcript data. Express Transfer will transfer all the data from the selected folder, including sub-folders, to the staging area, regardless of the specific job configuration. If the selected folder contains any other files than the zipped transcript data, the import job may fail.
- With Express Transfer not Active: On the Select file dialog, do one of the following below to upload a file. Transcript MDB file along with the linked audio/video files must be zipped when using the first two options mentioned below.
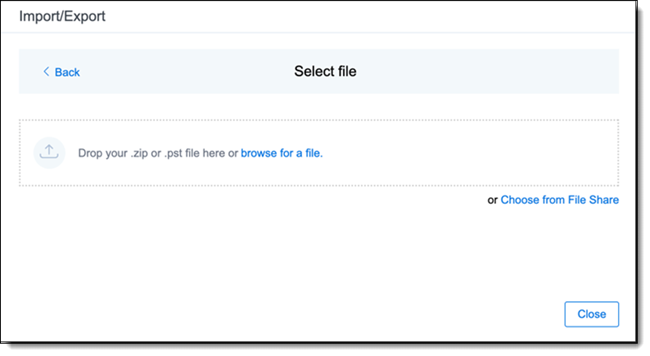
- Drag and drop the zipped transcript data file into the upload area.
- Click browse for a file to select a zipped transcript data from your local drive.
- Click Choose From Staging to upload files directly from the
- With Express Transfer Active: Click Select on the Select data to Import dialog to browse to your local drive and select the folder that includes only the zipped transcript data you want to upload. In the case of universal naming convention (UNC) paths, you can copy and paste the path into the Select Folder address bar in the dialog box to access the desired folder. For example, \\ServerName\SharedResourceName\FilePath. You also have the option on the dialog to choose from file share by clicking Choose from File Share, selecting the import source folder that includes only the zipped transcript data, and clicking Select Folder. Once the folder has been selected, click Continue.
- On the Transcript Import and Processing dialog, complete the following fields:
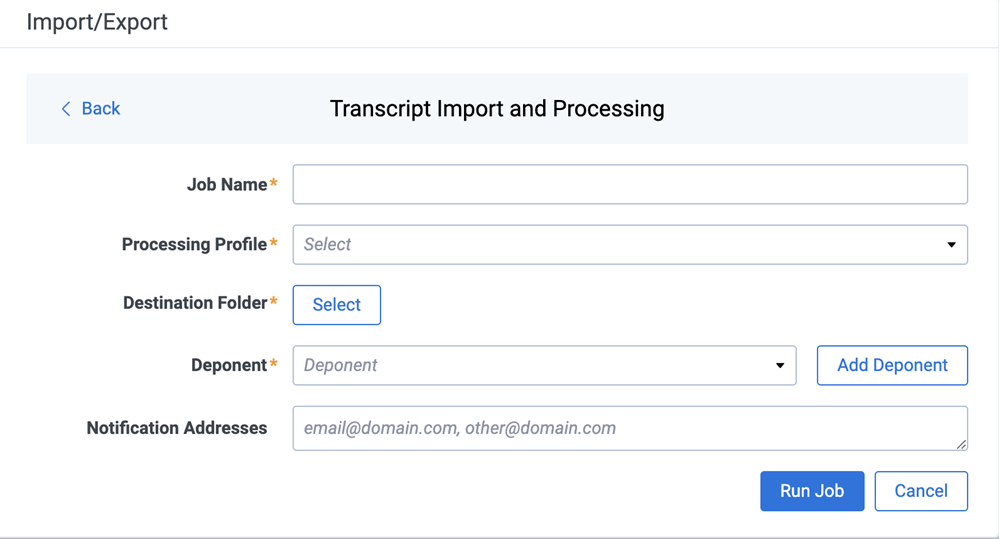
- Job name—provide a descriptive job name so that you can quickly identify and track that job on the Import/Export Job page. The Job name field accepts up to 50 characters.
- Processing Profile—select the desired Processing profile. The Processing profile must already exist in Relativity. Select the Processing profile with the Auto-Publish setting enabled to automatically publish the discovered documents.
- Destination folder—by default, Relativity populates the destination with the root workspace folder to simplify job creation. You can do one of the following:
- Keep the default destination folder.
- Choose a different folder by clicking Clear, followed by Select, and then selecting the desired folder from the list.
- Create a new workspace folder by right-clicking on an existing folder, click Create, enter a new folder name, click out of the new folder to save it, then click Select.
- Deponent—assign the deponent manually or by adding a new deponent now, as described below:The Deponent drop-down list shows custodians available in the workspace. When you create a new deponent with the Add Deponent feature, it is stored in the Entity Object as a custodian.
- (Optional) Notification Addresses—enable email notifications by providing the email addresses of those who should get notified once the job completed, failed, or canceled.
- Click Run Job to start importing data.Import/Export will upload all the zipped transcript data to the staging area and create a new Processing job based on the provided job configuration. The Processing application will extract the uploaded zip file and process the attached MDB file with the audio/video files.
- Review the importing progress on the Importing & Processing dialog. Real-time details regarding the number of transferred files and data size being processed are displayed during the Uploading and Extracting steps. Do any of the following:Only records that imported without errors will appear in the workspace.
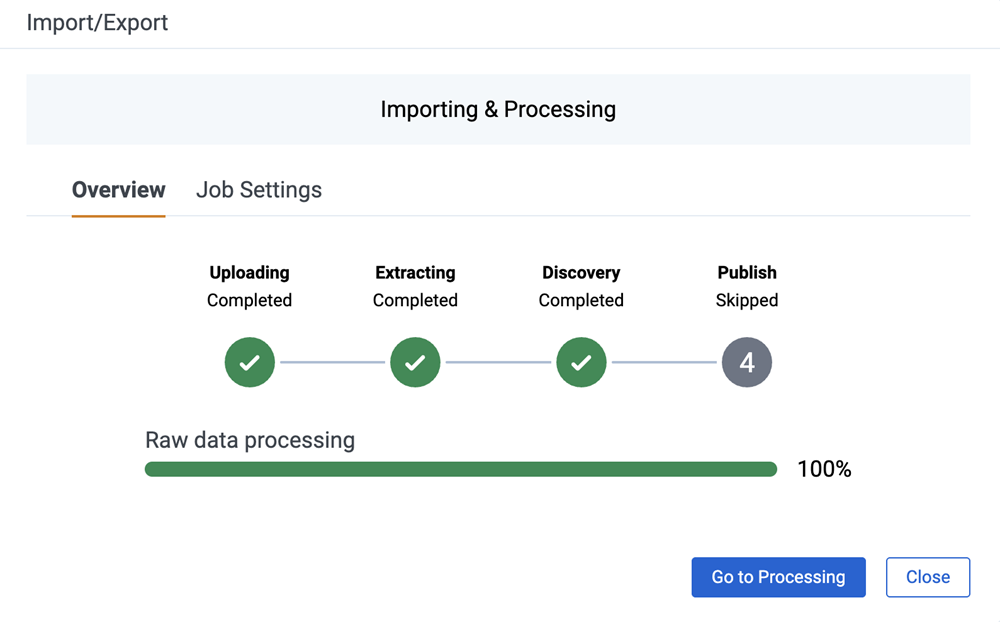
- Click Cancel to stop the importing process before it completes.
- Click Close when the importing process is complete. If you imported data without activating Express Transfer, you can close the dialog before the import process finishes without causing an interruption in data flow as long as it's closed after the Uploading step is completed. Closing the dialog earlier will terminate the data transfer (upload) process.
- Click Go to Processing when the Discovery step begins to go to the Processing Sets page of the Processing application.
Import/Export utilizes the Processing application to capture transcript metadata from the MDB file, create a transcript document, link the attached audio/video files, and publish this transcript family to the workspace.
- We recommend using the Processing application directly to determine global dedupe order creating processing sets.
- The Inventory phase of processing is always skipped when you import unstructured data. If Inventory is needed, use Staging Explorer to import data into RelativityOne, and then run Processing directly.
- The Relativity Native Viewer makes use of the processing Family Group field (formerly known as "Group Identifier") to properly display the transcript along with synced audio/video content. Please ensure the Family Group field is mapped to your workspace before Publish commences. See Mapping processing fieldsfor more information.
Please refer to Processing in Relativity documentation for more information about using the Processing application to ingest raw data directly into your workspace.
For more information on where Import/Export saves files, see the Community article Import/Export: Where Files Are Saved By The Import/Export Application.
If you ran the job with Express Transfer active, you are able to close the Import/Export application while the job is running, if desired, and the transfer job will continue and not be affected. You can monitor the progress and history of jobs within Express Transfer. For more information, see Express Transfer Job tracking and history. You do not have to be logged into RelativityOne to view information within the Express Transfer application.