


Feedback
Last date modified: 2026-Jul-14
Document ingestion
Document ingestion is the process of bringing processed documents from your RelativityOne workspace into the aiR for Data Breach Response application. This step helps ensure that only relevant, text-ready documents enter the aiR for Data Breach Response workflow before you begin reviewing results.
Billing for aiR for Data Breach Response begins when you ingest documents using the steps below. See Understanding cost in Relativity for more details about how costs are calculated.
Prerequisites
Before you create an ingestion job, verify the following:
- You have a saved search containing the documents you want to ingest. We recommend creating a list in Relativity containing the documents and then generating a saved search from that list. For more information, see Saved search and Lists.
- Your documents meet the aiR for Data Breach Response document requirements. For details,see Document requirements.
- Your documents are of a supported file type. For a complete list, see Supported file types.
Create a new ingestion job
To create a new ingestion job:
- Navigate to the aiR for Data Breach Response application.
- Click the Jobs tab.
- Enter a Name for the job.
If you do not choose a name the current date and time will be used by default. - Select the Saved Search containing the documents you want to ingest.
-
Choose whether to enable GenerativeAI mode.
GenerativeAI mode is enabled by default in regions where it is available. We strongly recommend leaving GenerativeAI mode turned on. If you turn it off, your workspace relies on legacy PI Detectors instead. This choice becomes permanent after your first ingestion job. - Click Add Documents.
Selecting Add Documents after setting up an ingestion job will begin usage and costs calculation.
See Cost explorer for more details about the information displayed. See Understanding cost in Relativity for information about how costs are calculated.
See Cost explorer for more details about the information displayed. See Understanding cost in Relativity for information about how costs are calculated.
Tracking job progress
After you create the job, the ingestion job starts automatically. Processing can take several minutes to hours, depending on the size of the data set.
To track your job's progress:
- Go to the Jobs tab and select your job.
- View the Job Details section to see the number of documents, Job ID, and success or failure counts in real time.
aiR for Data Breach Response ingests documents as processing completes. You do not need to stay on this page for the job to complete.
Job details
The Job Details section shows you details about a job, including whether the job completed or failed. To view Job Details, select the job you want to view from the list on the Jobs page.
Check the Status field to see the current status:
| Status | Description |
|---|---|
| Completed | The job completed with zero failed documents. |
| Completed with failures | The job run was successful, but some documents within the job failed. Open the Job Details page to investigate failures at the document level. |
| Failed | The job as a whole failed. Rerun the job or contact support to proceed. |
The Document Count includes successfully ingested documents, duplicates, and failed documents. For a detailed breakdown of how document counts on the Jobs tab relate to the Total Docs count on the Project Dashboard, see Understanding document counts.

Understanding document counts
The Document Count shown in Job Details on the Jobs tab may differ from the Total Docs count on the Project Dashboard. This is expected. The two counts measure different things:
- The Document Count on the Jobs tab reflects all documents that the ingestion job processed, including documents that completed successfully, documents that were identified as duplicates, and documents that failed.
- The Total Docs count on the Project Dashboard reflects only documents that are available for Data Analysis and review.
The following table describes how specific document categories affect each count:
| Category | Jobs tab (Document Count) | Project Dashboard (Total Docs) |
|---|---|---|
| Successfully ingested documents | Included | Included |
| Duplicate documents | Included (Status = Success, Message = Duplicate) |
Not included |
| Documents that errored during ingestion | Included (Status = Failed) |
Not included |
| Documents with Document Flags from Data Analysis | N/A (flags are applied after ingestion) | Included |
Documents that error during ingestion are separate from documents that receive Document Flags during Data Analysis. Ingestion errors prevent a document from entering the project entirely, while Document Flags indicate issues encountered during Data Analysis on documents that were successfully ingested. For more information, see Document flags.
To identify duplicate documents in a completed ingestion job, open the Job Details page, select the Show Filters icon in the Documents section, and filter for Status = Success and Message = Duplicate.
Job failures
You can view failures at the document level in the Documents section under Job Details.
To review job failures:
- Open the Job Details page for the relevant job.
- In the Documents section, click the Show Filters icon.
- Filter the Result column for Failure and click Apply.

- Review the Message column to see why each document failed.
If you need to contact support, include the Job ID in your support ticket for faster resolution.
Frequently asked questions
There are two workflows where you can verify if a document has been excluded from ingestion. When a document is excluded from the ingestion job, the Jobs Detail page within the Job entry for the ingestion job will list out the error exception that prevented the document from being ingested. To locate the aiR for Data Breach Response ingestion job, navigate to the Jobs tab and click into the Ingestion job in the list to view the Job details page.
The Document list will display the Document IDs of documents included in the ingestion job and the Result. Failed Ingestion jobs on the Result column will contain the exception within the Message column that prevented the document from being ingested into the aiR for Data Breach Response project.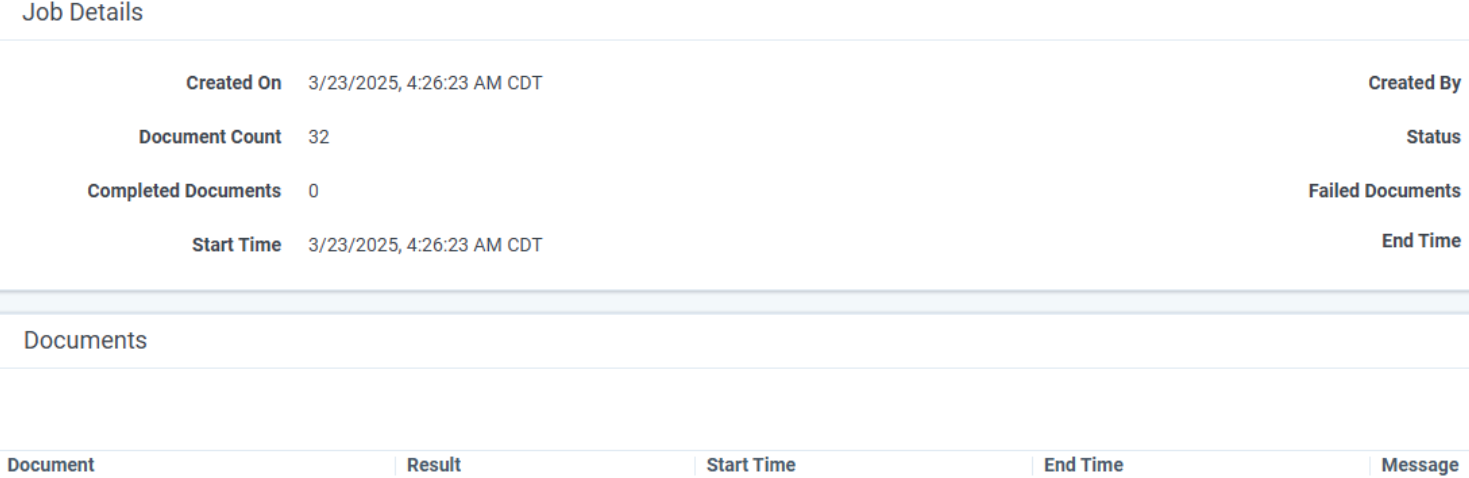
The Jobs tab counts all documents processed during ingestion, including duplicates and documents that failed. The Project Dashboard counts only documents that are available for Data Analysis and review. Duplicate documents and documents that errored during ingestion are not included in the Project Dashboard total. Documents with Document Flags, which are applied during Data Analysis, are included in the Project Dashboard total. For more information, see Understanding document counts.