


Feedback
Last date modified: 2026-Jul-14
Document and item list navigation
The workspace offers several ways to view documents and items. Using the Browsers panel, you can navigate from folder to folder to see the documents contained within each. The Document Preview panel allows you to view specific documents from the document list. Additionally, you can also sort and filter the document or item list based on any fields in the current view or using the search panel.
For more information about workspace navigation, see the following pages:
Browsers panel
The Browsers panel is located on the left side of the workspace. Depending on your permissions, you may not see the Browsers panel.
The Browsers panel may contain the following options for browsing through your documents:
- Folders
- Field Tree
- Saved Searches
No matter which of these options you use, there are several display options you can use to customize your workspace.

The Browsers panel opens by default. Hide or expand the Browsers panel by clicking the carrot to the left of Browsers. If both the Browsers and Search Conditions panels are hidden, click on the Browsers icon to display it. You can also re-size the Browsers panel by hovering over the line separating the panel from the other panel or document list until the line is highlighted. You may then click-and-drag the line to the desired dimensions.

Document browser menu
The Document browser menu is located directly below the Browsers panel. Click on one of the menu’s options to display that mode of the browser:
| Icon | Name | Description |
|---|---|---|
|
|
Folders | Navigate the folder hierarchy for your workspace. |
|
|
Field Tree | Browse your documents according to how they were coded or grouped. |
|
|
Saved Searches | Create a new search, or browse previously saved searches. |
Folders
Click on the Folders icon to navigate the folder hierarchy for your workspace. The folder structure is set when documents are imported. It can be based on the document’s source, or according to a folder structure set by your Relativity administrator. Clicking on a folder displays that folder’s documents in the document list.
To ensure stable performance, we recommend creating no more than 250,000 folders in a workspace and having 15 sub-folders or less within each folder.
A folder often has multiple sub-folders. Click on the folder to view the sub-folders. Click on the arrow next to the folder to hide the sub-folders.
To change the folder scope, click on the This folder and subfolders or Only this folder icon.

Field tree
Click on the Field Tree icon to display the field tree in the browser. Selected single and multiple-choice list fields and their choices appear in a tree structure.

Each single and multiple-choice field has its own choice folder in the field tree. The field’s choices appear as sub-folders. Each field also has a [Not Set] choice, which displays null values for the field.
You can click on a choice in the field tree to display all the documents in the document list that have the selected choice value and meet the criteria of the active view.
Sending email links to choices
You can send an email with a link to a view that contains the choice, a choice folder, or the document list that appears when the field tree is open. In the field tree, right-click on a choice or a choice folder and select the Email Link option.

The subject line of the email pre-populates with the following text: Relativity Review - <Workspace Name> - <Choice Name: Value>. If you send an email link to a choice folder, the subject line displays the folder name instead of choice name and value.
When the recipient clicks on the link, the documents associated with the choice or folder appear in the document list. If the recipient does not have required permissions for the choice folder or field associated with the choice, a permissions denied message displays instead.
Alternatively, you can select Copy Link to Clipboard to copy a link to a view that contains the choice, a choice folder, or the document list that appears when the field tree is open.
View bar
The View bar consists of the following elements:

- New documents—click to upload new documents using Simple File Upload.
- Views drop-down menu—click to select a view.
- New view—click to create a new view from within the view drop-down menu. This icon only displays if you have permission to add a new view. If the icon is not present, contact your Relativity administrator to add a view.
- Edit view icon—click to edit a view that displays within the view drop-down menu. This icon only displays if you have permission to edit the view. If the icon is not present, contact your Relativity administrator to edit the current view.
- Include Related Items drop-down menu—returns documents related to the documents currently in the view. The options vary by workspace, but may include email family groups, duplicates, or similar documents.
- Add Widget—click to add a custom widget to your document list dashboard.
- Dashboard drop-down menu—select a custom dashboard to view in the document list.
- New view—click to create a new dashboard from within the dashboard drop-down menu. This icon only displays if you have permission to add a new dashboard. If the icon is not present, contact your Relativity administrator to add a dashboard.
- Edit dashboard icon—click to edit a dashboard that displays within the dashboards drop-down menu. This icon only displays if you have permission to edit the dashboard. If the icon is not present, contact your Relativity administrator to edit the current dashboard.
- Export Dashboard—click and select a dashboard widget to download to your workstation as an editable Excel file. See Dashboards.
For more information,
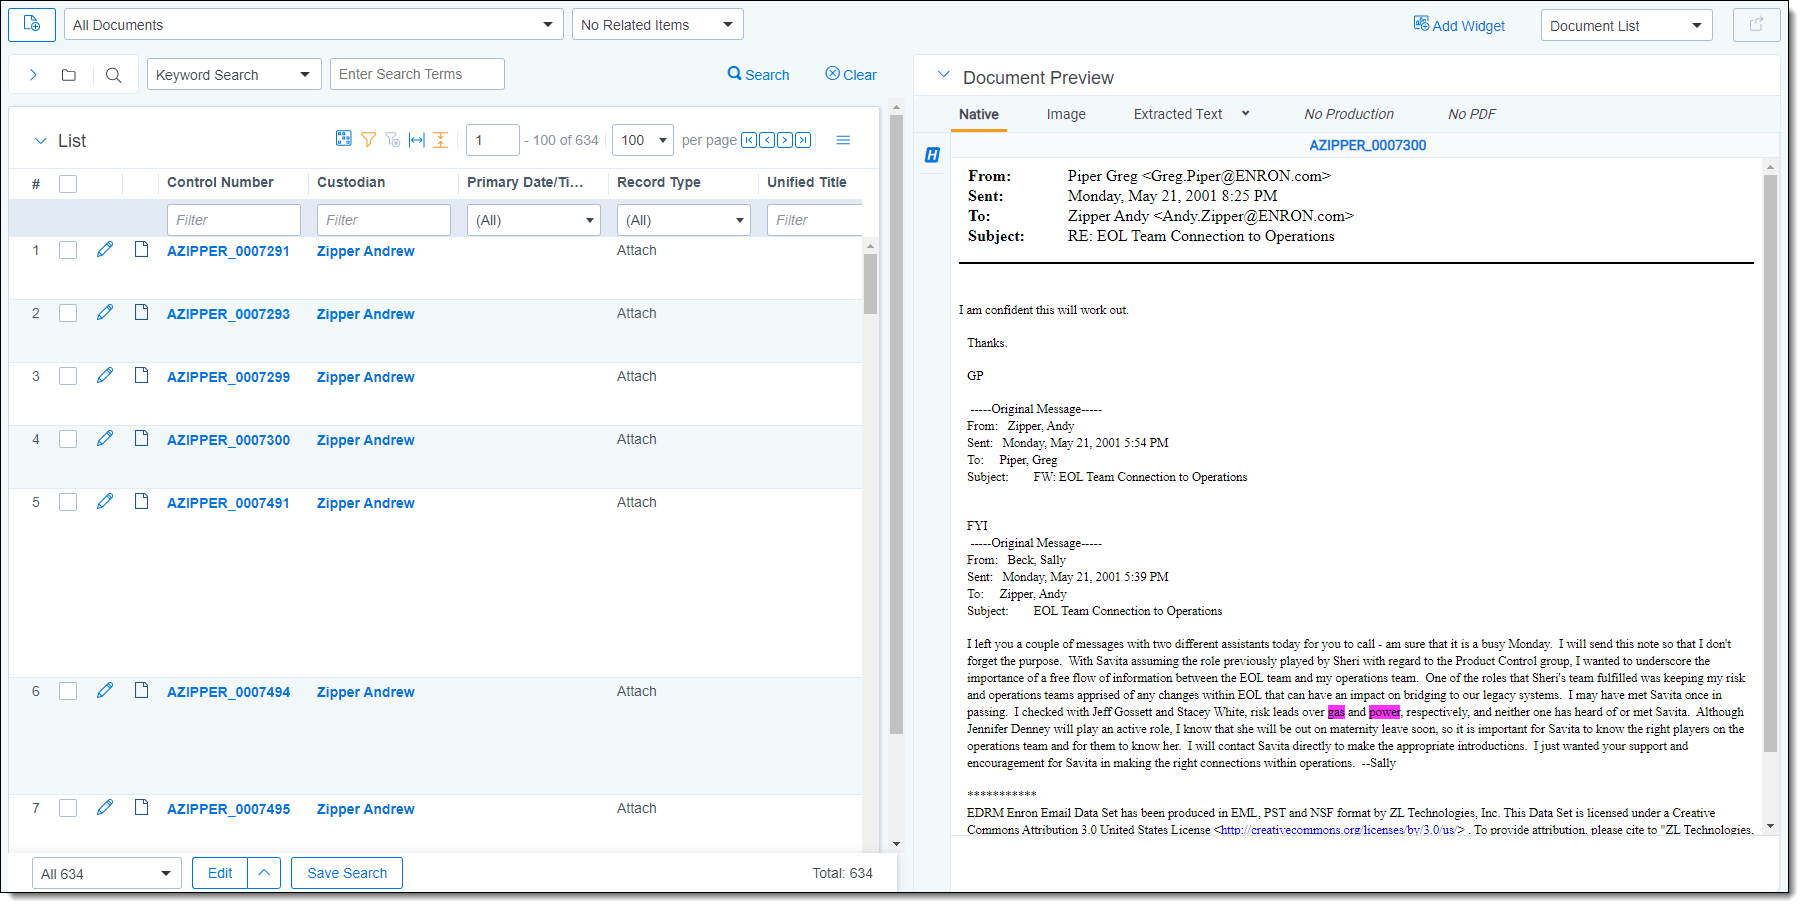
Document Preview panel
The Document Preview panel allows you to view documents similarly to the Viewer, while remaining on the document list. This allows you to filter the document list as desired and view the results without leaving the Documents tab. You can view and navigate through highlight hits for any previously created persistent highlight sets as well. However, you cannot search or create search terms in the Document Preview panel. Additionally, searching for terms in the document list will not create highlights in a document you are viewing in the Document Preview panel.
To access the Document Preview panel, the EnableDocumentPreview instance setting should be set to True. The Show Document Preview Panel icon  will then display in the upper-right. Additionally, users must have the Document Preview permission in Other Settings assigned to use this feature.
The Document Preview panel does not support viewing hidden content, creating or modifying markups, or editing coding decisions. Open the document in the Viewer instead to perform these tasks.
Navigating the Document Preview panel
The Document Preview panel can be re-sized at any time by clicking on the edge of the panel and dragging your cursor to the desired size.
The Document Preview panel can be moved from the right or left side of the document list to the other side as well. To move the preview panel, click in the upper-left corner and drag the window to the blue strip on the other side of the screen.
The following options are available in the Document Preview panel:
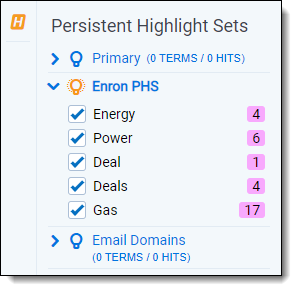
- Persistent Highlighting—displays or hides a panel containing any persistent highlight sets in the workspace.
- Document preview panel Viewers—click on the name of the Viewer in which you would like to view the document. Viewer names that are displayed in black indicate that the document is available for viewing. The Viewer that is currently open is bold with an orange underline underneath the name. If a name appears in italics, that Viewer is not available for the current document.

- Markup set—displays the active markup set in a drop-down menu. Choose a markup set from the drop-down menu to make a different set active. This menu only appears when viewing a document in the Image Viewer of the Document Preview panel.
- Page navigator—use any of the following options to help you navigate the pages in the document you are previewing:
| Option | Description |
|---|---|

|
Click to move to the first page in the document. |

|
Click to move to the previous page in the document. |

|
Click to move to the next page in the document. |

|
Click to move the last page in the document. |
Item list
The item list contains items as well as navigational and other controls for working with the list.
| Icon | Description |
|---|---|
|
|
Click to enable edit mode where a user can edit eligible fields from the document list. User access to Inline Editing is determined by permissions as well as on the view by a system administrator. As a result, some users may not see this icon, depending on which view they are using. |
|
|
Click the blue snowflake icon to refreeze columns that were most recently frozen. If the icon is orange, click it to unfreeze the columns. This option only displays if you have already frozen a column this session. |
|
|
If you have proper permissions, clicking the Sampling icon lets you create random sample sets from the item list using three different methodologies from the pop-up menu that appears. |
|
|
Click the blue filter icon to show filters for columns in the item list. Click the orange icon to hide them. |
|
|
Click the blue clear filter icon to clear any filters applied to the item list. |
|
|
Click the blue Reset column sizes icon to return to the original settings for the columns. |
|
|
Click the blue grid icon to turn grid style on. This shrinks the row padding and alternates row shading to make your data more compact and easier to read. Click the orange icon to turn grid style off. |
|
|
Use these navigational controls to navigate the pages in the document list. |
The fields that appear in the item list are based on the selected view, which you can edit. You can also edit a view to rearrange the order that the columns display. Contact your Relativity administrator to change the fields in your view.
To change a column’s size, hover over the white line at the edge of the column header. A double arrow appears, indicating that you can resize the column. Drag it in either direction to adjust the column width. The other columns on the page automatically adjust to fill the rest of the window. Column data can be cut off. If you wish to return to the original settings click the Reset Column Sizes icon.

Freeze and unfreeze columns in a list
When viewing and interacting with items in a list, you can freeze one or more columns so that they are locked in place which allows you to scroll to the right and view any columns in the list side-by-side with the frozen columns.
To freeze a column or columns, do the following:
- In the right-most column that you wish to freeze, hover your cursor over the column's title and click on the ellipses.
-
Select Freeze Columns.
The column, or columns, to the left of the one you selected are frozen and will remain static as you scroll to the right and left in the list.Once you have frozen a column or columns, you can freeze additional columns to the right of the frozen columns by repeating steps 1-2.
To unfreeze a column or columns, do either of the following:
- Hover your cursor over the right-most frozen column, click on the ellipses, and select Unfreeze Columns.
- Click the Unfreeze Column icon in the upper-right section of the list.
Copy column values
You can copy up to 10,000 values in a single column to clipboard. If you would like to copy more than 10,000 columns, we recommend using Mass export to file.
You can determine if a user has access to this feature by enabling or disabling the Copy Mass Operations permission.
To copy column values:
- In the column that you wish to copy, hover your cursor over the column's title and click on the ellipses.
-
Select Copy column values.
A modal displays the total number of column values that were successfully copied to clipboard.
Saving a search from the Documents tab
You can save the conditions you have currently set up for the item list as a new search using the Save Search button located next to the mass operations bar at the bottom of the item list.
Previewing a document
If you hover your mouse pointer over a record’s file icon, you can click to open a pop-up viewer showing the record.
If your item list does not contain the file icon, contact your Relativity administrator to add it.
Sorting
You can use any field in the view to sort all of the results in an item list.
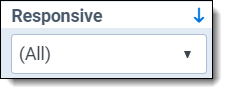
Click any field heading once to sort the items in that field in ascending order, alphabetically. A down arrow appears next to the heading name, as in the Responsive field below. Click a second time to sort the items in descending order, alphabetically. An up arrow appears. Clicking the field name a third time clears the sort and returns the field to its original order.
If you are not able to sort a particular field, contact your administrator to make sure the field has the Sort option set to Yes.