


Feedback
Last date modified: 2026-Jun-12
Installation and configuration
Relativity installs the aiR for Data Breach Response application at the instance level. After this initial installation, you must add the application to each workspace where you plan to use it and configure user roles and permissions.
Prerequisites
Before you begin, verify the following:
- The Control Number field is populated in the Document ID data settings field mapping before you ingest documents.
- The Extracted Text field contains all text you want analyzed. If you OCR documents, the resulting text must be stored in this field.
- The Extracted Text field is stored in Data Grid.
Installation to workspaces
Once Relativity installs the application at the instance level, your team can install it into selected workspaces.
To add the application to a workspace:
- Search for and open Relativity Applications from the Quick nav.
- Click New Relativity Application.
- Click Select from Application Library.
- Search in your application library for aiR for Data Breach Response.
- Select the application and install it in your workspace.
aiR for Data Breach Response is not compatible with sandbox environments.
User roles and permissions
We recommend creating two dedicated permission groups for aiR for Data Breach Response users.
Following is a list of user roles for the aiR for Data Breach Response application and the permissions available to them.
| Role | Permissions |
|---|---|
| aiR for Data Breach Response - Lead |
Users assigned a lead role have access to all features in aiR for Data Breach Response:
|
| aiR for Data Breach Response - Annotator |
Annotators can access the following features:
|
You must still add users in the workspace admin group to the aiR for Data Breach Response - Lead group.
Configure permissions
To configure the permissions groups for the aiR for Data Breach Response application:
- From your workspace, navigate to Workspace details.
- Click Manage Workspace Permissions.
- Open the Object Security tab.
- Search for Workspace and toggle on either the Lead or Annotator group as appropriate.
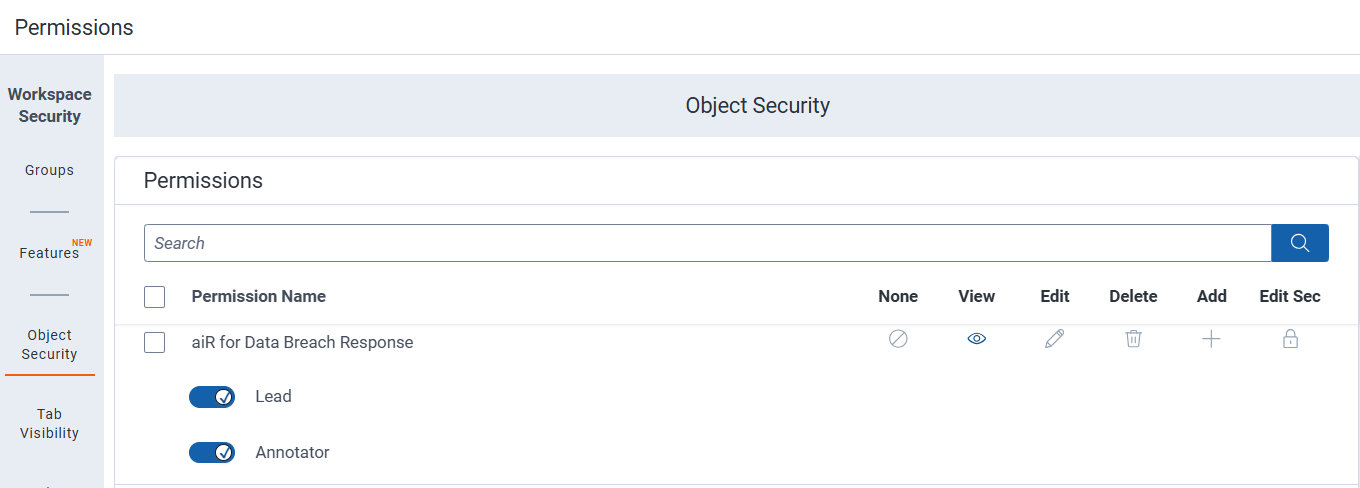
See User roles and permissions for details on each role.For more instructions on editing and deleting permissions, see Setting workspace permissions. - Click Save.
Set the aiR for Data Breach Response application as a default tab
Once you install the application to a workspace, you can set it as a default tab:
- Click on Workspace Setup and select Tabs.
- Find the aiR for Data Breach Response application.
- Click the pencil icon to edit.
- Enable Visible under Tab Information.
- Enable Show in Sidebarunder Tab Location.
- Pick an icon.
- Click Save.
The aiR for Data Breach Response application now appears in the sidebar.