


Feedback
Last date modified: 2026-May-28
Structured document review
Structured documents contain data organized in a predefined way, typically in tables with columns and rows where each data point has a specific data type. Examples include spreadsheets (.xlsx, .xls) and CSV files.
aiR for Data Breach Response identifies table boundaries, column headers, and the personal information within those tables. Individuals and their PI appearing in the same table row are automatically linked and appear on the Entity Report.
The review approach for structured documents differs from unstructured documents. For information on reviewing unstructured documents such as emails and PDFs, see Unstructured document review.
Supported structured file types include .csv, .tsv, .xls, .xlsx, .xlsm, .xlt, .xltm, .xltx, and .xlsb. CSVs must be comma-delimited and TSVs must be tab-delimited. Native spreadsheets greater than 40 MB are not supported. For the full list of requirements and limitations, see aiR for Data Breach Response.
Below is a high-level overview of the recommended review approach for structured documents:
- Verify table boundaries and column headers—During Data Analysis, aiR for Data Breach Response finds table boundaries and column headers to predict where and what type of PI is contained in tables. PI identified within tables depends on the table boundaries being correctly identified. You can edit or remove table boundaries identified by aiR, or add new ones. For more information, see Create and edit tables
- Verify PI identified outside of tables—aiR for Data Breach Response can also identify PI that sits within cells outside of a table. Use the PI Detection card to navigate to those detections. You can edit, remove, or add PI outside a table. For more information, see Capture PI
- Review and lock PI detections—Once you have verified all PI detections on a document, lock the annotations to preserve them if Data Analysis is rerun. For more information, seeLock detections.
Review PI
To view identified PI in a structured document, open the PI Detection pane and toggle on PI Detection.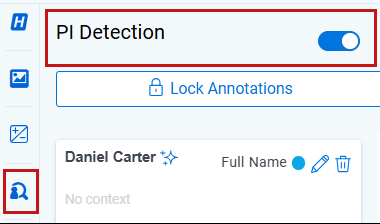
Names of people and organizations will appear with blue highlights.
Identified PI types will appear with pink highlights.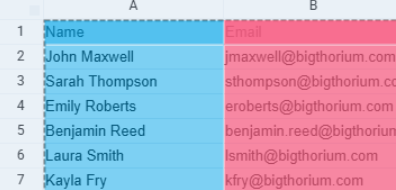
Hover over a column or row heading to view the PI type.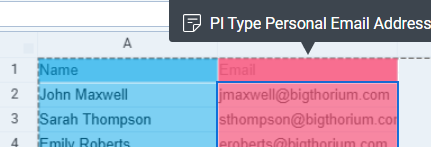
Create and edit tables
aiR for Data Breach Response identifies table boundaries with column headers to predict where and what type of personal information is contained in tables. There are instances where tables boundaries may need to be created or edited.
Create a table
If there is a table in a sheet that has not been identified, a new table can be created.
To create a new table:
- Select the table icon on the bottom of the native spreadsheet viewer.
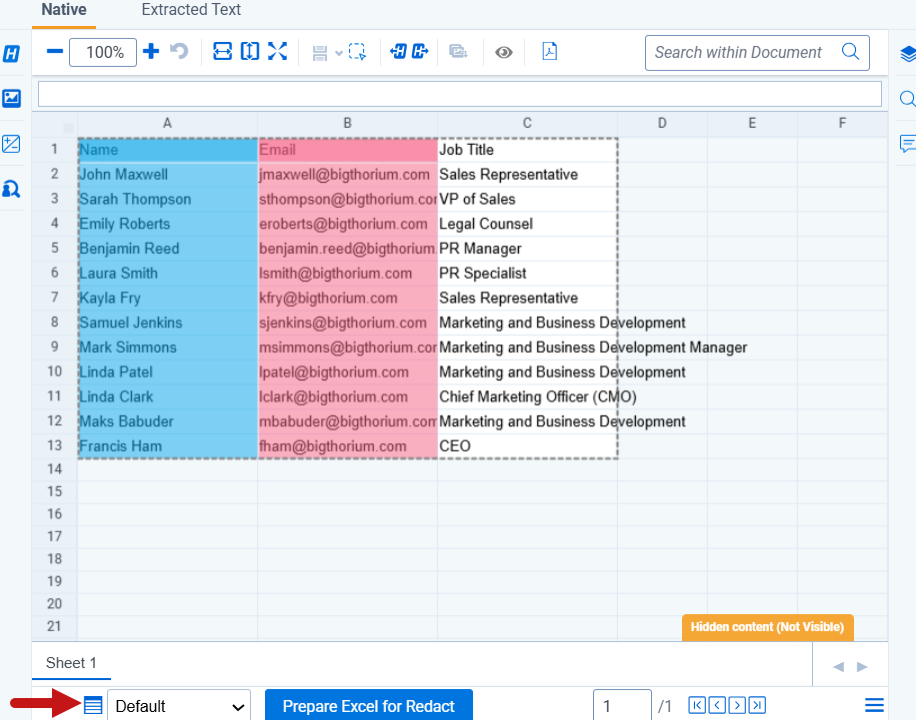
You can also right click the table from the viewer and select Add Table Boundary from the context menu.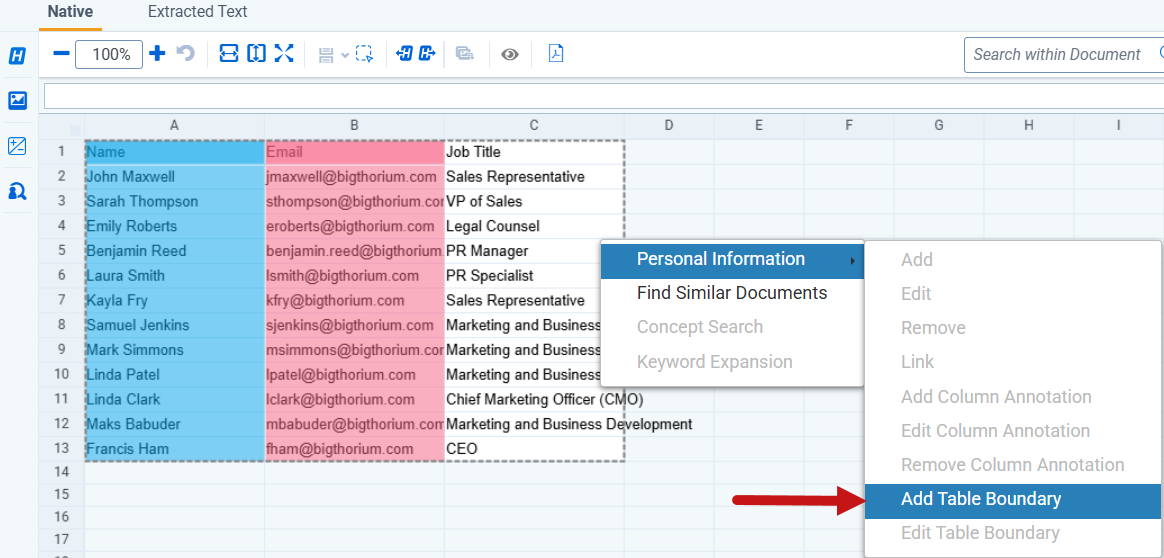
- From the table card, click Add New Table.
- Add a Name for the table.
- Insert the Table Boundary for the table.
Enter the cell reference of the upper left cell of the table followed by a colon and the cell reference of the lower right cell of the table. For example, 'A1:D15'. - If the table does not have headers (the first row of the table contains PI), then disable the Header toggle. The header location will be auto filled with the first row of the table.
If the Header toggle is selected, a header value must be entered.
- Click Save after confirming that the cell range is correct.
Edit a table
Table boundaries are marked by a dashed line around the predicted table.
To edit an existing table boundary:
- Select the table you want to edit and right click to open the context menu.
- Select Personal Information and click Edit Table Boundary.
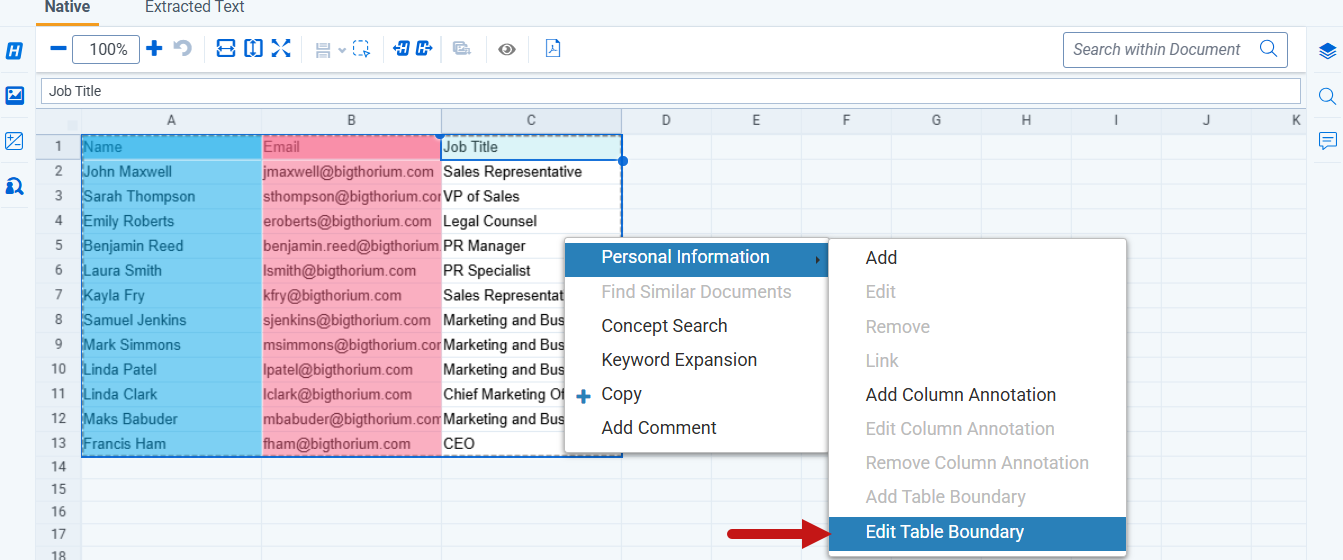
You can also select the table icon found at the bottom of the native spreadsheet viewer. - On the table card, click Edit.
- Edit the Header option and Table Boundary for the table. Enter the cell reference of the upper-left cell of the table, followed by a colon and the cell reference of the lower-right cell.
For example, A1:D15.
- Click Save.
Capture PI
PI can be captured for a single cell, or for an entire column. It is appropriate to annotate an entire column if the majority of cells in that column represent the same type of PI. If this is not the case and PI is scattered inconsistently across the sheet, then manual annotations for single cells can be created.
Add PI
To add PI:
- Right click the relevant column header.
- From the Context Menu, select Personal Information.
- Click Add.
- Select the PI Type to assign to the column.
- Click Save.
The PI appears in the PI Detection panel.
Edit PI
To edit PI:
- From the Context Menu, select Personal Information.
- Click Edit.
- Select the new PI Type to assign to the column.
- Click Save.
Delete PI
To delete annotations that have been applied to entire columns:
- From the Context Menu, select Personal Information.
- Click Remove Column Annotation.
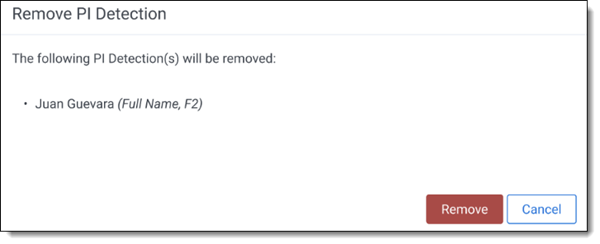
- A confirmation modal appears. Click Remove.
Add partial cell PI
To add partial cell PI:
- Right click the cell containing the PI in the spreadsheet.Only one cell can be selected when adding partial cell PI.
- From the Context Menu, select Personal Information.
- Click Add.
- The PI is captured in the PI Value field.
Type to edit the PI Value if needed.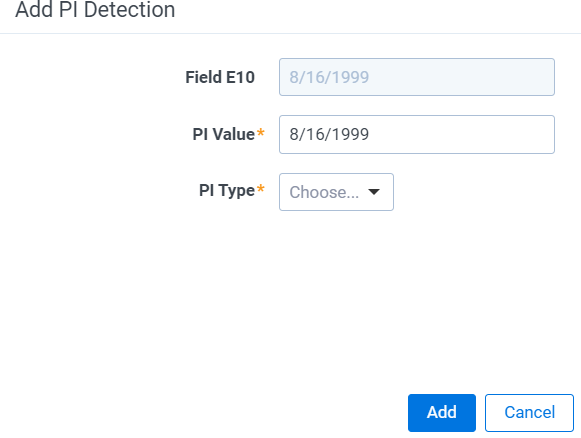
- Choose the PI Type.
- Click Add.
The PI now appears in the PI Detection panel.
Edit partial cell PI:
To edit partial cell PI:
- Right click the cell containing the PI in the spreadsheet.
- From the Context Menu, select Personal Information.
- Click Edit.
- Edit the PI Value and PI Type.
- Click Save.
Remove partial cell PI:
To remove partial cell PI:
- Right click the cell containing the PI in the spreadsheet.
- From the Context Menu, select Personal Information.
- Click Delete
A confirmation modal appears. - Click Remove.
Lock detections
To preserve your PI detections on a document if Data Analysis is rerun, you must lock the annotations before moving on to the next document.
To lock PI detections:
- In the PI Detections panel, click Lock Annotations.
After locking, you can continue to add, edit, or remove PI. Those updates are preserved on the document. However, you cannot make changes while Data Analysis is running.
If you do not want to preserve manual PI detections that you added on the document, click Unlock Annotations.