Feedback
Last date modified: 2026-Jul-24
Annotating transcripts
You can add annotations to a transcript document as part of your Review process. The workflow you use varies depending on which transcript file type you are working with.
If you are working with an MDB file, you can use the Relativity.Transcripts application. If you are working with another transcript file type, you can use the Transcripts application.
The following table shows a comparison between the functionality of the two applications:
| Name | Relativity.Transcripts | Transcripts application |
|---|---|---|
| Can you interact with Exhibits? | Yes | Yes |
| Can you interact with Designations? | Yes | Yes |
| Can you interact with Notes? | No, but you can add comments | Yes |
| Can you interact with URLs? | No | Yes |
Designations and Exhibits tab
The Designations tab and Exhibits tab now display each annotation in a list no matter what file type they are added to. You can upload new designations from their respective tab. You can also export a .csv report to your workstation that includes whichever designations or exhibits you select.
Uploading designations
You can upload a .csv file containing designations and then view those designations in the Viewer alongside any existing designations that were already on the transcript.
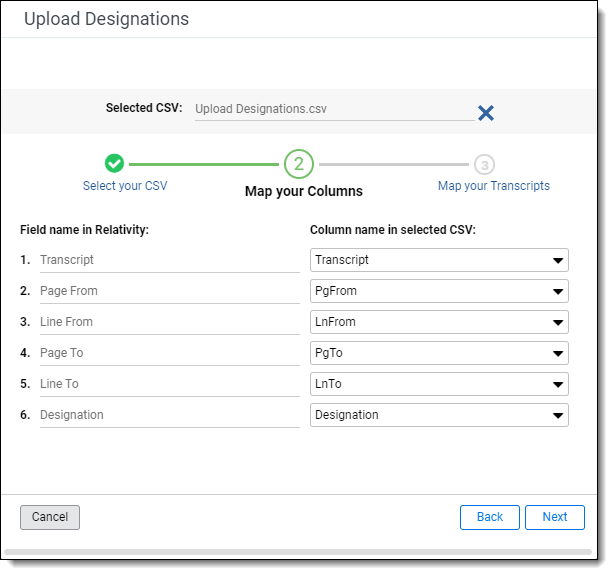
The .csv file must have the following columns:
- Transcript name - The name of the transcript.
- Page From - The page number on the transcript where the designation starts.
- Line From - The line number on the transcript where the designation starts.
- Page To - The page number on the transcript where the designation ends.
- Line To - The line number on the transcript where the designation ends.
- Designation - The designation.
To upload designations from a .csv file:
- Go to the Designations tab and click Upload Designations.
- Drag and drop your .csv file into the pop-up window or click browse for a file and select your .csv file.
- Verify that Relativity auto-mapped your columns correctly and click Next.
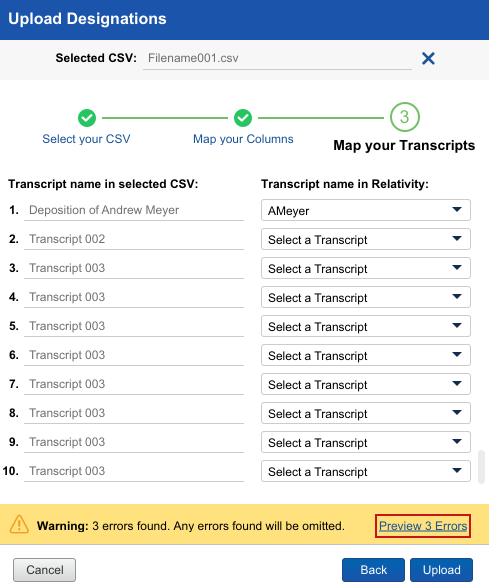
- Verify that Relativity auto-mapped your transcripts correctly and click Next.
- Click Upload.
The field for uploaded designations is the same field as designations that are added inline. This means that you will not be able to differentiate in the Viewer of the Review Interface between uploaded designations and designations added inline. To verify that your designations uploaded, look at the System created on field for designations.
Resolving upload designations warnings and errors
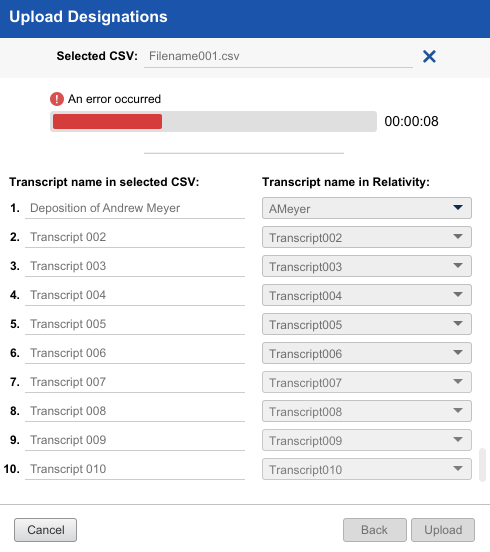
When you upload designations, two types of warnings and errors can occur - warnings related to missing data or data type errors in the .csv and import errors.
Uploading designations warnings occur when the .csv file has missing data or data in an invalid format. To resolve the warnings:
- In the Upload Designations window, click the Preview # Errors link.
The Preview Errors pop-up window will open. The Preview Errors pop-up window tells you the location of cells that have warnings attached to them in the .csv file.

- Locate the cells that have warnings in the .csv file and resolve them by either entering the missing data or revising the data format to meet column requirements.
- Upload the revised .csv.
When an import error occurs, go to the Errors tab to find our more information about the error.
Exporting a designations or exhibits report
You can download a designations or exhibits report in .xls, .csv file, or .dat format to your workstation using the Export to File mass operation:
- Navigate to the Designations or Exhibits tab.
- Select either any designations or exhibits from the list that you wish to export.
- Select Export to File in the mass operations drop-down menu.
- Complete the fields.
- Click Export.
The designations or exhibits are downloaded to your workstation.
Exhibits
When reviewing transcripts, you can create direct references to exhibits using Relativity.Transcripts or the Transcripts application.
If more than one user adds exhibit links or designations to the same transcript file at the same time, each user will only see the changes they have made until they refresh the page.
Link an exhibit using Relativity.Transcripts
To link text in a transcript to other documents:
- On the Documents tab, select a transcripts file to open it in the Viewer.
- Select the desired text and right-click it.
- Hover your cursor over the Link Exhibit option.
- Select one of the following options:
- Link This Occurrence - Links exhibit only to the selected text.
- Link All Occurrences - Links exhibit to all occurrences of the selected text in the transcript.
- On the Link Exhibit modal, select the document would like to link to the selected text.
- Click Link Exhibit.
The highlighted text is a link that can be clicked to access the relevant document.
Linking to exhibits in Transcripts application
To link to an exhibit:
- Select text and right-click.
- Hover over Link Exhibit.
- Select one of the following:
- Link This Occurrence - Links exhibit only to the selected text.
- Link All Occurrences - Links exhibit to all occurrences of the selected text in the Transcript.When you select Link All Occurrences, you will see the progress as each occurrence is saved and you can continue working and completing other actions.
- A pop-up appears. Select the document you would like to link and click Set.
You can remove the link by right-clicking and selecting Remove Link. If you click on the link, the document opens in another tab.
Remove an exhibit in Relativity.Transcripts
To delete an exhibit:
- Right-click on the exhibit text.
- Select the Remove This Exhibit Link option from the right-click menu.
- Click on the Remove Exhibit Link option in the modal.
The hyperlink is removed from the transcript.
Designations
While reviewing transcripts, you can tag text as a designation to track it as part of your case strategy.
Viewing designations in the Viewer
If you open an MDB transcript in the Viewer, designations can display in two different ways in the and you can toggle between the options by clicking on the Designation Display icon.
If Colors Bars is selected, each designation displays as colored bars to the left of the text in the Transcribed Text panel. This option is helpful if there are multiple overlapping designations in a transcript.
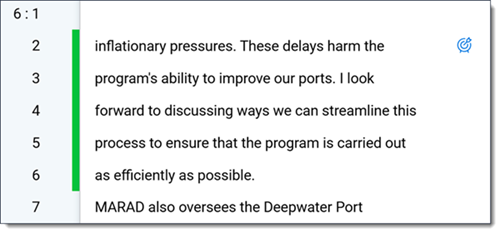
This option is helpful if there are multiple overlapping designations in a transcript.

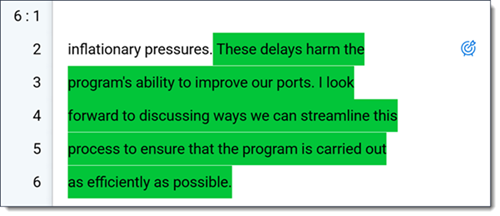
If Highlights is selected, each designation displays as highlights over the text in the Transcribed Text panel.
Add a designation in Relativity.Transcripts
To add a designation to a transcript:
- On the Documents tab, select a transcripts file to open it in the Viewer.
- Select the desired text and right-click it.
- Hover your cursor over the Add Designation option in the right-click menu.
- Select the designation type by doing one of the following:
- Select the desired Designation Type from the menu.
- If the desired designation type is not in the right-click menu, you can search for it. To do so, expand the Coding Pane, and select the Search All option in the right-click menu. On the Select Designation Type modal, you can filter the list of designation types as needed. Select the desired designation type and click Select to apply that type to the selected text.
Add a designation in Transcripts application
To add a designation:
- Select text and right-click.
- Select Add Designation.
- Select the Add Designation Type option to add a Designation Type or choose an existing designation type. The list of designations are alphabetized.
- You can also edit or delete an existing designation.Deleting a designation removes all instances of the designation. You receive a warning notifying you before you delete.
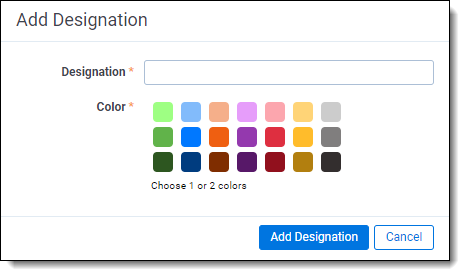
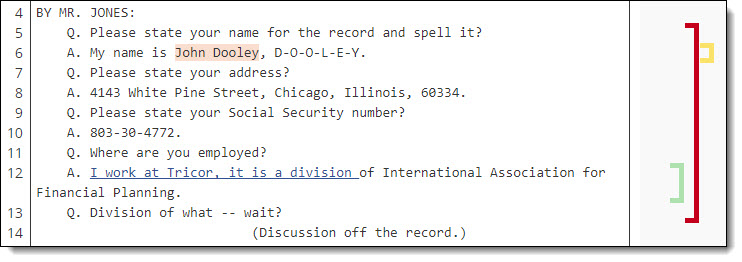
- A bracket appears in the margins. You can change the color of the bracket for all designations of that type by right-clicking on the bracket and selecting the drop-down arrow next to the designation type under Change Designation. You can also change the designation type or remove the designation by right-clicking.
When you add a Designation Type, a pop-up window appears where you can select up to two colors.
You can add designations over existing designation types. The brackets appear in the order the designations are created with the inner bracket being the first addition.
Remove a designation
To delete a designation:
- Right-click on the Designations icon next to the designation you wish to remove.
- Select the Remove Designation option from the right-click menu.
Change a designation type
To change a designation to a new designation type:
- Right-click on the Designations icon next to the designation you wish to edit.
- Hover your cursor over the Change Designation option.
- Select the desired designation type to change the designation to the selected type.
Additional Transcripts application features
If you want to see the full document while using Case Dynamics, you can open the document in the Pop-Out Viewer and still use the coding panel.
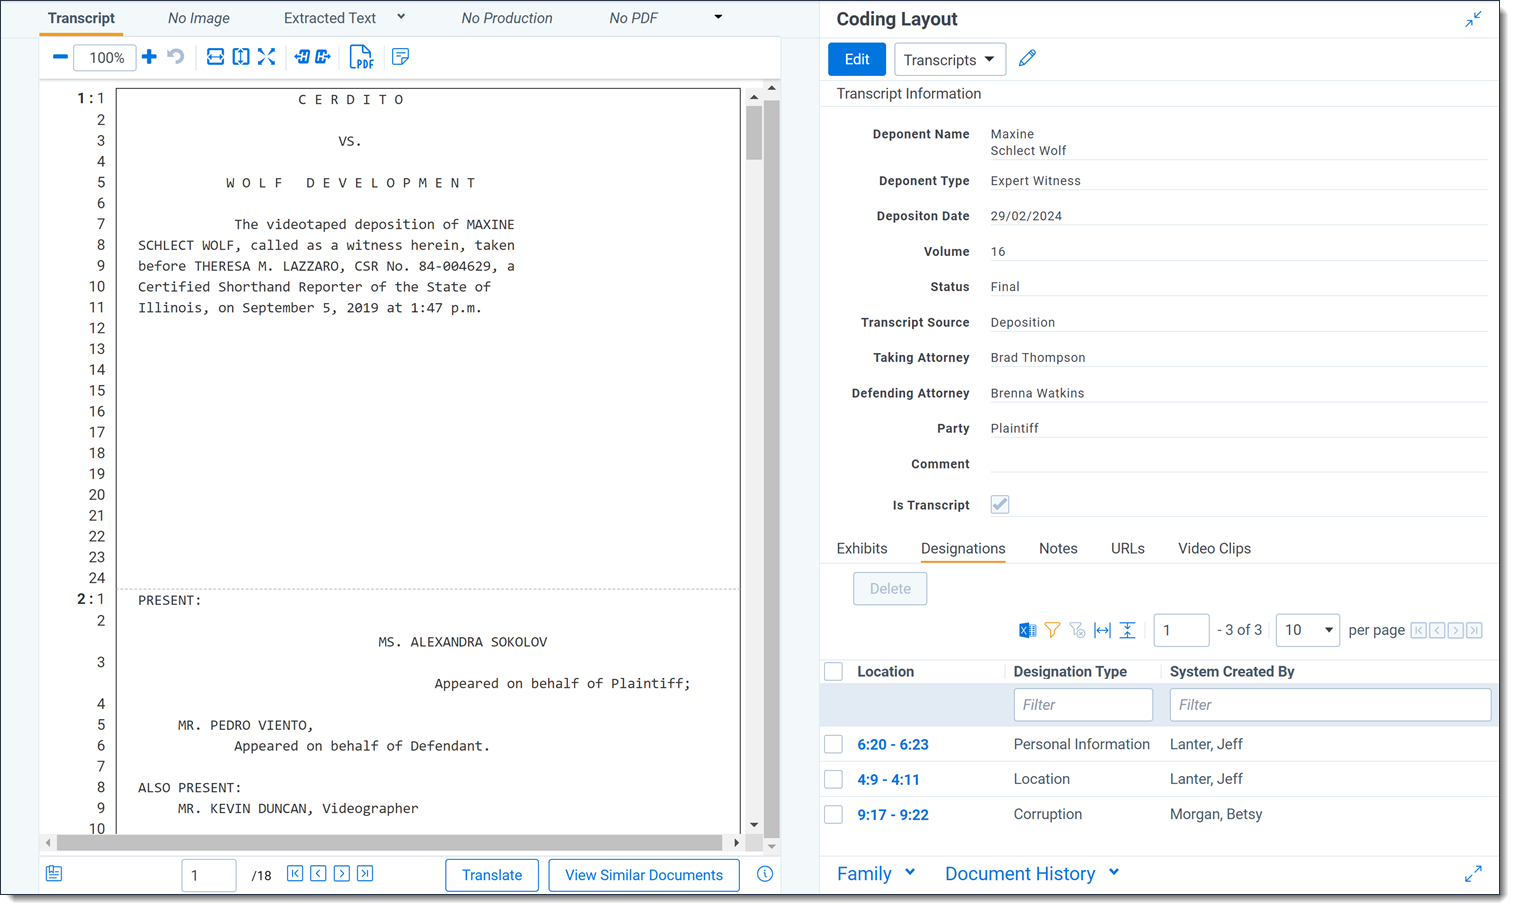
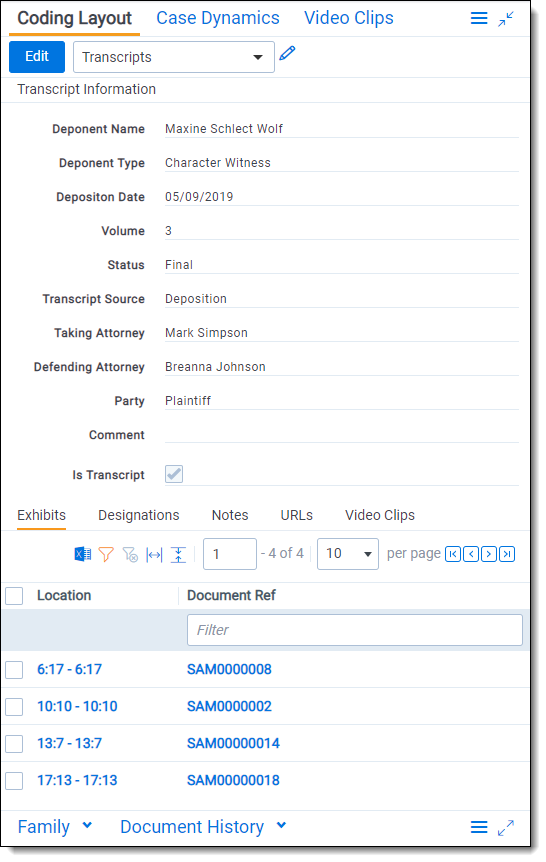
Transcripts layout
Annotations are logged in the Transcripts layout and are called out by page and line numbers. If you click on the line number, this takes you to the exact place the annotation is located on the transcript. Clicking on the Exhibit hyperlink opens the document in the Viewer. Clicking on the Note hyperlink sends you directly to the Notes object under the Transcripts tab. The objects on the tabs are sorted by the Created On field. The newest object created is listed first.
Adding notes
To add a note:
- Select text and right-click.
- Select Add Note. A pop-up appears in the margins.
- Type your note.
- Click Save.
You can then edit, delete, or comment on the note. Other users can comment on your note as well with the ability to create comment threads by replying. You can edit or delete your comments.
Comments and replies are time stamped along with the name of the user who left the comment.

Expanding notes
Sometimes there are many notes on a single page of a transcript and you cannot read the text all at once.
You can choose to expand or collapse all the notes in a page at once.
To expand/collapse notes, click on the Expand/Collapse Notes icon along the top of the Viewer. When notes are expanded, they will appear on the left side of the transcript text. Each note indicates which page and line number it is tied to.
Linking to URLs
To link to a URL:
- Select text and right-click.
- Select Link URL. A pop-up appears.
- Enter the URL.
- Click Link URL.
You can remove the link by right clicking and selecting Remove Link. If you click on the link, the URL opens in a new tab.
Working with Case Dynamics
The Classic Case Dynamics coding pane was deprecated on Feb. 28, 2024. Data that was created using the Classic coding pane will be preserved in Relativity.
To continue using Case Dynamics, verify that users have permissions to use Case Dynamics and excerpts so that they can immediately begin using the new workflow.
As part of the Classic Case Dynamics coding pane being deprecated, you can no longer see highlights from previously created objects.
You can create and link Case Dynamics items when viewing transcripts through the Case Dynamics coding pane on the Transcript layout.