Last date modified: 2026-Feb-05
Navigation
For information on Staging Area folders, refer to the Staging Area topic and Staging Area FAQ article in Community.
User drop-down menu
When you open Staging Explorer, there is user drop-down menu next to your name.
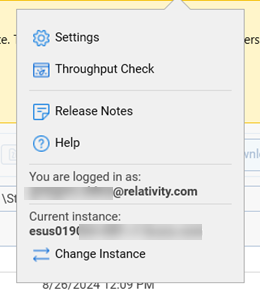
Use the drop-down menu to do the following:
- View the logged in email address.
- View the current Instance’s name.
- Settings—open the Settings window where you can configure the Transfer Settings and Automatic update option.
- Throughput Check—open the Throughput Check window.
- Release Notes—open the RelativityOne Release Notes page where you can filter the list to browse recent changes in the Staging Explorer.
- Help—launch the Staging Explorer documentation on the Relativity Documentation website.
- Change Instance—open the Instance Selection dialog box that allows you to enter a new Instance. Changing the Instance will log you out of the current session of the Staging Explorer.
General navigation
Use these options in either the Local or Staging panes:
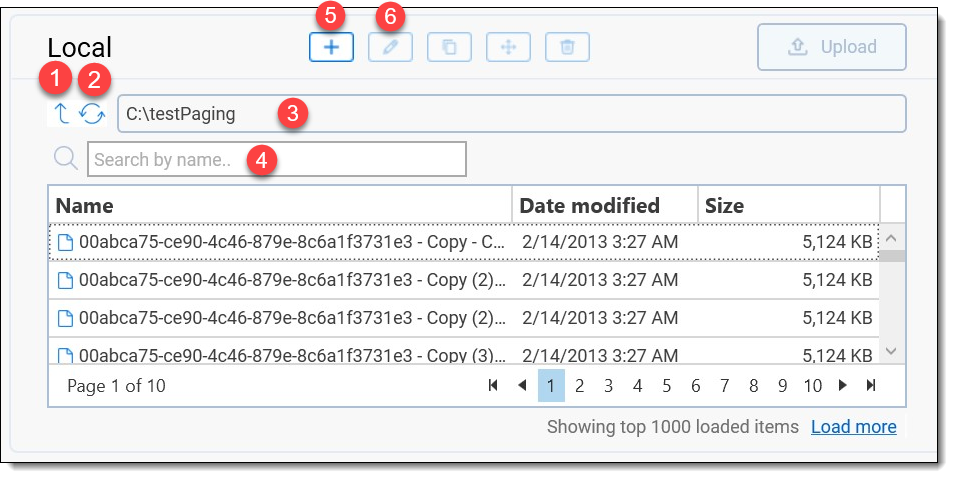
1 - Click the up arrow button to go up a folder level in the drive. Repeat as many times as folder levels available.
2 - Click the circling arrows to refresh the list.
3 - Paste a UNC path directly into the browser field.
4 - Use the Search box to locate a particular item in the list by typing all or part of the name and matching files will display.
5 - Click the New Folder plus button to create a new folder on the selected drive.
6 - Click the Rename pencil button to rename a folder on the selected drive.
See also:
File and folder operations (copy, move, delete, zip, unzip)
Calculating folder size in Local/Staging panes
Sorting file lists
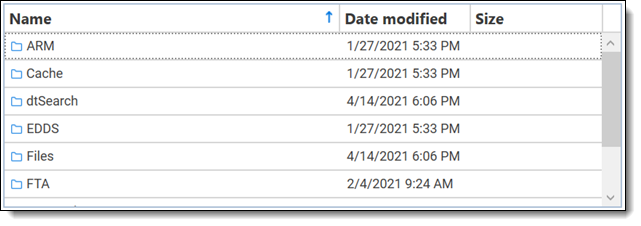
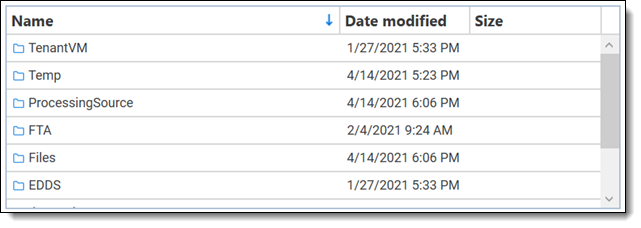
When opening Staging Explorer, file and directory lists for the Local and Staging panes are displayed. By default, the lists are sorted in ascending order by the Name column. Click on any column header to sort its list in ascending (up arrow) or descending (down arrow).
Pagination
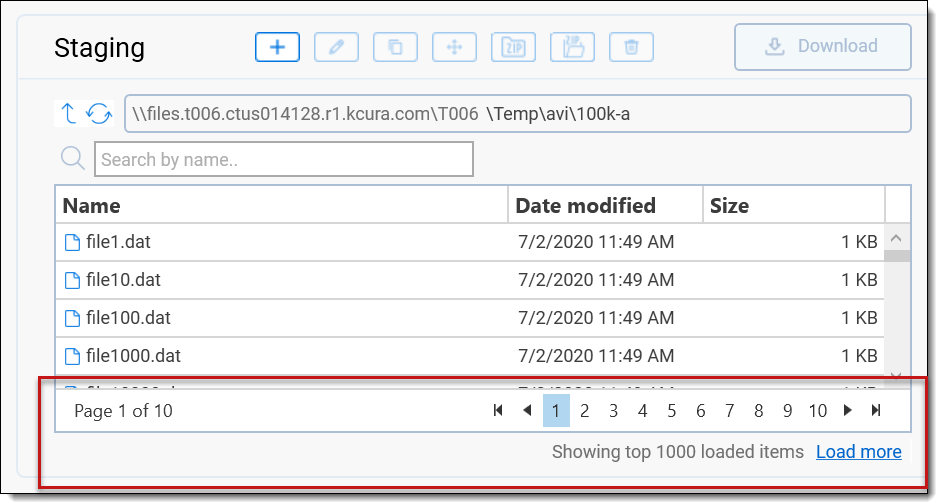
You can page through a large list of items in a particular folder in the Local or Staging pane. Each page contains 100 items. The system will load up to 10 pages of items, which equates to 1000 items, at a time if available. If there are more items, the Load more link displays. By clicking Load more, the next 1000 items will load, and so forth, until all pages of items are loaded.
The total page count loaded and current page number you're on displays in the "Page # of #" area.
To advance through the pages, click a particular page number or click the left and right arrows for Next Page, Previous Page, First Page, and Last Page.
Using the Search by name box to locate a filename will automatically begin loading all items that are available in the selected folder.
