Feedback
OCR
Optical Character Recognition (OCR) translates images of text, such as scanned and redacted documents, into actual text characters. There are three main steps involved in OCRing documents:
- Defining a production or saved search that contains the documents you want to OCR. SeeAll documents, including native files, must be imaged before using OCR.
- Creating an OCR profile. See Creating and editing an OCR profile.
- Creating an OCR set that references your OCR profile. See Creating and editing an OCR set.
With OCR you can view and search on text that's normally locked inside images. It uses pattern recognition to identify individual text characters on a page, such as letters, numbers, punctuation marks, spaces, and ends of lines.
RelativityOne scales automatically for OCR.
See these related pages:
See this related recipe:
- OCR redacted production documents and export text
See OCR on redacted production documents for information on running OCR on redacted production documents.
Creating and editing an OCR profile
An OCR profile is a saved, reusable set of parameters that you use when creating an OCR set. To run an OCR job, you must first create an OCR profile.
You don't have to create a profile for every OCR set you create. You can use only one profile for all sets. However, you may want to have multiple profiles saved with different accuracy or language settings to use for different document sets you plan to OCR.
To create an OCR profile, follow these steps:
- Click the OCR Profiles tab under the OCR tab.
- Click New OCR Profile.
- Complete the fields on the form. See OCR profile fields.
- Click Save.
Special considerations when using Arabic as a recognition language:
- When Arabic is selected as a recognition language in the OCR profile, English is also recognized by default by the OCR engine. Thus, it is not necessary to select English as an additional recognition language in the OCR profile When Arabic is selected.
- Running OCR with an OCR profile that combines Arabic with other languages is not supported. This configuration may lead to OCR Image Errors. As a result, you may not be able to recognize any text from the image, regardless of whether there was an actual recognizable text in the image.
OCR profile fields
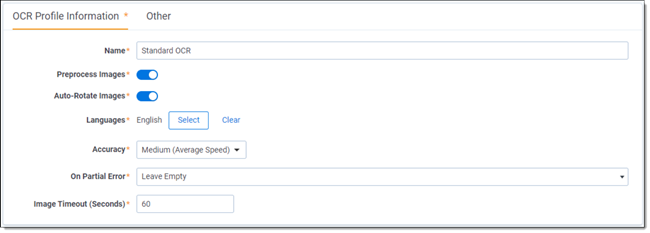
- Name - the name of the OCR set. The following characters are not allowed: <,>,:,",/,\,|,?,*
- Preprocess Images - enhances the images to get rid of distortions before OCRing. If you set this to Yes, preprocessing occurs before the OCR engine attempts to recognize characters. This improves the accuracy of the results while significantly slowing down job completion. Setting preprocess images to Yes also arranges for any or all of the following sub-processes:
- To improve visibility, resolution enhancement increases pixel density to 1.5 to 2 times of that of the original image.
- Text line straightening removes the distortion that occurs when capturing curved book pages.
- Removing parallax distortion assists in situations in which the camera is not perpendicular to the page and the image is flawed as a result; for best results, the image should contain at least six lines of justified text.
- Deskewing corrects documents that became slanted during scanning.
- Auto-Rotate Images - makes the OCR engine detect page positioning, and then reposition the page accordingly. This can potentially impact the accuracy of OCR results. The rotated image is not saved back to Relativity in rotated position.
- Languages - the language(s) you want the OCR engine to recognize while running the job. Click
 to choose from a list of languages. If the saved search or production you plan to use as your document set contains multiple languages, you may want to select more than one from this list.
 - Accuracy - determines the desired accuracy of your OCR results and the speed with which you want the job completed. This drop-down menu contains three options:
- High (Slowest Speed) - runs the OCR job with the highest accuracy and the slowest speed.
- Medium (Average Speed) - runs the OCR job with medium accuracy and average speed.
- Low (Fastest Speed) - runs the OCR job with the lowest accuracy and fastest speed.
If an OCR job is not extracting text from redactions as expected and is instead displaying a blank space where text should be, change the Accuracy field from High to Low. In addition, if there are no images in the set that need rotating, turn off the Auto-Rotate Images option. Making these adjustments should improve data extraction. - On Partial Error - determines the behavior when the OCR engine encounters an error on an image:
- Leave Empty - records no results if an error is encountered in a document; even images without errors are excluded from being written. For example, if one document contains five images and one of the images errors, no results are written for that document.
- Write Partial Results - records all successfully OCRed text while excluding text from errored images. With this option you can see potentially relevant text that would not be visible if you chose to leave the results of documents containing errored images empty. This option runs the risk of excluding potentially relevant text.
- Image Timeout (Seconds) - determines the maximum number of seconds per image before the OCR engine times out. If the job doesn't complete in this amount of time, it errors on that image. The default value is 60 seconds.
The auto-rotate images function requires the preprocess images option to be selected for it to take effect, even if the auto-rotate setting is set to "true." The OCR engine will only rotate the image if both preprocess and auto-rotate options are enabled.
If the saved search or production you use contains multiple languages and you only select one language from the list, the OCR uses the individual characters of the selected language to OCR all the text.
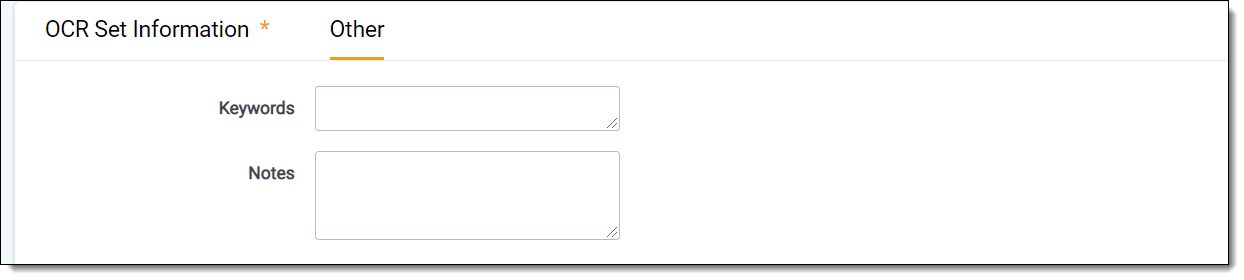
If you'd like to further distinguish the profile, click the Other tab and enter information in the Keywords and/or Notes fields.
Creating and editing an OCR set
Using the OCR Sets tab you can submit groups of documents defined by a saved search or production to be OCRed based on the settings defined by the OCR profile. Relativity writes the results to the destination field that you specify.
To create an OCR set, you can copy an existing OCR set. If you copy an OCR set, every current setting in that set copies over.
Before you create an OCR set, you first need to create an OCR profile. See Creating and editing an OCR profile. To create an OCR set, follow these steps:
- Click the OCR Sets tab under the OCR tab.
- Click New OCR Set. If you want to edit an existing OCR set, click the Edit link next to the OCR set name.
- Complete the fields on the form. See OCR set fields.
- Click Save.
The OCR Set Console appears. See Running an OCR set.
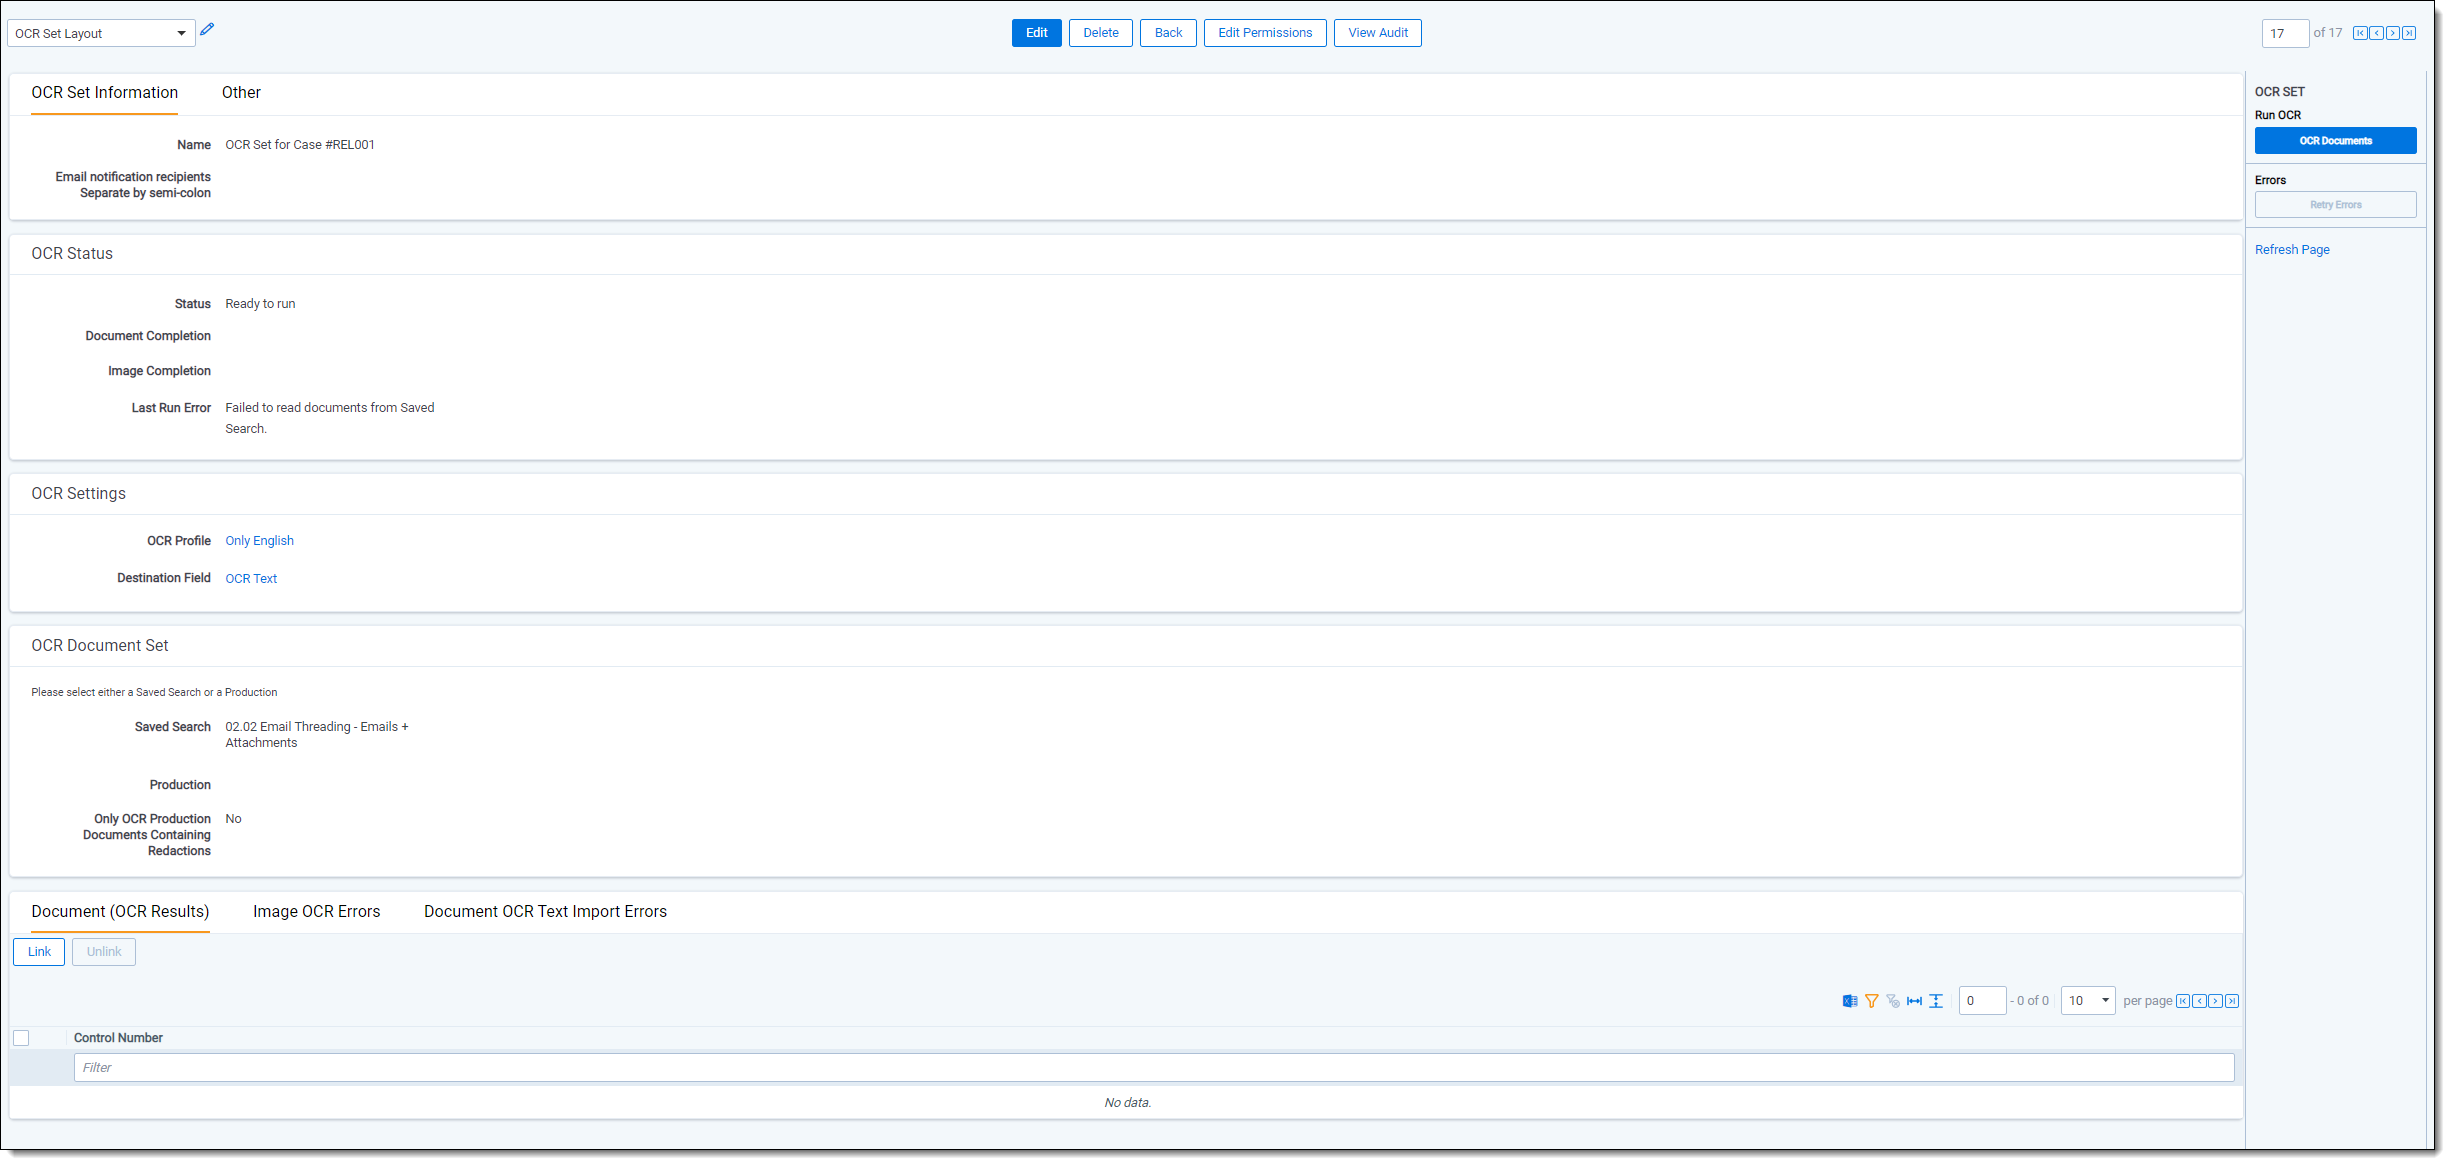
OCR set fields
- OCR Set Information
- Name - the name of the OCR set.
- Email notification recipients - list all email addresses you want to receive email notification upon OCR completion. Separate each email address with a semicolon.
- OCR status-The following fields are read-only:
- Status - view where the OCR set is in the process of running. When you save the set, this field shows a value of Staging until you click the Run button in the OCR Set Console. The following statuses occur after you click Run in the console:
- Pending - awaiting pickup by the OCR Job Manager Agent
- Building
- Waiting - awaiting work by an OCR Job Worker Agent
- In progress - OCR Job Worker Agents are recognizing images
- Assembling text - The final remaining Documents are getting their text assembled
- Finalizing
- Completed (if no errors occurred)
- If errors occurs or the job is canceled for any reason, the following statuses are possible:
- Failure
- Completed with errors (can be retried)
- Stopping
- Stopped
- Image Completion - view the count of images completed in the OCR set, the number of images with errors, and the number of images left to be OCRed. Any errors appear in red.
- Document Completion - view the count of documents completed in the OCR set, the number of documents with errors, and the number of documents left to have text assembled. Once documents are completed, it is possible to view their OCR'd text. Any errors appear in red.
- Last Run Error - view the last job error that occurred in the running of the OCR set.
- Status - view where the OCR set is in the process of running. When you save the set, this field shows a value of Staging until you click the Run button in the OCR Set Console. The following statuses occur after you click Run in the console:
- OCR settings
- OCR Profile - select the OCR Profile that contains the parameters you want to run when you execute the OCR Set.
Click to bring up the OCR Profile Picker on OCR Set view, which lists Profiles that have already been created in the OCR Profiles tab.
 - Destination Field - specifies the field where you want the OCR text to reside after you run the OCR. This includes Data Grid-enabled long text fields and the extracted text field.
Click to bring up the Field Picker on OCR Set view, which lists all document long text fields you have access to. If you selected non-Western European languages in your OCR Profile, the destination field should be Unicode-enabled. This field is overwritten each time a document is OCRed with that destination field selected. - OCR Document Set
- Saved Search - if you're OCRing documents using a saved search, select the saved search containing the appropriate set of documents you plan to OCR.
Choosing a saved search only OCRs the original image. If a document on the selected saved search does not have an associated image, that document won't be OCRed. Likewise, the OCR engine will not account for redactions added to the image unless there are redactions on the image itself. - Production - if you're OCRing documents using a production set, select the production set containing the documents you plan to OCR.
Click to open the Production Picker on OCR Set view, which displays all production sets with a status of Produced that you have access to. The engine OCRs all burned-in redactions, branding, headers and footers, and text. All documents with images in the production are OCRed, not only those with redactions. This includes placeholders. - Only OCR Production Documents Containing Redactions - you can OCR only produced documents with redactions. You can set this to Yes only if you selected a production set in the production field for the OCR Document Set. However, this setting doesn't check the selected production to see if there are images with redactions before running the OCR set. By default, this is set to No.
- Saved Search - if you're OCRing documents using a saved search, select the saved search containing the appropriate set of documents you plan to OCR.
- OCR Profile - select the OCR Profile that contains the parameters you want to run when you execute the OCR Set.
The OCR engine does not support OCRing content that represents handwritten text.
Running an OCR set
The following permissions are required to Running an OCR set.
| Object | Permission |
|---|---|
| OCR Set | View |
| OCR Profile | View |
| Production | View |
| Saved Search | View |
| OCR Set Tab | View |
These permissions are strictly for running the Set, i.e. if the OCR Set is already set up. A user needs the Add permissions on OCR Set and OCR Profile to create a new one.
As of February 2025, the new Feature Permissions redefines Relativity's security management by shifting the focus from Object Types and Tab Visibility to feature-based permissions. This new method is simply another option; any feature-specific permissions information already in this topic is still applicable. This new interface enables administrators to manage permissions at the feature level, offering a more intuitive experience. By viewing granular permissions associated with each feature, administrators can ensure comprehensive control, ultimately reducing complexity and minimizing errors. For details see Instance-level permissions and Workspace-level permissions .
When you save an OCR set, the OCR Set console appears that you use to run the OCR job.
The OCR Set console provides the following action buttons:
- OCR Documents - starts the OCR job. This processes all images in the selected data source or production.
If a user stops the job, it completes with errors, or it fails. Click OCR Documents to start the job again. If there are documents in the Document (OCR Results) section of the OCR Set Layout form, these aren't immediately cleared when the OCR Documents button is clicked on the console. These are only cleared when the job goes into processing, which is reflected in the Status when you click the Refresh Page link.Only existing images are OCRed when you click OCR Documents. Images that are currently being loaded will NOT be OCRed if those images are added after you click OCR Documents. Changes made to an OCR profile that's referenced by an OCR set aren't reflected until you click OCR Documents on that set. - Stop OCR - terminates the running OCR job. This button enables after you click OCR Documents. When you stop a job, the text that was already OCRed is not saved, and you can't resume the job from the point it stopped. You have to click OCR Documents to begin the job over again.
- Retry Errors - attempts to re-run a job with errors.
- Refresh Page - updates the Status, Image Completion, and Document Completion fields while the set is running. Clicking this button reloads the page and may reflect different values in those fields depending on what happened during the OCR job.
If an OCR set is in a status of Completed with errors and the data source is modified (i.e. the OCR set is updated from a Saved Search to a Production Set), the OCR set will reset to a status of Ready to run and cannot be retried.
Retry is only possible when an OCR set is in Completed with errors. Retrying an OCR set attempts to run those images or documents in the OCR set that previously resulted in errors. Only errored images or documents are processed when the system tries to resolve errors.
During the In progress state, while the OCR Job Worker Agents are OCR'ing text, the OCR Job Manager Agent will find documents that have all of their images complete, and will export the text to the selected Destination Text field for that document. This means that OCR'ed text in the Destination Field of the Document will be updated as the OCR Set is progressing, and not at the end of the job.
Once the OCR job completes, the Document (OCR Results) section of the OCR Set Layout form displays all documents successfully OCRed. The fields in this view are Control Number and File Icon.
In addition, it's possible to see Image OCR Errors or Document OCR Text Import Errors in the same tabbed display as Document (OCR Results).
These errors can be exported.
Only the first 1000 image errors and first 1000 document errors are shown. These errors cannot be filtered.
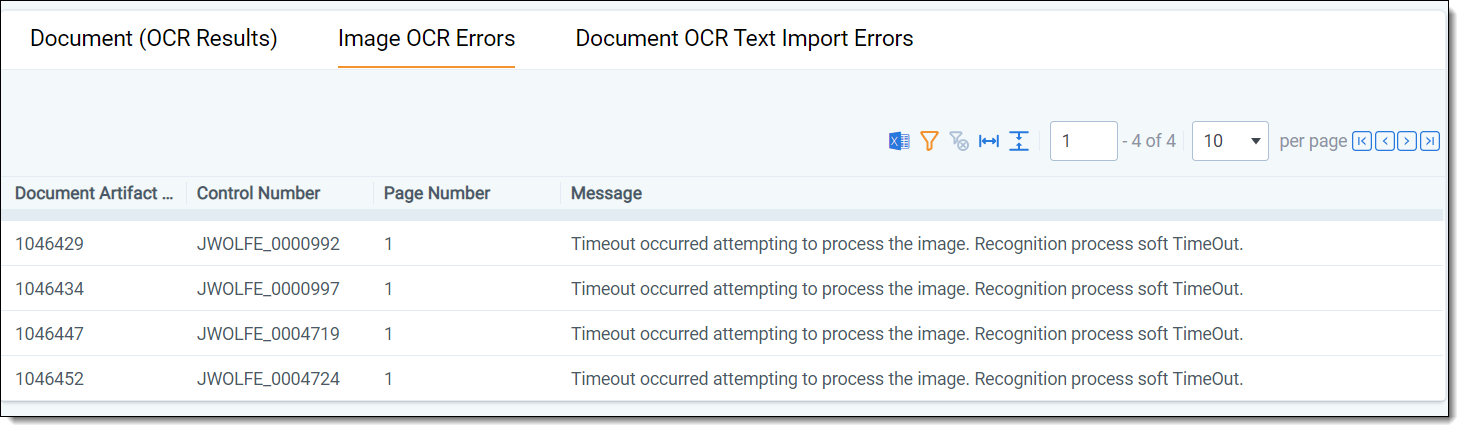
Image OCR Errors shows:
- Document Artifact ID
- Document Identifier
- Page Number
- Message
Document OCR Text Import Errors shows
- Document Artifact ID
- Document Identifier
- Message
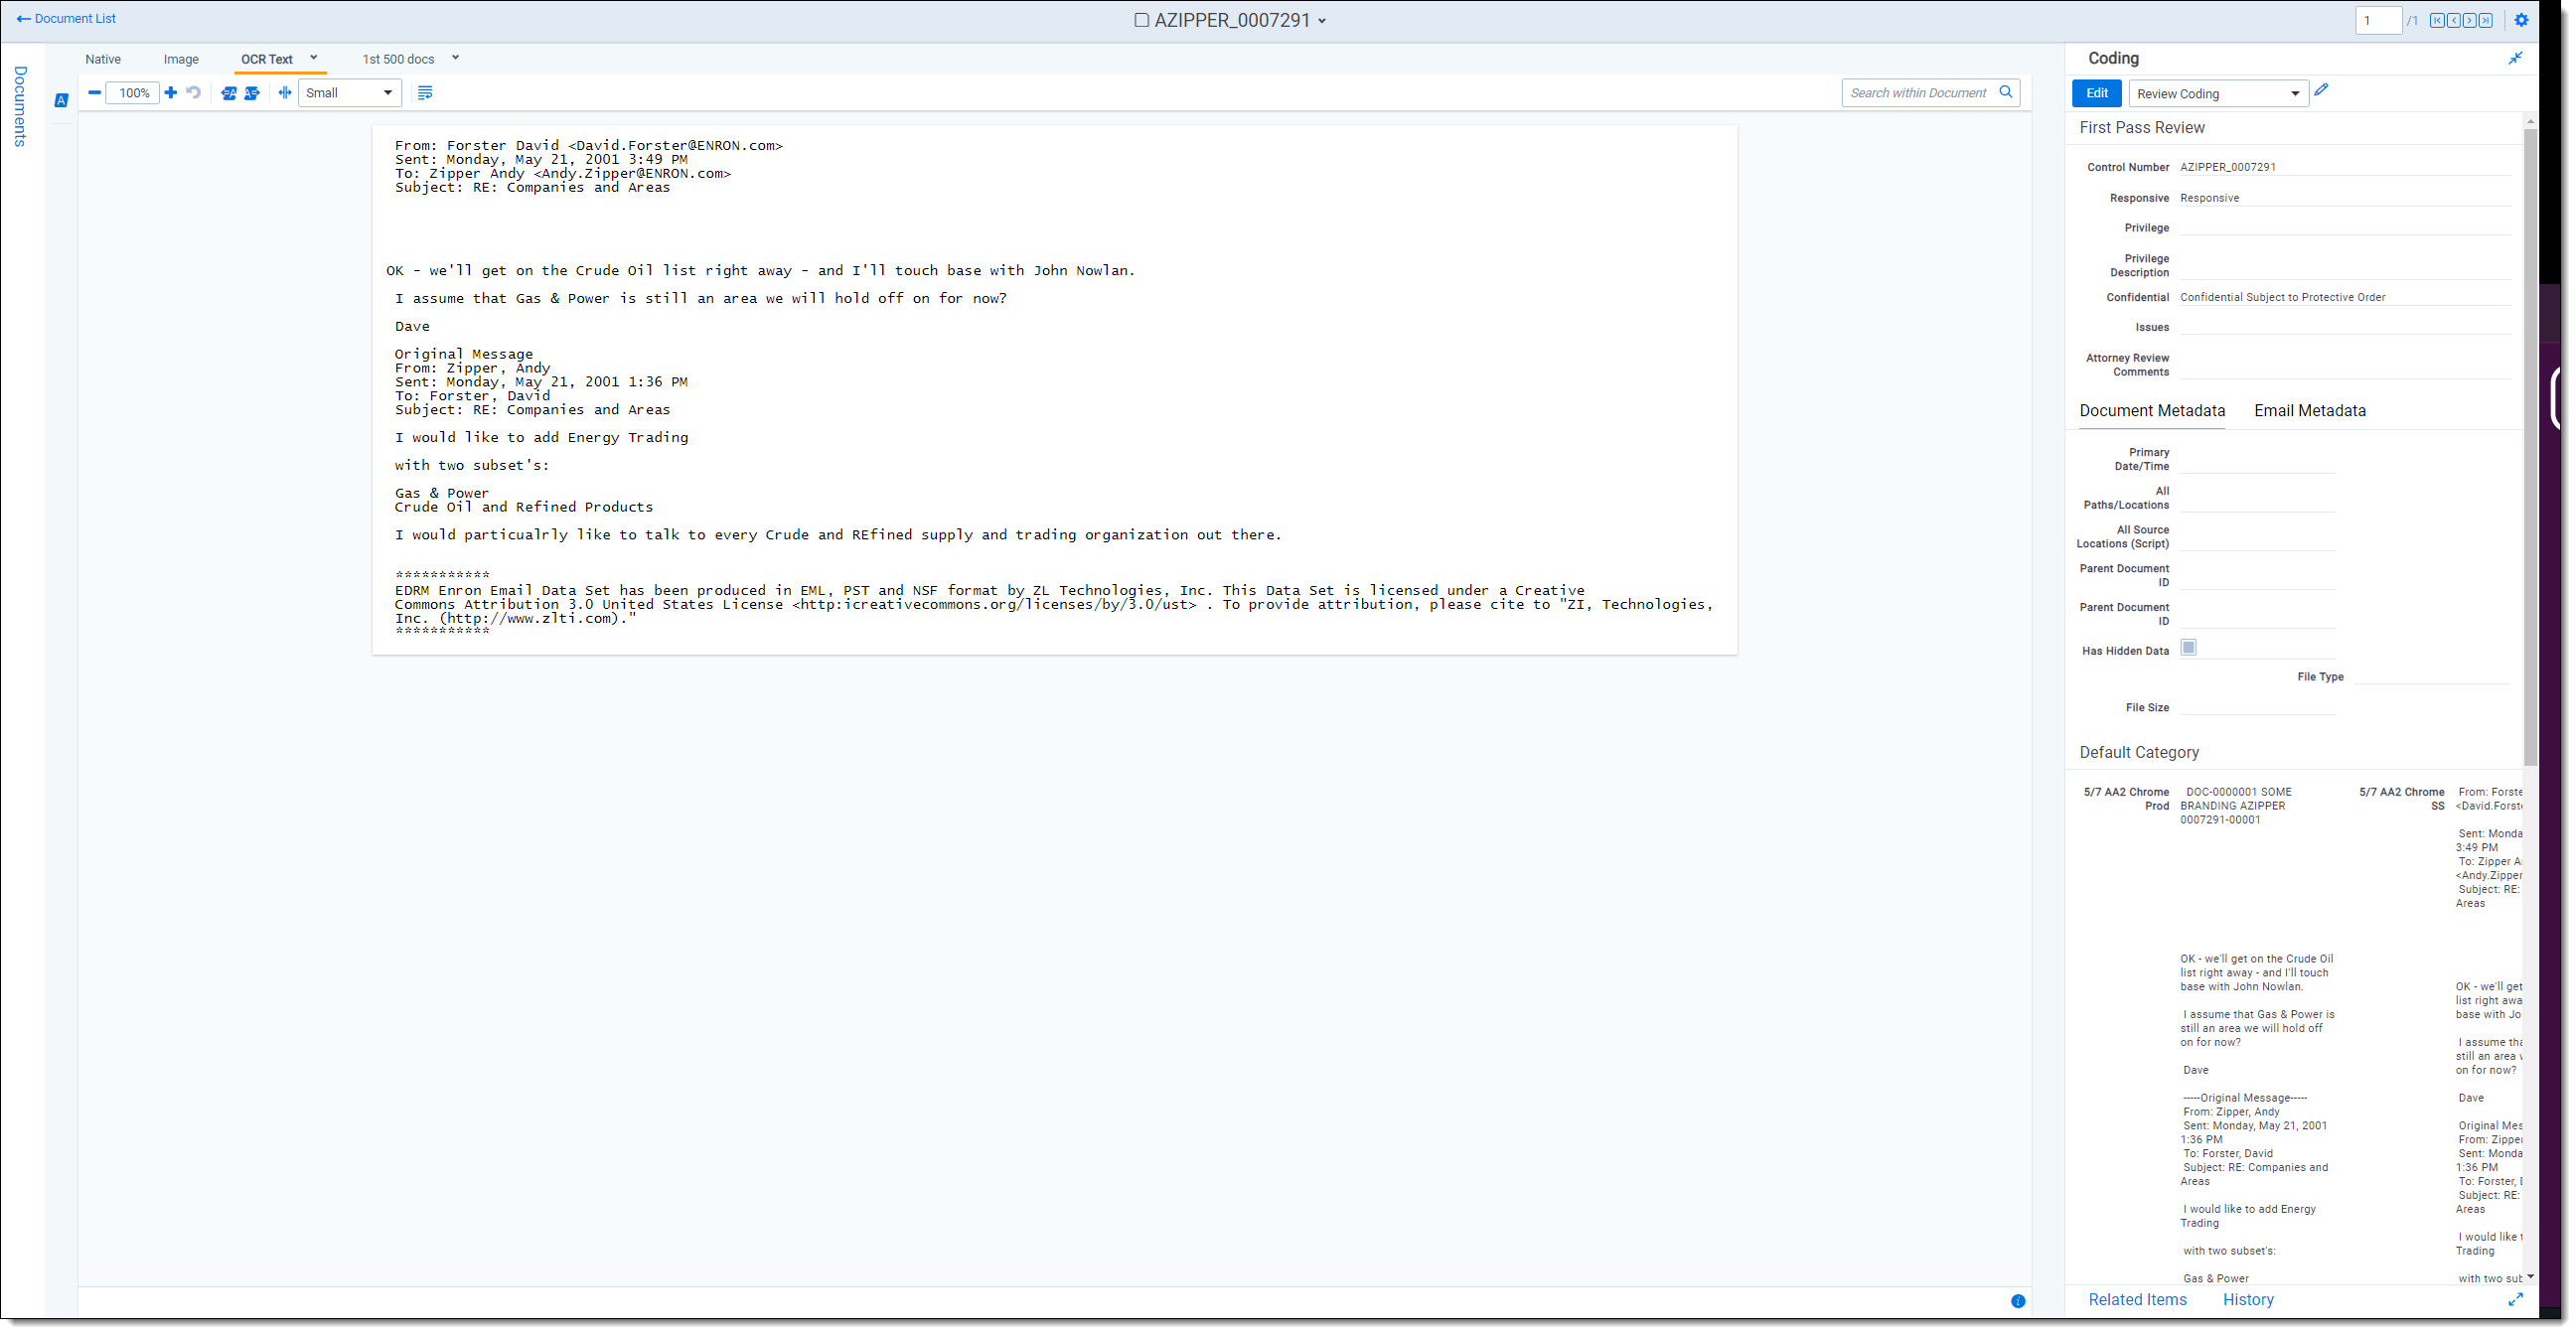
Viewing OCR text
Once you run the OCR set, you can review your OCRed text. The most effective way of viewing your OCR text is by following these steps:
- To launch the Review Interface, click the control number of a document.
- Select the Field where you stored the OCR text. If a document was multiple fields with OCRed or extracted text, you will be presented with a drop down menu where you can select the field.