


Feedback
Last date modified: 2026-Jun-29
Image upload
Use the image upload feature to upload a single image for a document record directly in the viewer.
With this feature, you're able to upload the following file types:
- GroupIV TIFF
- JPEG
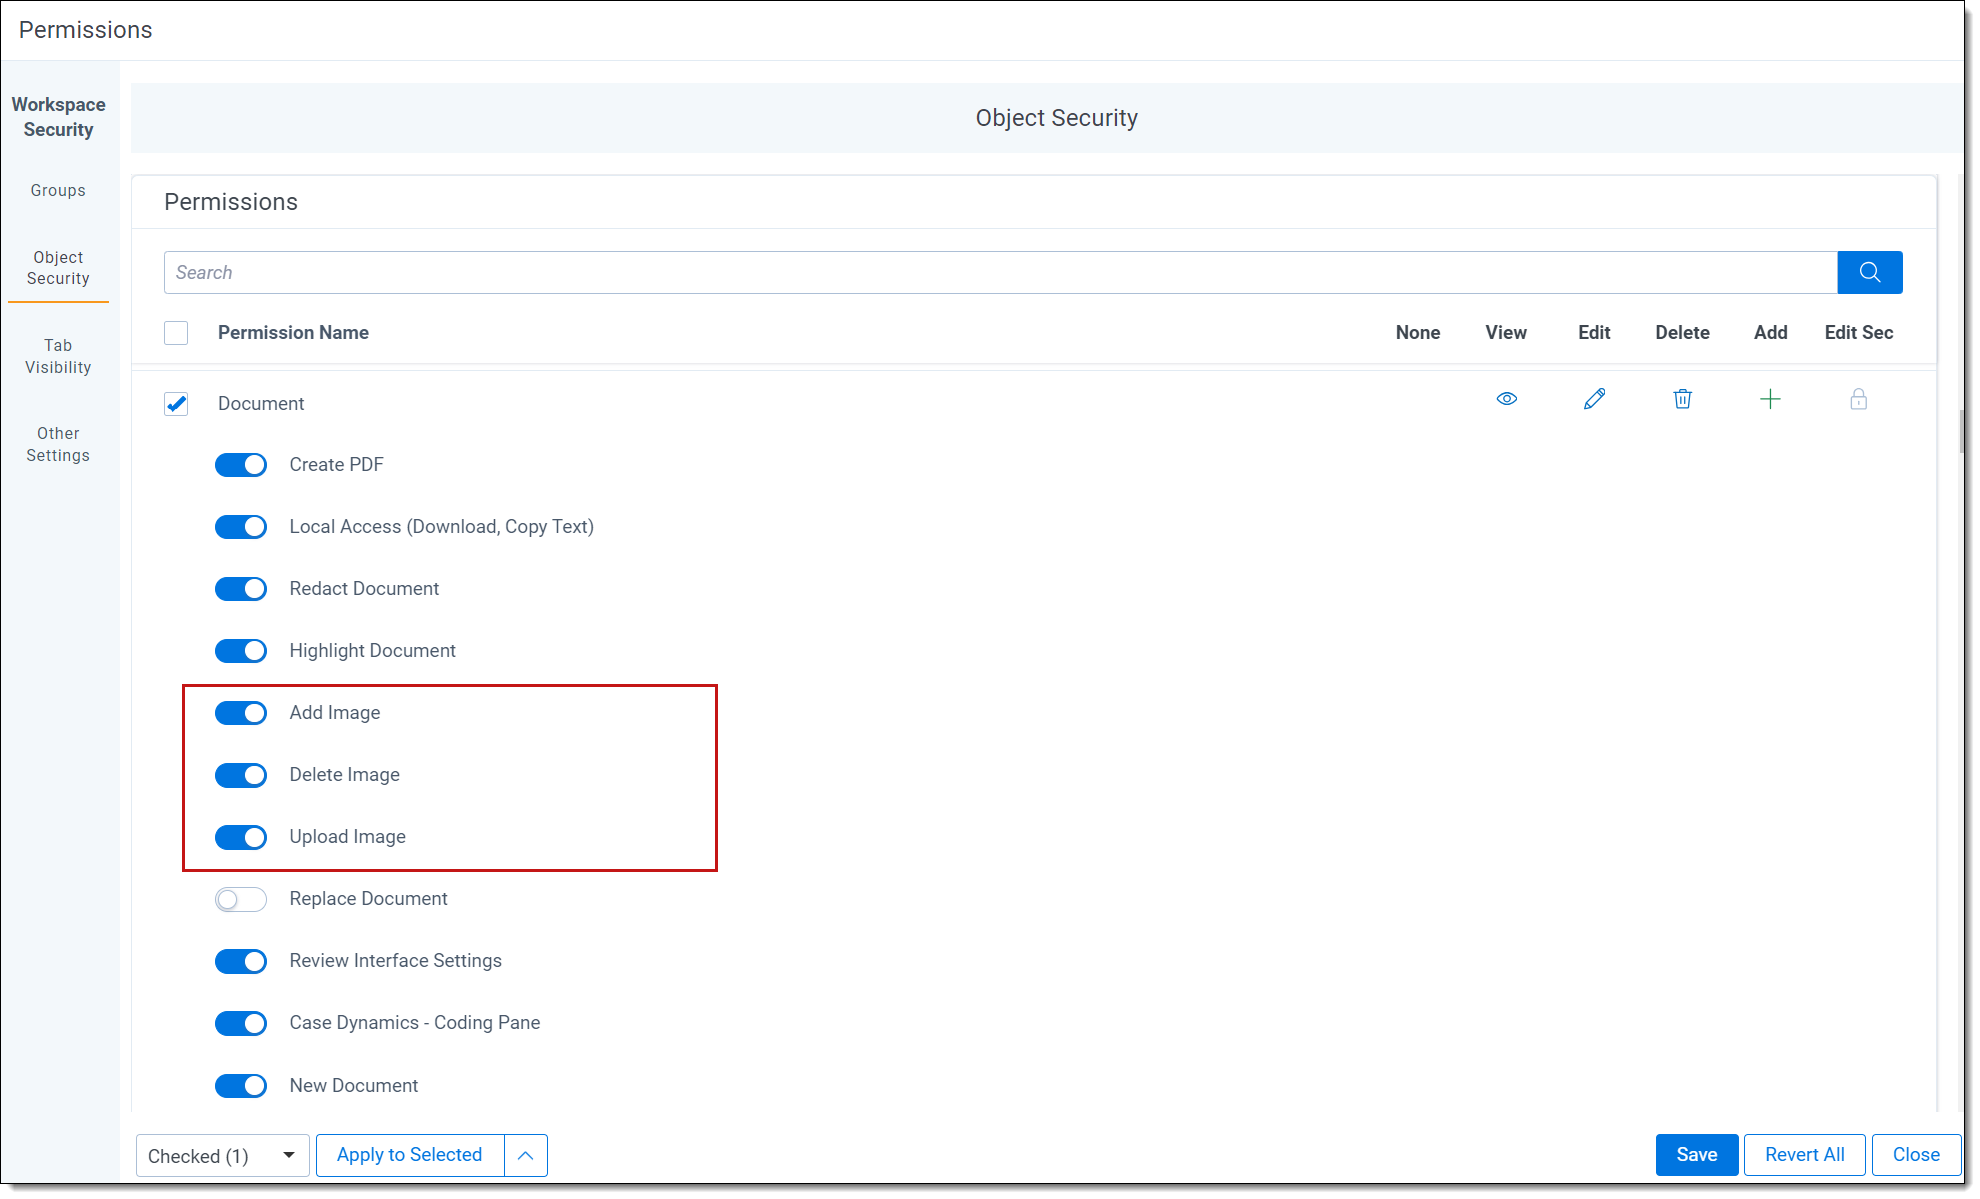
Required security permissions
To use the image upload feature, you must have the following permissions enabled in the Object Security console:
- Upload Image
- Add Image
- Delete Image
Uploading an image
You can upload a single image for a document record directly in the viewer.
To upload an image:
- In the viewer, click the file name.
- Select Upload images for this document.
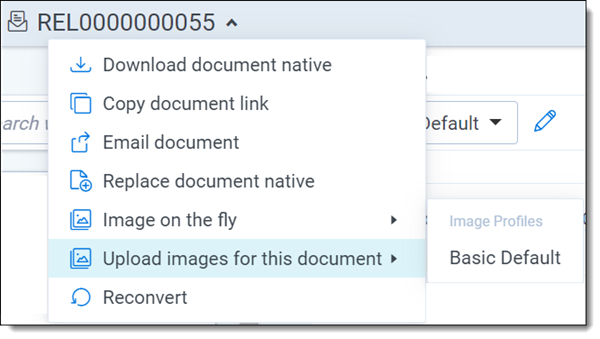
- In the menu, select the imaging profile you want to use. For more information, see Imaging profiles
- In the upload window, select click to select a file to browse for the image, or drag a file from your local machine and drop it into the upload window.
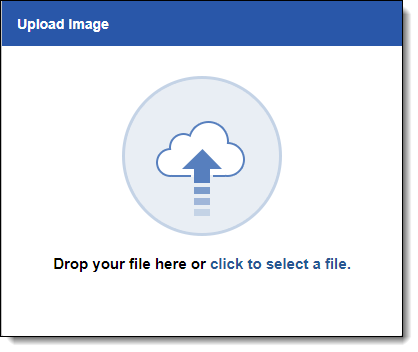
Relativity automatically begins to upload the file after you select it. When the upload is complete, the image appears in the viewer.
Replacing an image
If an image already exists for a document, you can replace it.
To replace an existing image:
- In the viewer, click the document name.
- Select Replace images for this document.

- In the menu, select the imaging profile you want to use.
- In the upload window, select click to select a file to browse for the image, or drag a file from your local machine and drop it into the upload window.
Replacing an image replaces the entire document's images, not a single page. For example, uploading a JPG or TIFF file results in one image regardless of how many pages the original document had. Uploading a 5-page PDF file results in 5 images.
Relativity automatically begins to upload the file after you select it. When the upload is complete, the image appears in the viewer.
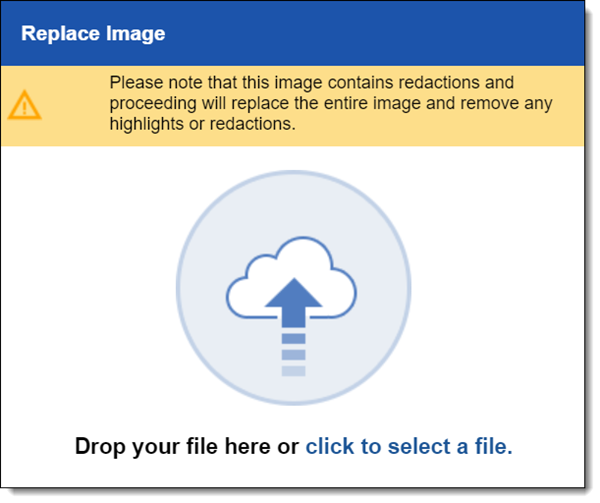
Warnings and error messages
If you have redacted or added highlights to an image in the viewer and then attempt to upload a new image, a message appears informing you that replacing the image will remove those redactions or highlights.
Replacing an image that has redactions updates the Has Redactions field to No and removes all existing redactions and markup.
If you attempt to upload an unsupported file type, you'll receive an error message.
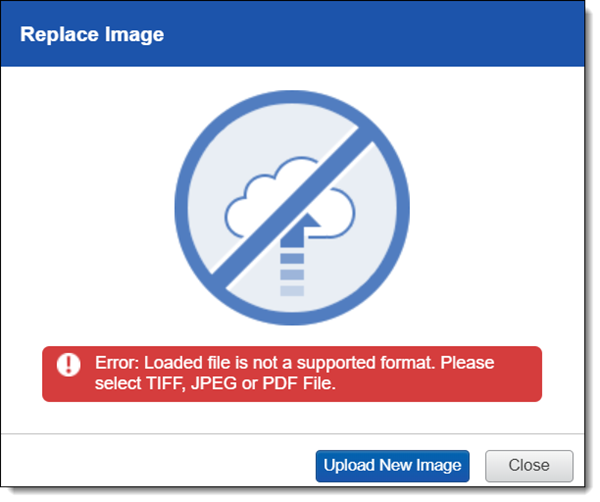
From here, you can click Upload New Image to select a new image to upload.
Audits for image upload
The following audit events are recorded when a user performs image upload actions in the viewer.
-
Images - Created — The user uploaded an image for a document in the viewer.
-
Images - Deleted — The user deleted an image from the viewer.