


Feedback
Last date modified: 2026-Feb-05
GlobalProtect VPN client
Your VPN enables a secure connection between your computer and resources on your Relativity instance's network. The following resources are available when you connect to the GlobalProtect VPN client:
- Utility Server VM via Windows Remote Desktop Connection (RDP)
- Direct access to SQL
For Sandbox environments, you can access the following back end resources via the VPN:
This documentation contains references to third-party software, or technologies. While efforts are made to keep third-party references updated, the images, documentation, or guidance in this topic may not accurately represent the current behavior or user interfaces of the third-party software. For more considerations regarding third-party software, such as copyright and ownership, see Terms of Use.
GlobalProtect VPN requirements
Consider the following local machine requirements:
- Refer to the GlobalProtect compatibility matrix to ensure that the VPN client is compatible with your operating system.
- For RelativityOne, you should be using GlobalProtect 4.1 and above.
- The VPN software, Global Protect, must be installed locally. This needs to be done under a Local Administrator account. It is possible to install GlobalProtect with group policy as an active directory admin.
Without local administrator, or the ability to install via group policy, you will be unable to install the GlobalProtect client.
Port requirements
The following ports must be opened on user machines and/or firewalls for the
| Destination Port | Protocol | Description |
|---|---|---|
| 443 | TCP | Used for communication between GlobalProtect agents and portals, or GlobalProtect agents and gateways and for SSL tunnel connections. GlobalProtect gateways also use this port to collect host information from GlobalProtect agents and perform host information profile (HIP) checks. |
| 4501 | UDP | Used for Global Protect VPN or IPSec tunnel connections between GlobalProtect agents and gateways. |
Current VPN portal URL
There are different geographic data centers that your Relativity instance or sandbox may reside in. Enter the VPN portal URL as it appears below.
Microsoft has renamed Azure Active Directory (Azure AD) to Microsoft Entra ID. This site has been updated to reflect the name change, where applicable. Refer to Microsoft documentation for more information.
The IP addresses listed below are for both VPN and regular, non-VPN, access.
All VPN portal URL are formatted as vpn.[regional domain].relativity.one
VPN portal URL are only accessed when connecting to your Utility Server or Direct SQL via the VPN.
Primary Azure data center IP address ranges for VPN portal URL:
| Primary Azure/Entra ID region | Primary IP Range | VPN Portal URL |
|---|---|---|
| US-Central (CTUS) | 52.189.66.32/27 | vpn.ctus.relativity.one |
| US-East (ESUS) | 40.88.50.160/27 | vpn.esus.relativity.one |
| Canada-Central (CACT) | 52.228.98.0/27 | vpn.cact.relativity.one |
| UK-South (UKSO) | 51.145.60.64/27 | vpn.ukso.relativity.one |
| Asia-East (ESAS) | 52.184.89.64/27 | vpn.esas.relativity.one |
| Brazil-South (BRSO) | 191.233.244.160/27 | vpn.brso.relativity.one |
| Europe-West (WSEU) | 51.105.222.96/27 | vpn.wseu.relativity.one |
| France - Central (FRCT) | 20.199.57.128/27 | vpn.frct.relativity.one |
| Germany-West Central (DECT) | 51.116.134.160/27 | vpn.dect.relativity.one |
| Switzerland North (CHNO) | 51.107.46.128/27 | vpn.chno.relativity.one |
| Australia-East (AUEA) | 20.40.190.160/27 | vpn.auea.relativity.one |
| Korea-Central (KRCT) | 20.194.51.192/27 | vpn.krct.relativity.one |
| United Arab Emirates (AENO) | 20.203.41.32/27 | vpn.aeno.relativity.one |
| India (INCT) | 20.204.36.0/27 | vpn.inct.relativity.one |
| Ireland (NOEU) | 20.93.29.128/27 | vpn.noeu.relativity.one |
| South Africa (ZANO) | 20.87.64.160/27 | vpn.zano.relativity.one |
| Southeast Asia (SEAS) | 52.230.48.0/27 | vpn.seas.relativity.one |
| Japan (JPES) | 20.78.107.96/27 | vpn.jpes.relativity.one |
| Legacy Sandboxes | ** | vpn.ctussbx.relativity.one |
** For Sandboxes, use the FQDN listed in the next table
Accepting the invitation from Microsoft Entra ID
- Customer Support will issue an invitation from Microsoft Active Directory with the following information:
- Sender—Microsoft Invitations on behalf of RelativityOneVPNinvites@microsoft.com.
- Subject—RelativityOneVPN invited you to access applications within their organization.
- Click on the Accept Invitation link in the email.
- If your organization does not use Active Directory, please continue with the prompts to complete creating the Microsoft account.
- If your organization has Active Directory, your account will be connected automatically.
- Your account creation is complete when you log in to Azure/Entra ID Portal.
- Proceed to Downloading and installing the GlobalProtect VPN client to install the GlobalProtect VPN client.
Downloading and installing the GlobalProtect VPN client
You must have local admin rights to install the VPN client. If you are not a local admin, contact your IT department to install it via Group Policy. Instructions for installing the client via Group Policy are found at https://live.paloaltonetworks.com/t5/Management-Articles/Using-Active-Directory-GPO-to-Install-the-GlobalProtect-Client/ta-p/61120.
Your VPN connection is typically created during the onboarding process for RelativityOne. If you have questions, please contact your designated Customer Success Manager.
To download and re-install the VPN client, follow the following instructions, but skip the steps related to resetting your password.
- Navigate to the portal for the geographic region you use RelativityOne in. The correct portal address for you to use can be found in the table listed under Current VPN portal URL section above.
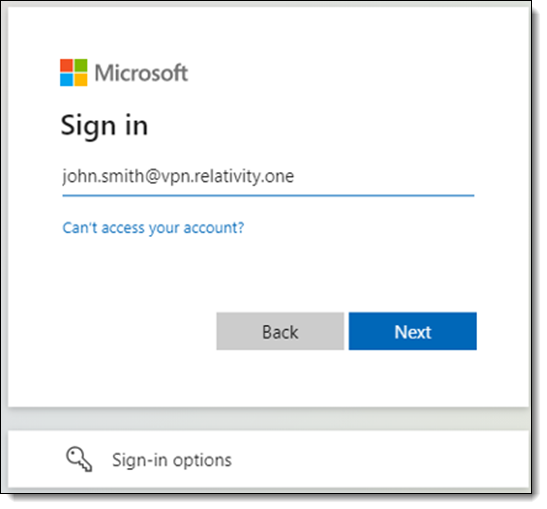
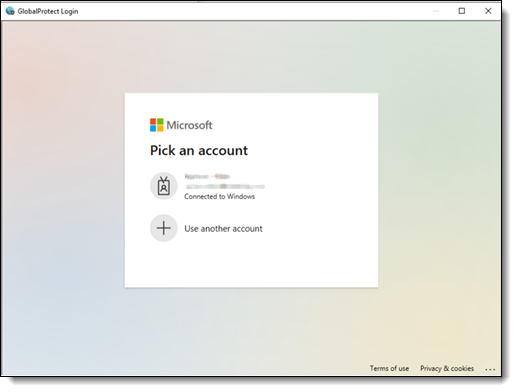
- In the Microsoft Pick an account prompt, click the Use another account option.
- Enter your own credentials.
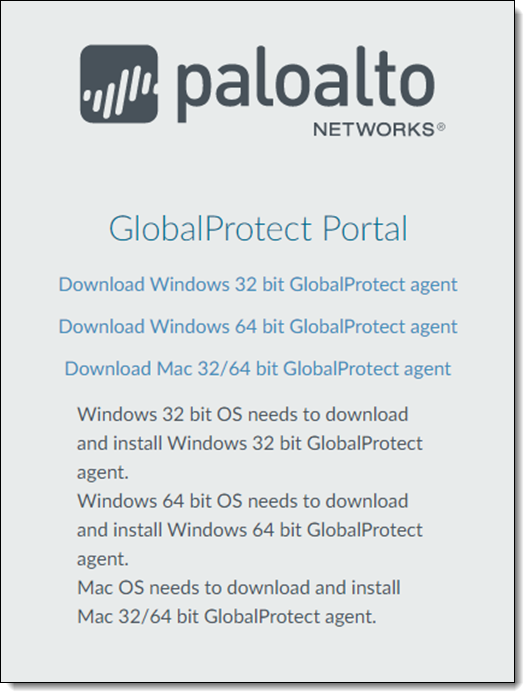
- Once you are logged in, download the appropriate VPN client to your computer.
- Install the GlobalProtect VPN client you just downloaded. Follow the default prompts.
If you are using macOS and are unable to use GlobalProtect after installing, review the General tab in your Security and Privacy settings and ensure that system software from PanGPS is not blocked from loading.
Logging in using your GlobalProtect VPN client
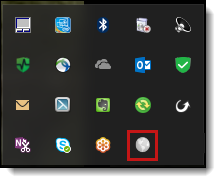
- After installing the VPN client, the GlobalProtect toolbar menu will open. If it does not open automatically, you can search for GlobalProtect in the bottom left-hand search bar to open it.
- Click the gear icon in the upper right-hand corner of the toolbar menu, and then select Settings to access the Settings dialog window and configure the VPN client.
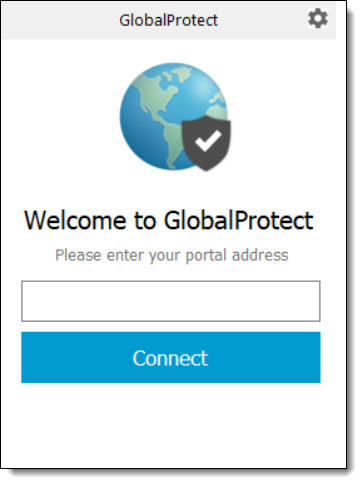
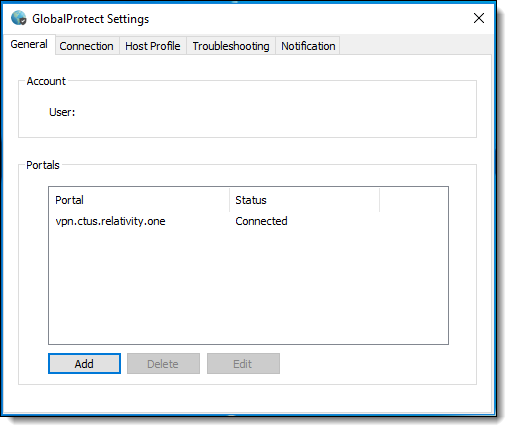
- Under the General tab, click the Add button to add the RelativityOne Portal Address. Ensure you enter the correct portal. This depends on which geographic region your RelativityOne instance resides in. You should not enter the "http://" preceding the portal address.
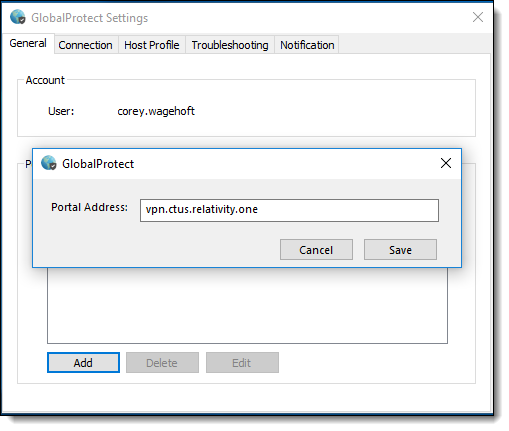
- Click Save.
- Close the Settings dialog.
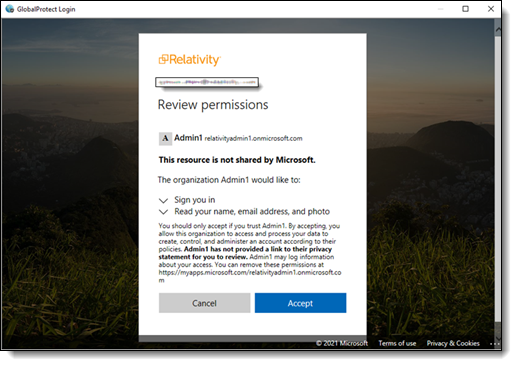
- Click on the GlobalProtect icon in your tray, and then click the blue Connect button. A pop-up window for reviewing permissions is displayed.
- After reviewing the terms, click Accept.
- A prompt for your VPN user credentials is displayed. Choose the appropriate VPN user credentials to sign in with in the Microsoft Pick an account screen. This prompt might appear twice depending on your organization’s settings. A window will be displayed momentarily while you are connected to the VPN.
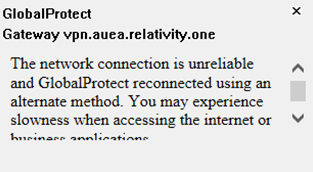
- If the GlobalProtect warning displayed below appears, dismiss the window. This is a known issue with the GlobalProtect client itself and will be addressed in future versions.
- Check your connection status by viewing the GlobalProtect icon in your system tray. When connected, it will display a check mark.
You can click the gear icon, then select Settings to launch the Settings dialog which also shows your connection status. You can perform troubleshooting from this window.
Changing your VPN password
If you are using VPN user credentials that are based on a real email address, not the firstname.last@vpn.relativity.one legacy VPN credentials, the password reset policies are determined either by you or the overall corporation in which your email exists. Please make sure to check with your IT department on how to change your password as Relativity will no longer have any control over performing a password reset for your VPN user.
To change your expiring or expired passwords, perform the following steps:
If you are already logged into Microsoft at your organization, you may need to open a private browsing window in your internet browser, incognito or InPrivate, and access https://login.microsoftonline.com from there or log out and log back in with the correct credentials. If you do not do this, you will not be prompted to change your temporary password or may receive an error when you try to log out and then log back in.
- Access https://login.microsoftonline.com. Log in using your Relativity credentials.
- Change your password by access your account settings in the upper right corner menu containing your initials by clicking View Account, and then clicking Change Password in the Password tile to change your password. You will be redirected to new password form. Please enter your old, expired, password and new one, and then click Submit.
After changing your password, you must wait 30 minutes before attempting to log in with your new password.
Adding an additional VPN region to GlobalProtect
This guide will show you how to connect to RelativityOne in an additional region. If you need Utility Server details, please contact your Customer Success Manager.
To add an additional VPN region to your client:
- Search for GlobalProtect icon in the task bar to open it.
- Click the gear icon in the upper right-hand corner of the toolbar menu, and then select Settings to access the Settings dialog window.
- Under the General tab, click the Add button to add the new RelativityOne portal URL in Portal Address.
- Click Save.
- Close the Settings dialog.
- Click on the GlobalProtect icon in your tray.
- Select the newly added Portal from the drop-down menu on the GlobalProtect connection screen.
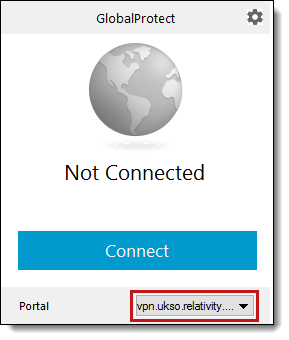
- Click the blue Connect button. A prompt for your VPN user credentials is displayed.
- Enter your VPN user credentials. A window will be displayed momentarily while you are connected to the VPN for the new URL.