


File and folder operations (copy, move, delete, zip, unzip)
NOTE: This help topic is for use by Relativity Early Access customers only.
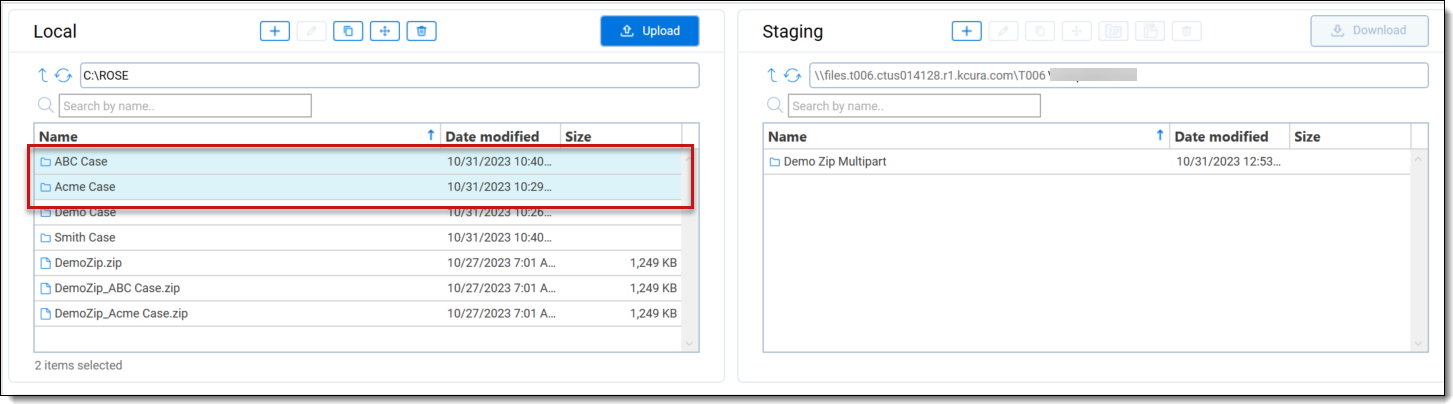
File operations are available for files and folders in the Local and Staging panes.
- Notes:
- There is no need of log in to UVM to copy, move or delete files and folders from Staging.
- File operations allows you to copy, move, delete, zip, and unzip files and folders between different fileshares you are permitted to use.
- Copy and Move overwrite existing files and folders. If a file or folder that is being copied or moved already exists on the destination folder, it will be overwritten.
Copying files and folders
To copy files and folders in Staging Explorer:
- Click on a listed file/folder in the Local or Staging pane to select it.
- Click the Copy button at the top of the Local or Staging pane.
Note: You may also hold down CTRL to select multiple individual files/folders or SHIFT to select all the files/folders between the first one you selected and the next.
Note: The Copy operation overwrites existing files and folders on the destination location. If a file or folder that is being copied exists on the destination location, it will be overwritten. This applies to the Local and Staging panes.
- In the Copy dialog box, open the destination folder to copy the file/folder.
Note: You can create or rename an existing folder.
- Click Place.
Monitor the copy progress on the File Operations tab via the Progress and Status columns. When the copy is complete, you can click the expand plus
 button to view more details.
- Status—status of the copy (such as, New, In Queue, Calculating, Authorizing, In Progress, Finished, Canceled, Failed).
- Duration—how long the copy took.
- Started On—the date and time the copy started.
- Finished On—the date and time the copy completed.
- Job ID—unique number of a copy operation.
- Copied Data—the size of the data currently copied in reference of the total size of the copy.
- Copied Files—the number of files currently copied in reference of the total amount of files of the copy.
- Path issues—the number of skipped and/or failed files with the option to save the details.
 icon indicates the transfer Failed with failed path issues.
  icon indicates the transfer finished with skipped paths, but no failed paths, in the transfer.
- For active transfer, if there are any path issues, failed or skipped, the icon displays. However, if the transfer finishes with failed paths the icon displays.
- Notes:


Moving files and folders
To move files and folders in Staging Explorer:
- Click on a listed file/folder in the Local or Staging pane to select it.
- Click the Move button at the top of the Local or Staging pane.
Note: You may also hold down CTRL to select multiple individual files/folders or SHIFT to select all the files/folders between the first one you selected and the next.
Note: For the Local pane, the Move operation overwrites any existing files and folders on the destination location. However, for the Staging pane, the Move operation will fail and not replace any existing files and folders that already exist on the destination location.
- On the Move dialog box, open the destination folder to move the file/folder.
Note: You can create or rename an existing folder.
- Click Place.
- Monitor the move progress on the File Operations tab via the Progress and Status columns. For some customers, the move process will be instantaneous and progress will not display on the File Operations tab. When the move is complete, you can click the expand plus button to view the move details.

- Status—status of the move (such as, New, In Queue, Calculating, Authorizing, In Progress, Finished, Canceled, Failed).
- Duration—how long the move took.
- Started On—the date and time the move started.
- Finished On—the date and time the move completed.
- Job ID—unique number of a move operation.
- Moved Data—the size of the data currently moved in reference of the total size of the move.
- Moved Files—the number of files currently moved in reference of the total amount of files of the move.
- Path issues—the number of skipped and /or failed files with the option to save the details.
- icon indicates the transfer Failed with failed path issues.
- icon indicates the transfer finished with skipped paths, but no failed paths, in the transfer.
- For active transfer, if there are any path issues, failed or skipped, the icon displays. However, if the transfer finishes with failed paths, the icon displays.
- Notes:

Deleting files and folders
To delete files and folders in Staging Explorer:
- Click on a listed file/folder in the Local or Staging pane to select it.
- Click the Delete button at the top of the Local or Staging pane.
- Click Delete on the delete confirmation dialog.
-
Monitor the deletion progress on the File Operations tab via the Progress and Status columns. When the delete is complete, you can click the expand plus
button to view more details. 
-
Status—status of the delete (Finished or Failed).
-
Duration—how long the deletion process took to complete.
-
Started On—the date and time the deletion process started.
-
Finished On—the date and time the deletion process completed.
-
Job ID—unique number of a delete operation.
-
Deleted Data—the size of the data deleted in reference to the total size of the selected data to delete. This field only displays for files or folders deleted from the Local pane.
-
Deleted Files—the number of files or folders deleted in reference to the total number of files or folders selected to delete.
-
Note: You may also hold down CTRL to select multiple individual files/folders or SHIFT to select all the files/folders between the first one you selected and the next.

Note: When deleting items from the Staging pane, the number of Deleted Files only represents the number of items (folders and/or files) selected and not the total number of files in the folders deleted. For example, if two folders containing 100 files each were selected and deleted, the Deleted Files value would be 2/2, meaning two out of two folders were deleted, and it would not indicate 200 files were deleted. This is not the case when deleting items from the Local pane. In that scenario using our example, the Deleted Files value would be 200/200, meaning 200 files were deleted out of 200 files selected to be deleted.
Path issues—the number of skipped and /or failed files with the option to save the details.
Notes:
- For active transfer, if there are any path issues, failed or skipped, the
Zipping (compressing) and unzipping (extracting) files and folders
You can compress archive data for uploading to the Staging Explorer by using the Zip option in the Staging pane. The file extension for the compressed files will be ".zip." Conversely you can extract the files from a zipped file or folder by using the Extract (unzip) option in the Staging pane. Zipping and unzipping files and folders in this manner preserves metadata, enables faster importing time, and improves data management.
Considerations and Limitations
The following are some considerations and limitations when zipping (compressing) and unzipping (extracting) in Staging Explorer:
- Compression and Extractions usage factors with Zip, 7z, and RAR:
| Zip | 7z (7-zip) | RAR | ||
|---|---|---|---|---|
| Compression (Zip) | Plain | ✔ | ✗ | ✗ |
| Password protected | ✔ | ✗ | ✗ | |
| Split (multipart) | ✔ | ✗ | ✗ | |
| Compression level | ✔ | ✗ | ✗ | |
| Extraction (Unzip) | Plain | ✔ | ✔ | ✔ |
| Password protected | ✔ | ✔ | ✗ | |
| Split (multipart) | ✔ | ✔ | ✔ | |
| Preserve metadata | ✔ | ✔ | ✔ | |
- Notes:
-
Split (multipart) zip file option is set turned off by default. Minimum part size is 500MiB (10242- mebibytes).
-
Two compression levels are available: 6-Normal and 0-Store. By default, the Compression Level is set “6-Normal,” which means a parity between performance and compression. Compression Level "0-Store" adds files to zip archive with maximum possible speed, but without any compression.
- Any empty directories and empty files are not included during compression.
- Recommended compressing/extracting data size should not exceed 1TB.
- A canceled extraction job will leave partially extracted files/directories.
- During extraction, any filenames containing special or unsupported characters will be replaced with underscore character “_” (U+005F) in the new storage architecture.
Zipping (compressing) files and folders
To zip (compress) files and folders:
- In the Staging pane, highlight the file/folder to be zipped (compressed) to select it.
Note: You cannot zip files at the root directory level.
- Click the ZIP
 button at the top of the Staging pane.

- Do the following:

- Create a name—type a unique name for the zip file.
- Compress Level—select whether or not to compress the files in the archive zip file. Every compression method supports several levels of compression. Staging Explorer uses two levels: 6-Normal and 0-Store. The zip extraction (unzipping) process is the same for both options.
- Normal—this is the default value. The files will be compressed using the standard zip compression process. There will be parity between performance and compression. Typically, compressed files are smaller, take up less storage space, and can be easier to transport than uncompressed files; however, the compressing process may take longer, depending on the files being compressed.
- Store—select this option to group multiple files together into a single archive zip file without compressing them. This option adds files to the zip archive with maximum possible speed, but without compression. It can be used when compressing files is not necessary or when the compression process will take too long and use too much RAM.
- Split zip file (multipart zip files)—this toggle is off by default. Toggle it on if you want to compress the data into multiple smaller zip files. Files are zipped with the maximum possible spreed, but without any compression. If selected, enter the appropriate size (integer value) for each file the Split to size field and choose MiB (mebibyte) or GiB (gibibyte) from the drop-down list. The minimum split part size is 500MiB. The filename format for each zip file will be <Filename>.zip.001, <Filename>.zip.002, <Filename>.zip.003, and so forth. Splitting large zips files into smaller zip files can:
- improve the transfer process and time.
avoid difficulty transferring large zip files.
help if you have size limitations for transferring, sharing, or storing data.
help in the event of an interruption during the transfer process, as only the parts (files) that did not transfer will need to be resent, instead of having to resend a very large zip file.
- Set a password—this toggle is off by default. Toggle it on if you want to password protect the file. Then, enter a password in the Password field that displays.
- Monitor the progress on the File Operations tab via the Progress and Status columns. When the compressing process is complete, you can click expand plus button to view more details.

- Status—the status of the process (such as, In Queue, In Progress, Finished, Canceled, Failed).
- Duration—the length of time the process took to complete.
- Started On—the date and time the process started.
- Finished On—the date and time the process completed.
- Job ID—the unique identification number of the operation.
- Compressed Files—the total number of compressed files out of the total number of files in the job.
- Failed Files—the total number of files that failed to compress.
Unzipping (extracting) files and folders
To unzip (extract) files and folders:
- In the Staging pane, highlight the file/folder to be unzipped (extracted) to select it.
Note: You can only perform this function for one item at a time.
- Click the Extract
 button at the top of the Staging pane.

-
For protected archives, enter password. Otherwise, leave this field empty.

Note: You can only enter a password for 7-Zip (7z) archives.
- Click Extract.
- Monitor the progress on the File Operations tab via the Progress and Status columns. When the extracting process is complete, you can click expand plus button to view more details.

- Status—the status of the process (such as, In Queue, In Progress, Finished, Canceled, Failed).
- Duration—the length of time the process took to complete.
- Started On—the date and time the process started.
- Finished On—the date and time the process completed.
- Job ID—the unique identification number of the operation.
- Extracted Files—the total number of extracted files out of the total number of files in the job.
- Failed Files—the total number of files that failed to be extracted.