Feedback
Last date modified: 2026-Mar-19
Post-publish delete
There are a number of reasons you may want to delete documents after they are published. For example, you may find your profile settings are not what you intended or they are incorrect. Maybe it's an incorrect custodian assignment, or you ran processing in the wrong workspace. It may just be a cost consideration where you need to reduce the amount of data for review.
Overview
Use the Delete mass action on the Documents view to delete multiple files (after they have been discovered and published). To view a list of previously deleted files, navigate to the Files tab and open the Deleted Documents view.
You can configure which documents to delete, including the option to remove all duplicates and associated files from the same data source. Relativity automatically includes any duplicate records of a primary document deleted from the same processing data source.
Since Relativity removes all duplicates within the same data source, you do not need to work with any automatically promoted files.
For information on reporting what was deleted, see Master Document Replacement Summary.
Post-publish delete and duplicate documents
Post-publish delete (PPD) evaluates published documents at the document level, not at the processing set or data source level. PPD reviews document deduplication relationships during this process and removes a document only when doing so will not break an existing deduplication relationship. In other words, PPD operates on published documents and their deduplication relationships, not on everything that originated from a particular data source.
Example
If a document in data source A is a duplicate of a document in data source B, deduplication links them into the same family. When you try to delete data source A using PPD, PPD attempts to remove the published documents from data source A but cannot if those documents belong to deduplication families that include documents from data source B. PPD cannot remove the published documents because of the shared deduplication families across data sources.
Result
You can delete some documents from data source A. However, you cannot delete the entire processing set or data source if any documents are in deduplication families shared with another data source. This behavior is expected and reflects the workspace-wide deduplication model.
Running post-publish delete
To mass delete documents after discovery and publish, perform the following:
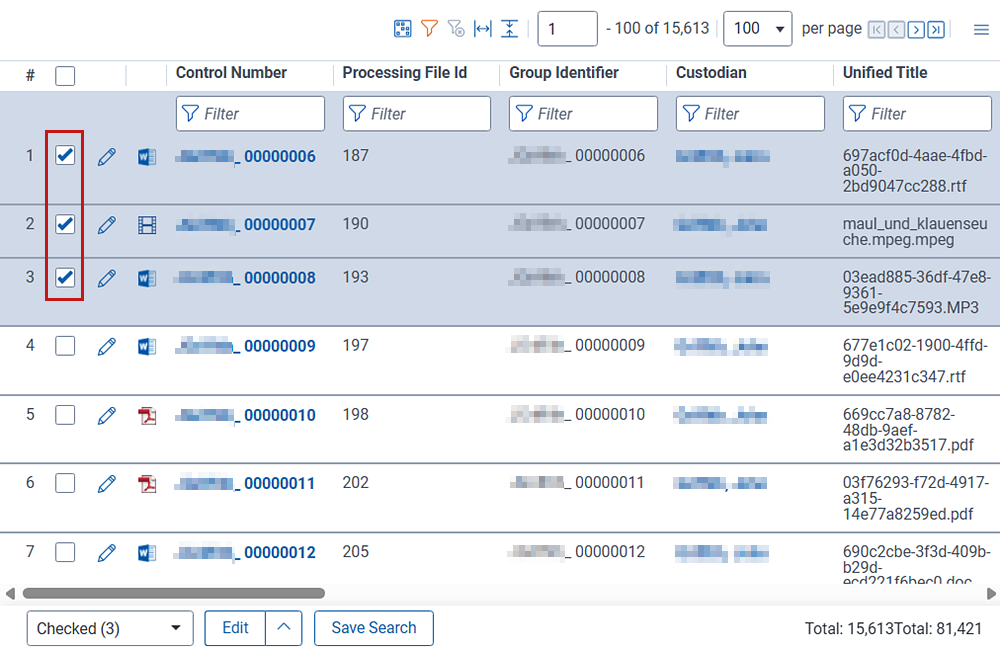
- Navigate to the Documents tab and select the documents you want to delete.
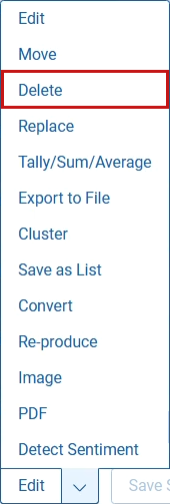
- Select the Delete mass operation.
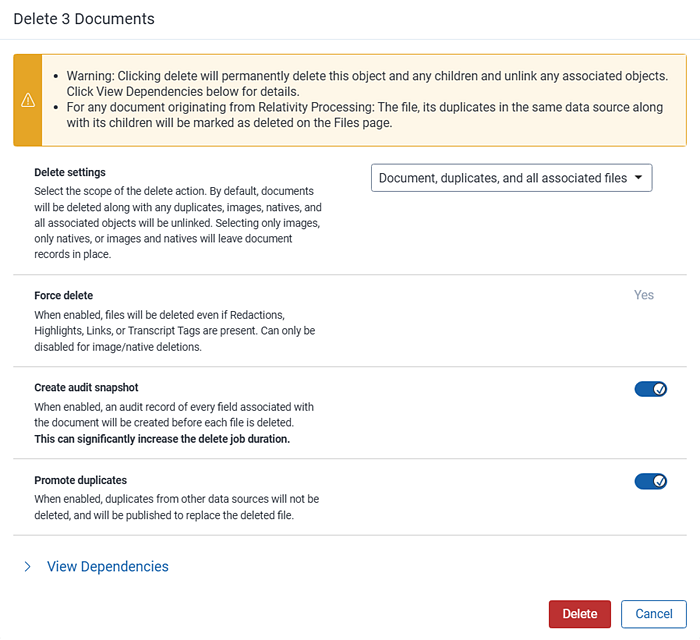
- You see a confirmation modal
with the following settings options:
- Delete settings—selects the scope of the delete action for deleting files in the same data source. The following options are available:
- Documents, duplicates, and all associated files—deletes all documents, duplicates, images, and natives from within the same data source. Associated objects are unlinked. This option is the default.
- Only image(s)—deletes only images and leaves parent documents in place.
- Only native(s)—deletes only natives and leaves parent documents in place.
- Image(s) and native(s)—deletes only images and natives and leave parent documents in place.
- Force delete—files are deleted even if there are redactions, highlights, or transcript tags. You can only disable this option when deleting images or natives.
- Create audit snapshot—when enabled, this option creates an additional audit record of every field value associated with the document before it is deleted. Use caution when enabling this option as it can increase on the size of the audit table and will slow down the mass delete process.
- Promote duplicates—when enabled, duplicates from other data sources are retained and published, replacing deleted files. This option only applies to data sources outside of the original data source.
- Delete settings—selects the scope of the delete action for deleting files in the same data source. The following options are available:
Interacting with deleted documents
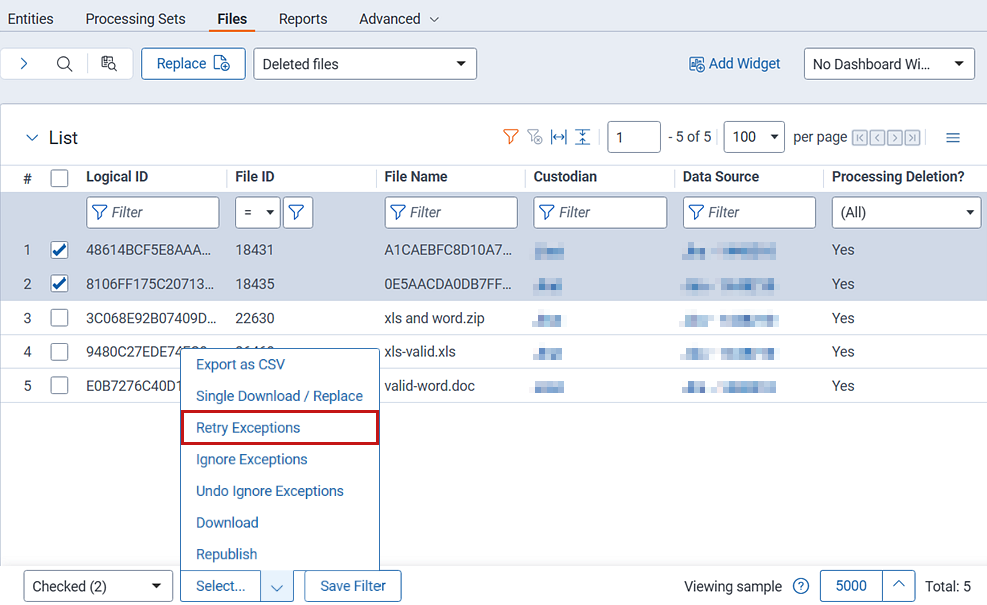
To view deleted documents, navigate to the Files tab and select the Deleted Files view.
To view files with exceptions, navigate to the Files tab and select either the Current Files with Exceptions or All Files with Exceptions view. See Exception and error overview for more details on processing exceptions.
Retrying delete errors
Navigate to the Deleted Files view to see a record of all deleted documents. The Processing Deletion? field is the yes/no indicator for deleted documents. You can filter by Exception Message to see the exceptions that occurred during deletion. Some exceptions can be retried using the Retry Exceptions mass actions option. Once deleted, documents are excluded from further processing operations (such as deduplication, retry, and republish.)