


Feedback
Last date modified: 2026-Feb-24
Working with Outlines
With the Outlines feature in Case Dynamics, you can easily build case narratives, create free-form outlines, and link to existing or create new Case Dynamics objects and documents.
The Outlines tab includes a sample outline that gives a brief overview of how to use the feature and lets you test creating and linking objects to the outline.
Adding an outline
To add a new outline from the Outlines tab, click New Outline. Enter a title for your outline, and then click Save. You can also apply a color to an outline.
Editing an outline
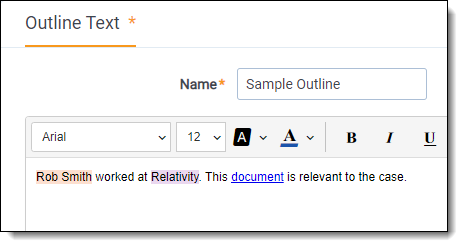
To edit an outline, click the Edit icon in the row of the outline you wish to edit. The Outline layout appears. Enter your text in the rich text editor. You can also copy and paste directly from Word into the outline. See Using the rich text editor.
Locked outlines
If one user is editing an outline, the outline will be locked and available as read-only. A warning message appears to let users know the outline is being modified and who is editing the outline.
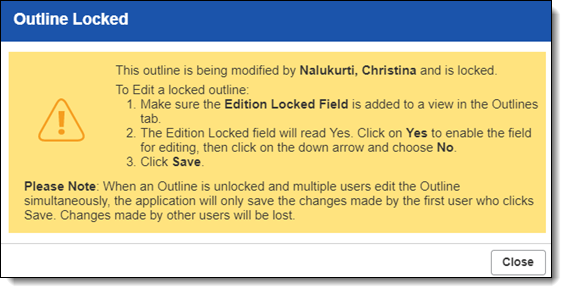
You can edit a locked outline.
Before unlocking an outline, we recommend making sure no one is currently making edits. If you unlock an outline while edits are in progress, you may lose those changes.
To edit a locked outline:
- Make sure the Edition Locked field is added to a view in the Outlines tab.
- The Edition Locked field will read Yes. Click Yes to enable the field for editing.
- Click Yes again to edit the field.
- Select No.
- Click Save.
You can now edit the outline.
We recommend not editing Outline layouts as this may have adverse effects on Outlines functionality.
Adding new objects to an outline
You can create facts, key people, key organizations, and interview questions from within your outline.
To create a new Case Dynamics object from within an outline, complete the following steps:
- Highlight a section of text.
- Right-click and then select the Case Dynamics object you want to create.
You can also create a new Case Dynamics object from within an outline using keyboard shortcuts. - (Optional) If you selected Key Person or Key Organization as your object type, Relativity compares the highlighted text to existing entities in the workspace to see if there is a possible match.
 Match types table
Match type Pop-up name Options Key entity match Key Entity Match 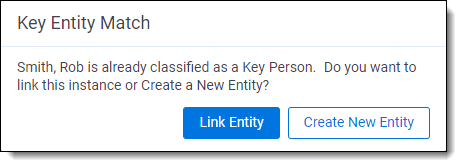
- Link this Key Entity - the key entity becomes linked to the document.
- Create New Entity - creates a new key entity and links the key entity to the document.
- Cancel - closes the pop-up and does not link the highlighted text to an existing entity or create a new entity.
No match found Create New Entity 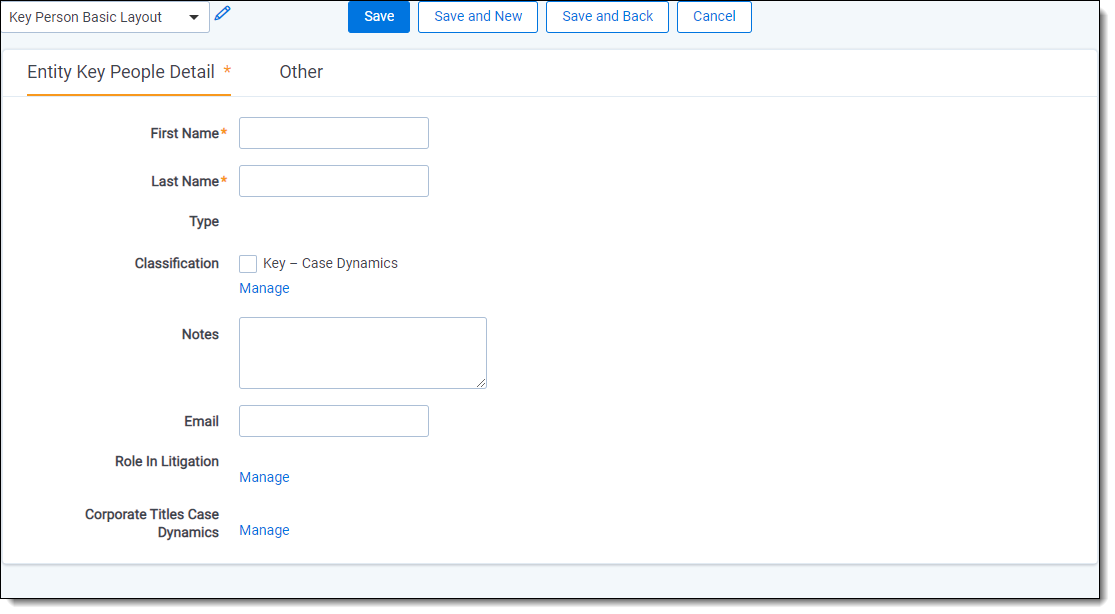
- Create New Entity - creates a new key entity and links the key entity to the document.
- Cancel - closes the pop-up and does not create a new entity.
- Search Existing Entities - enables you to search existing entities to see if the entity already exists under a different spelling variation. Through the view that opens, you can search and filter on fields.
For an entity to appear in Case Dynamics, it must be classified as Key - Case Dynamics and required fields must be set. - Optionally, if you selected Fact as your object type, complete the fields for which you have data.
- Click Save to create your object. Click Cancel to return to your outline without creating a new object.
Outlines' keyboard shortcuts
| Keyboard shortcut | Action |
|---|---|
| Alt +F | Create Fact |
| Alt + I | Create Issue |
| Alt + P | Create Key Person (Entity) |
| Alt + O | Create Key Organization (Entity) |
| Alt + Q | Create Interview Question |
Linking an outline to existing objects
You can link to existing Case Dynamics objects as you type using the auto-fill feature. In the text editor, type the "@" symbol followed by one or more letters to bring up the auto-fill feature. Case Dynamics presents a pop-up list of facts, issues, entities, or interview questions based on the letters you type.
For an entity to appear in Case Dynamics, it must be classified as Key - Case Dynamics and required fields must be set. See Case Dynamics entities.
If you want to view and/or edit the full object details of an object within an outline, right-click on the object tag, and then click View. If a document is linked to an object, that document is automatically linked to the outline. If an object is tagged within an Outline tag, the tags are automatically linked to each other.
To remove an object tag from within an outline, right-click on the object tag, and then click Remove Tag. Any documents linked to that object will also be unlinked from the outline.
Linking a document from within an outline
To link a document from within an outline, complete the following steps:
- Highlight a section of text.
- Right click and select Link to document.
- A pop-up window appears. Navigate to and select the document within Relativity you would like to link to the outline.
- Click Set.
- A hyperlink in the outline appears linking directly to the document.
Viewing and editing object details
If you want to view and/or edit the full object details of an object within an outline, right-click on the object tag, and then click View.
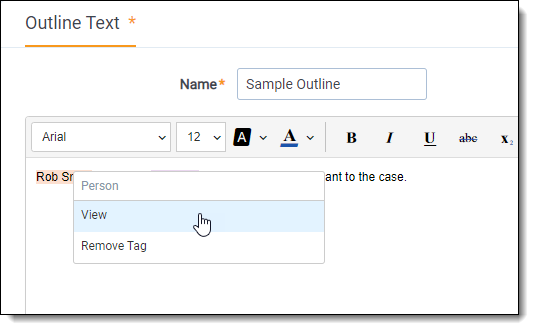
To remove an object tag from within an outline, right-click on the object tag, and then click Remove Tag.
View mode
When you save an outline, the outline appears in View mode. You can also open View mode by clicking  from the Outlines tab. From View mode, you can view the full details of an outline including all facts, issues, people, organizations, and interview questions linked to the outline. You can also link documents to the outline and export the outline as a Word document. An option to download export history of Outline export date, user, and files is also available.
Linking documents to an outline
To link documents to an outline while in View mode, complete the following steps:
- Click Link. a pop-up appears.
- Select the documents you want to link to your outline, and then click Add.
- Click Set.
To unlink documents from an outline, select the documents you want to unlink, and then click Unlink.
Exporting an outline
To export an outline while in View mode, click the Export Outline button.

The exported documents display in the Export History section. Click on the desired document to download it to your workstation.
Only the native file version of the documents linked to the outline are downloaded in the zip file. If you have linked image files in your outline, they are not downloaded.
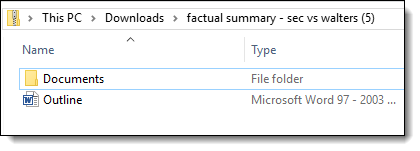
If you linked any documents within the outline, they will appear as hyperlinks. Clicking on the hyperlinks opens the documents in the zip file.
Export History
The Export History section contains the following fields:
- Export File - the files exported along with the Outline export.
- System Created By - the user who completed the export.
- System Created On - the date the files were exported.
You can export a list of the Export history as a .csv file by clicking the export icon.