Feedback
Last date modified: 2026-Feb-05
Printing from Case Dynamics
You can print specific facts, issues, interview questions, and outlines along with associated information, such as documents and excerpts.
Trying to print facts or documents that have a File Size field value of 0 may result in an error. To troubleshoot, we recommend populating this field with a value greater than 0 using mass edit.
Creating a Printing Profile
In order to print from Case Dynamics, you must create a Printing Profile. To create a Printing Profile:
- Navigate to the Printing Profile sub-tab, and then click New Printing Profile.
- Add information in the Printing profile layout. See Printing profile layout fields.
- Click Save.
- Click the Facts sub-tab.
- Select the facts you want to print.
- Click the mass actions drop-down menu and select Print.
- Select the profile that you just created.
- Click Print.
Printing profile layout fields
The Printing Profile layout contains the following fields:
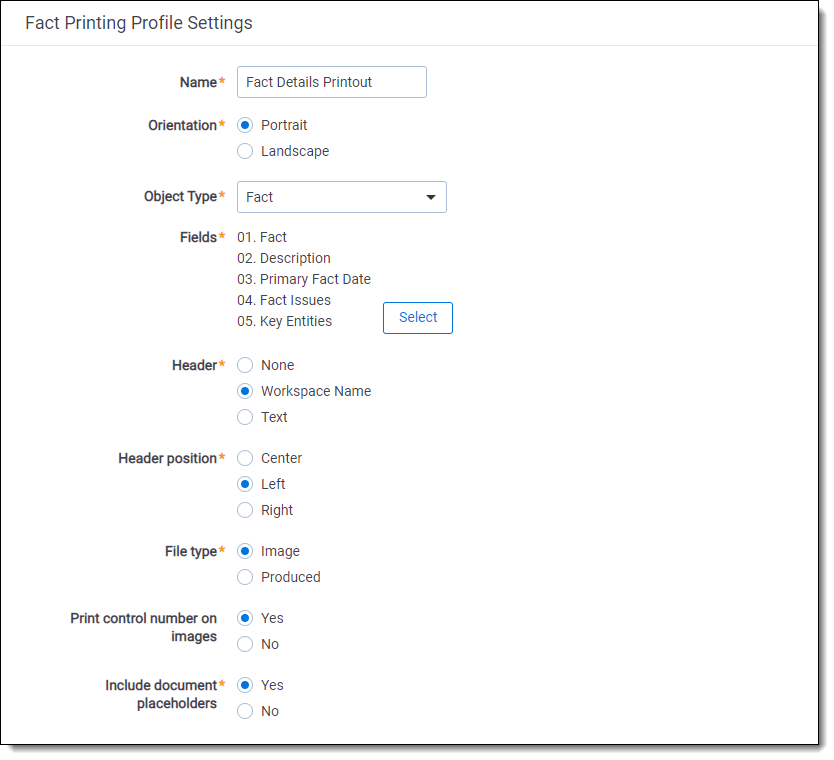
- Name - enter the name of the printing profile.
- Orientation - select an orientation for the printout sheet.
- Object Type - select an object type from the drop-down list. The selected object type determines the available fields to choose from.
- Fields - click the Select button to select available object fields to include on the fact printout sheet.
- Header -
- None - select this option to not include a header name.
- Workspace Name - select this option to use the Workspace Name as the printing profile name.
- Text - select this option to enter a custom header.
- Header position - select a position for the header.
- File type - select an Image or Produced file type.
- Print control number on images - select whether to print the control number on imaged documents.
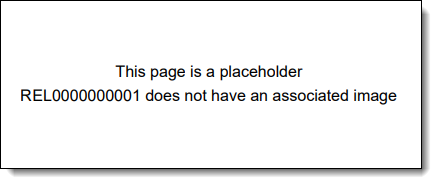
- Include document placeholders - select whether to include placeholders for documents that have not been imaged or produced.