


The RPC references the options set on the Document and OCR/Image tab to determine how the images are generated, and OCR runs. During OCR, the RPC converts the native files to intermediate PDFs, and the text is then extracted from these files. For intermediates derived from natives with text, the text layer of the created PDF is extracted. For intermediates derived from images the text is created by the OCR engine. Natives with both text and images will have both of these methods performed on the intermediate file.
Note: You can index data at any point after text extraction, and you can image documents immediately after import. You can also index after image generation. The system automatically combines page-level extracted text into a document level extracted text and index that text.
The intermediate files are stored in the Intermediate Folder created for a job. This folder may contain intermediate files using the following naming conventions:
- storageID_PH.PDF: Indicates a placeholder file.
- storageID_R.PDF: Indicates a file containing redactions.
- storageID.PDF: Indicates a PDF of a page.
Note: To locate an Intermediate folder for a job, right-click a job in the Data Stores window > Inspect. Right-click a file in the Matter Inspector > Open > Explore Intermediate Folder. Use the same procedure to select Explore Native Folder.
Generating images
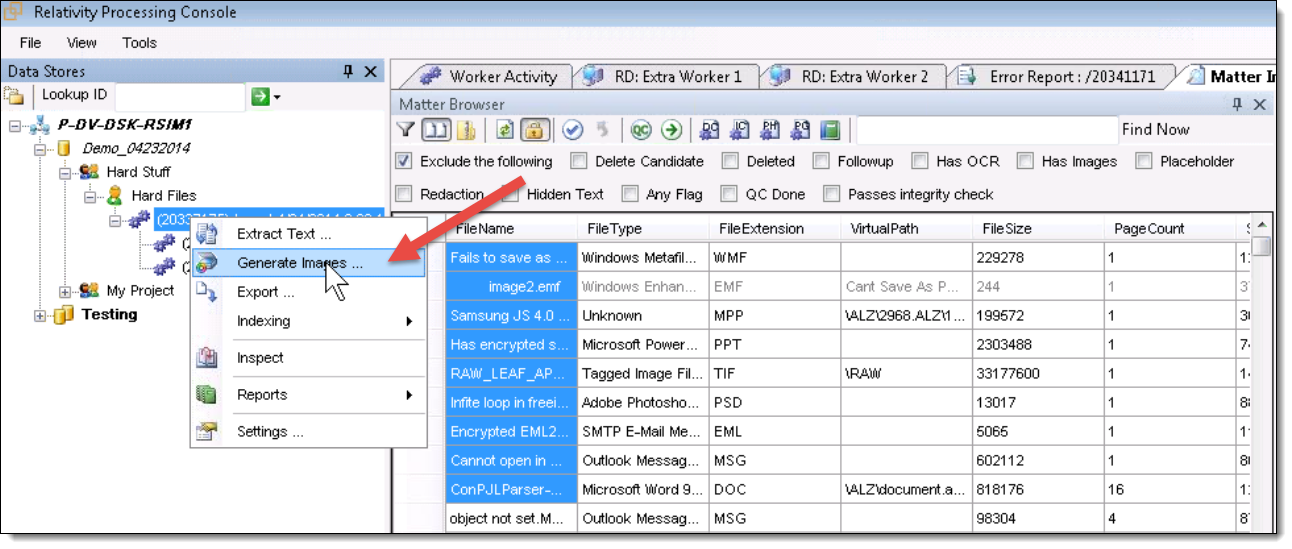
- In the Data Stores window, drill down to a completed import job. An import job is directly under a custodian.
- Right-click the import job, and select Generate Images.
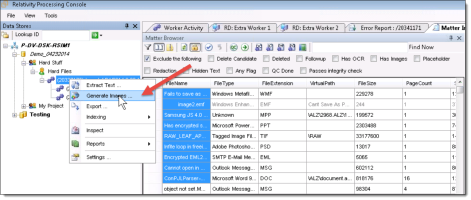
- From the Generate Images Job window on the Documents tab, select options for the following fields.
Note: On the Document tab, the checkboxes have on, off, and indeterminate states. When the checkbox is in an indeterminate state, the document’s internal setting for an option is used by default. When the option is turned on or off in the RPC, this new value overrides the default setting in the document.
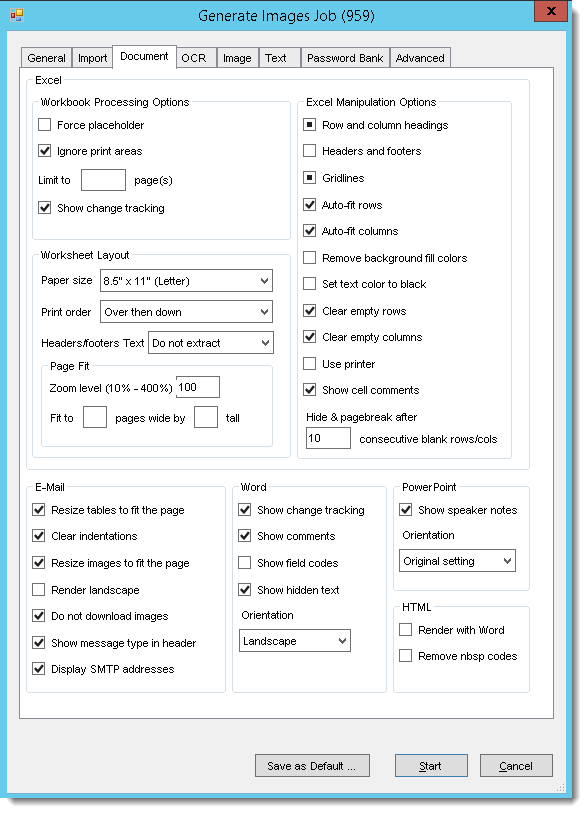
The following table lists the options available on the Document tab.
Option Description Excel - Workbook Processing Options
Force placeholder
Use this option to generate a placeholder for each Excel file instead of an image
Ignore print areas
Use this option to override any pre-defined print areas existing in an Excel file. When this option is selected, the entire document is imaged.
Limit to X pages box
Use this option to image only the number of pages entered in this box.
Show change tracking
Use this option to display any modifications made to the document through the Track Changes option in Excel. By default, this option is selected.
Excel - Worksheet Layout
Paper size
Choose an available paper size. The default value is the size internally stored in the file.
Print Order
Use this option to determine the order used to render the worksheets. (Print down and then over, or vice versa.)
Page Fit - Zoom Level
Reset the zoom level for a spreadsheet. The value in this field will override the default setting internally stored in the file.
Fit to X pages wide by X tall
Reset the page fit for a spreadsheet. The values in these fields will override the default settings internally stored in the file.
Excel - Manipulation Options
Row and Column Headings
Select this option to render row and column headings (that is the number assigned to rows, and the letters assigned to columns).
Headers and footers
Select this option to render headers and footers in a spreadsheet.
Note: Leave this option disabled. The printing of these items interferes with the ability of the RPC to detect blank pages.
Gridlines
Select this option to render the gridlines between columns and rows in a spreadsheet.
Auto-fit rows and Auto-fit columns
Use these options to expand the dimensions of rows and columns to accommodate their content. When these options are selected, any hidden columns or rows are displayed. They are selected by default.
Note: You can prevent the RPC from displaying hidden columns and rows by setting the DontUnhide option on the Advanced tab to True.
Remove all background fill colors
Select this option to remove background color. It ensures that any hidden text or rows formatted to match the background color are displayed.
Set text color to black
Select this option to display the font color of text as black. It ensures that any hidden text is displayed, such as text with a white font on a white background.
Clear empty rows and Clear empty columns
Use these options to remove empty rows and columns from a spreadsheet, and render as few pages as possible. By default, these options are selected.
Use printer
Use a printer driver to render the PDF rather than internal processing provided by the RPC. By default, this option is not selected.
Note: Select this option to speed up processing when you are imaging spreadsheets created in Excel 2007, especially if they contain charts or graphs.
Show cell comments This determines whether Relativity renders comments. Hide and page break after X consecutive blank rows box
Set a maximum value for consecutive blank rows or columns. By default, the RPC checks for a run of 10 blank rows or columns, and compresses them to limit the number of pages rendered for a spreadsheet.
E-Mail
Resize tables to fit page
Modifies the table sizes to make them compatible with the page size. By default, this option is selected.
Clear indentations
Removes the tabs from e-mail threads to improve their display. (Select this option to prevent the entries in the thread from aligning too far to the right.)
Resize images to fit page
Modifies the image sizes to make them compatible with the page size. By default, this option is selected.
Render landscape
Changes the orientation of the message to landscape.
Do not download images
Select this option to prevent the downloading of images from the internet.
Show message type in header
Adds text in the header identifying the image as a message, appointment, distribution list, and so on. By default, this option is selected.
Display SMTP address
Select this option to render SMTP addresses for To, Cc, and Bcc fields instead of Microsoft Exchange information.
Word
Show change tracking
Select this option to render any markup added to the document through the Track Changes feature in Word.
Show comments
Select this option to render any comments added to the document through the Review feature in Word.
Show field codes
Select this option to render the field code rather than the value in the document.
Note: In general, this option is not enabled, because the RPC can preserve the actual value for a field code by preventing modifications to it when the document is opened. For example, field codes for file path and date will not be automatically updated with the current user settings, but will retain the original settings.
Show hidden text
Select this option to render any text added to the document with Hidden feature in Word.
PowerPoint
Show speaker notes
Renders the slide at the top of the page, and speaker's notes at the bottom. By default, this option is selected, and the image orientation is portrait even when the document does not contain speaker notes.
When this checkbox is not selected, the image orientation for the PowerPoint slides is landscape.
HTML
Render with Word
Select this option to render HTML in Word. By default, the RPC will render HTML documents in Internet Explorer, and then generate a PDF. For some problematic HTML documents, a better image will generated if the file is rendered in Word.
Remove nbsp codes
Select this option to remove long rows of non-breaking spaces (nbsp) codes, which prevent the text from wrapping properly. When it renders HTML as a PDF, the RPC will automatically format page breaks without cutting text or margins.
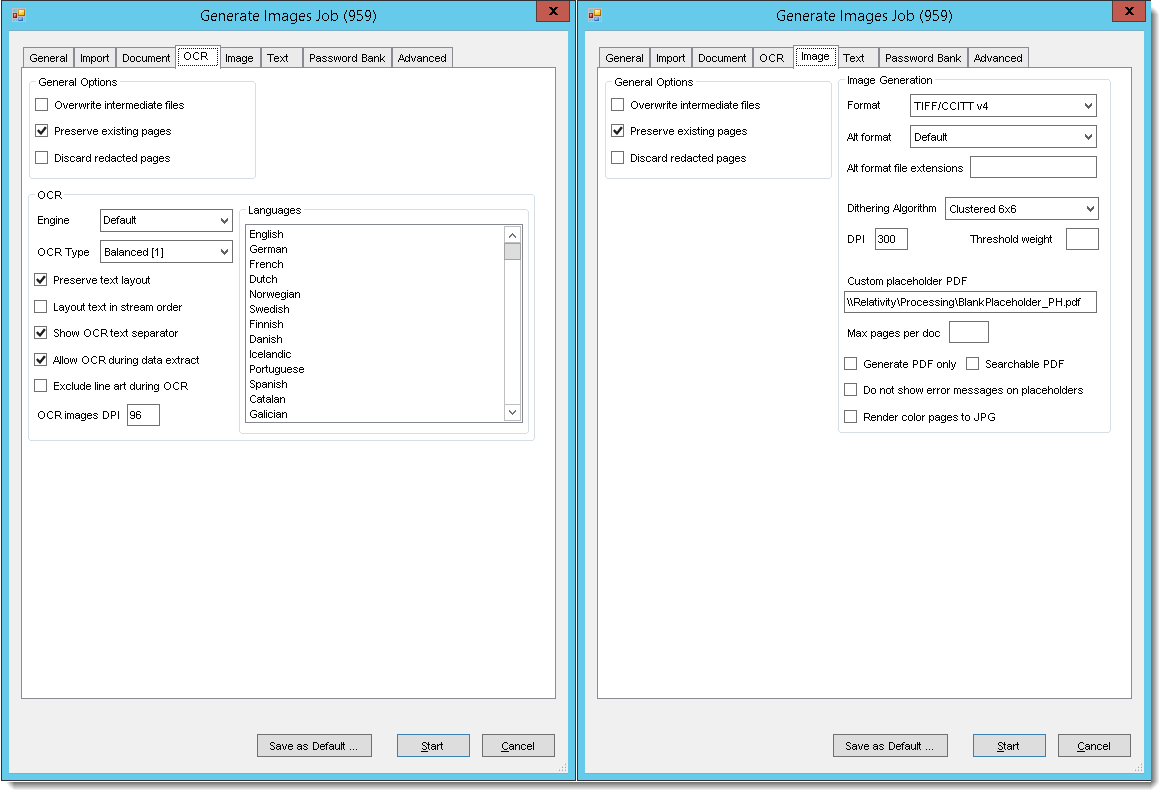
- On the OCR tab, select options for the following fields.
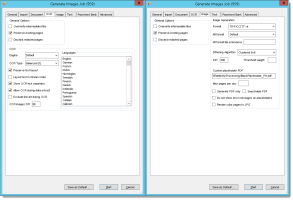
Option Description General Options
Overwrite intermediate files
Use this option to generate a new intermediate file. The RPC does not store multiple copies of an intermediate file for a document. When an intermediate file already exists, the RPC will use it to generate images unless this option is selected. By default, this option is not selected.
Preserve existing pages
Use this option to prevent existing PDFs from being overwritten. The RPC will skip existing pages when they do not need to be regenerated. By default, this option is selected.
Discard redacted pages
Use this option to ignore redacted pages during processing, and select intermediate PDFs (named as storageID.PDF). By default, this option is not selected.
You can use this option when redacted PDFs (storageID_R.PDF) have been added to the Intermediate Folder for a job. Instead of preferring these files, the RPC will process unredacted files (storageID.PDF).
Image Generation
Format
Use this option to change the image format. For most processing, use Default, which is CCITT v4 for generating black and white TIFs. This setting is the setting at installation but it can be modified at the project or data store level as well.
Select another format if you want to force a specific format for images. Options include Color JPG, and for TIFs, CCITT v3 and CCITT v4.
Alt format
See Format options above.
Alt format file extensions
Use this option to force a file type to be imaged in an alternate format.
For example, you could set the Alt Format as Color JPG, and then enter +XLS in the file extensions box. The RPC will then render Excel files as Color JPGs. You can also exclude file types from rendering as an Alt Format by prefixing the file extension with a minus sign. This is a regular expression filter, which means that it will return partial matches to the extension you enter. For example, if you enter +XLS here, the RPC will also image Excel files with .xlsx and .xlt extensions.
Dithering Algorithm
Select one of the following algorithms for converting images from color to black and white:
- Default (Uses Clustered 6x6)
- Floyd & Steinberg
- Dispersed 4x4
- Dispersed 8x8
- Clustered 6x6
- Clustered 8x8
- Clustered 16x16
- Dispersed 16x16
- No Dithering (Uses setting for Threshold Weight option listed below.)
Threshold Weight
Enter a value for this option when you set the Dithering Algorithm to No Dithering. The default threshold value is 128, while the threshold range is between 0 - 255.
When the pixel RBG in an image is greater than the threshold, it is converted to black, and when less, it is converted to white.
DPI
Use this option to control the density of image (dots per inch). The default value is 300. A typical range used for setting the DPI is 200 - 600.
Custom placeholder PDF
Use this option to enter a path to a PDF file that you want used as a custom placeholder.
- The file chosen will be used to create placeholders when imaging. It does not set what placeholder to use when exporting. The distinction is that the exporter looks for the imaged placeholder, not what it’s in this field. If you have done imaging with the default placeholder and later enter a value for a custom placeholder you will need to re-image the placeholder documents otherwise the originally imaged default placeholders will be exported.
- Use UNC pathing to the custom placeholder and be sure to save the placeholder in a location the Invariant workers can access. Also, make sure the name of your custom placeholder ends with ‘_PH’ (Sample_PH.pdf).
- You're unable to enter a dynamic file path in the middle of a placeholder name that changes for each file.
- The RPC doesn’t support adding slipsheets in front of each exported file with dynamic metadata fields on them. However, it is possible to use blank placeholders and apply an endorsement on them of that file’s metadata through the use of switch statements. For more information, see Using a switch statement for custom logic.
Max pages per doc
Use this option to specify the maximum number of pages imaged for a document. (Set this value if you do not want the entire document imaged.)
Generate PDF only
Select this option to not create and page level text when imaging. Searchable PDF Select this option to perform in-place OCR on the PDF page image elements. Do not show error messages on placeholders
Select this option to generate blank placeholders. By default, placeholders display an error message.
Render color pages to JPG
Select this option to substitute JPGs for TIFFs when the pages are in color. (TIFFS are generated only in black and white.)
OCR
Engine
Use this option to choose the Nuance or no OCR engine. Select NoOCR when you want extracted text but don’t want to OCR pages with images. The default engine is Nuance.
OCR Type
Use this option to control the performance of OCR job. Select Accurate for more precise OCR, Fast for improved performance, and Balanced to equalize precision and performance.
Preserve text layout
Use this option to maintain the current layout of the text when extracting text from PDF for OCR. By default, this option is selected.
Layout text in stream order
Use this option to maintain the order of text as in the PDF layout when extracting text for OCR.
Show OCR text separator
Use this option to display a separator between extracted text at the top of a page and text derived from OCR at the bottom of the page. The separator reads as, “--- OCR From Images ---“. With the separator set to off, the OCR will still be on the page beneath the extracted text but there will be nothing to indicate where one begins and the other ends. By default, this option is selected.
Allow OCR during data extraction
Clear this option if you do not want documents that do not have extractable electronic text to undergo OCR. By default, this option is selected.
Exclude line art during OCR
Select this option to remove line art and annotations added to the original page. (For example, it will remove any text boxes drawn over the original content of the page.)
OCR images DPI box
Use this option to set the DPI level the Nuance engine will use when performing OCR. Changing this can often allow the OCR engine to successfully OCR if it failed using the default setting.
Languages
Use this option to make multiple language selections.
- Click Start. The job is moved into the queue, which displays in the Job Activity window.
- Monitor the progress of the job in the Job Activity window.
Note: If your workgroup is set to Group 0, highlight the job and select another group to begin processing. If you have workers assigned to Group 0, this is not necessary, and the first available worker will begin the job.
Once you've generated images, you can QC images. See Performing Quality Control tasks.