


On the Resource Files tab, you can upload files or assemblies with custom code for use in applications. You can customize functionality for a Dynamic Object or other features by uploading these files.
Relativity assigns each file or assembly that you upload to a single application. To reuse a file in several applications, you must upload a copy of the file to each application. Relativity assigns the files to different application domains. Consequently, you can upload different versions of the same file without causing conflicts. Relativity stores these files in the ResourceFile table on the EDDS database.
You can upload most file types, including .dll, .txt, .xml, and others. However, you can't upload these restricted file types to Relativity:
- Executable files (.exe)
- COM file (.com)
- Program information file (.pif)
- Batch file (.bat)
- Windows screensaver file (.scr)
Note: You can also upload files that aren't associated with a specific application. For example, you can upload an event handler for use on a Dynamic Object. Choose Default as the application when you upload these files.
Uploading a resource file
To add a resource file, use the following steps:
- Click your name in the upper right corner of Relativity, and click Home.
- Click Applications & Scripts > Resource Files tabs.
- Click New Resource File to upload a file.
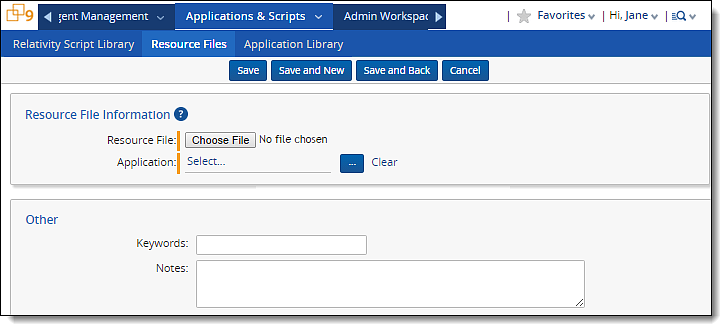
- Click Browse in the Resource File field.
- Select the .dll file.
- Click
 in the Application field.
 - Select the application that you want associated with .dll file. Select Default if you don't want to associate a specific application with the file. If your application isn't listed on the Select Library Application dialog, complete step 8. Otherwise, go to step 9.
- To add your application to the library, complete these steps:
- Verify that you have system admin rights to add an application to the library.
- Select the Relativity Applications tab in the workspace where you developed the application.
- View the details page for the application.
- Click Push to Library in the console. You can now associate a resource file with your application by repeating step 7.
- Click OK.
- Click Save.