


Field Categories
Field categories allow you to quickly and accurately apply field conditions to the document list, a saved search, or a view. Once a field category has been created, it can be linked to as many fields as desired. The field category can then be selected when adding fields or conditions in the search panel, a view, or a saved search to conveniently access and apply the linked fields.
All Fields is a system default field category that displays every non-secured field in your workspace. It cannot be edited or secured from other users and it will always display at the bottom of the Field Categories drop-list. All Fields allows you to conveniently switch between viewing all of the fields and the fields included in a particular field category.
Field categories have object permissions so that they can be created and limited to a specific group or workflow within in Relativity. Securing a field category only determines whether it is visible in the drop-list of field categories that can be selected when adding conditions in the search panel.
Note: Field categories that you create are carried over during workspace upgrades and when those cases are used as templates. The All Fields field category will also carry over after an upgrade, though it is currently a system default that cannot be configured by users.
This page contains the following sections:
- Creating a field category
- Viewing fields associated with a field category
- Link a field or fields to a field category
- Unlink a field or fields to a field category
Creating a field category
To create a new field category, do the following:
- Navigate to the Field Categories tab.
Note: All Fields is a field category that is always present in Relativity but it does not display on the Field Categories tab since it cannot be edited.
- Click New Field Category.
- Enter the desired information for the following fields:
- Name - the title of the field category
- Order - determines where the field category appears within the view drop-down list. Items that share the same value are sorted in alphanumeric order.
- Order can be any integer (positive or negative). No decimals are allowed. You can use the View Order button to see how items are currently ordered.
Note: Ordering by 10's, starting with 10, then 20, then 30, etc. is recommended because you can insert an item into any position later in the workspace, without the need to reorder all items.
- Click Save to create the new field category.
Viewing fields associated with a field category
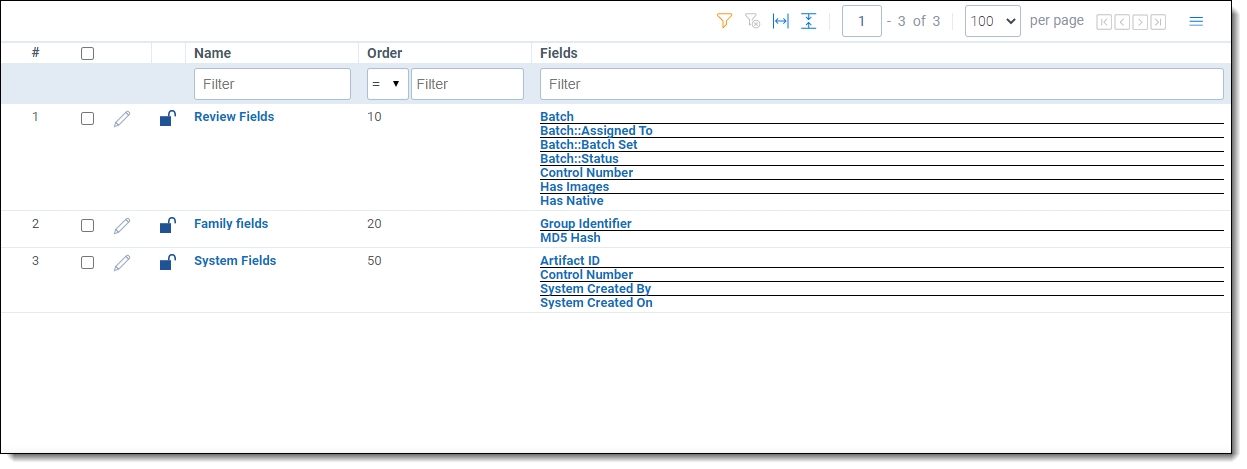
Before linking and unlinking fields to a field category, it can be helpful to see what fields are associated with each field category. To do this, add the Fields field to the desired field category view and select that view on the Field Categories tab.
(Click to expand)
Link a field or fields to a field category
To link a field or fields to a field category, do the following:
- Navigate to the Field Categories tab.
- Click on the desired field category in the list.
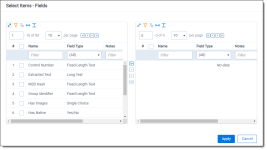
- Click Link.
(Click to expand)
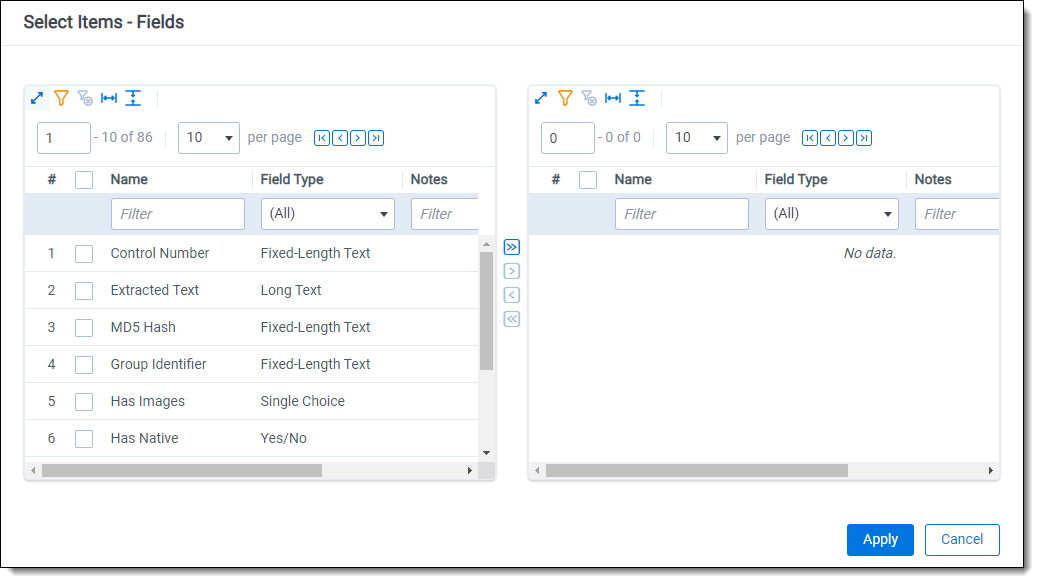
- Filter the field list as needed and check any desired fields.
- Once the desired fields have been selected, click Move selected left to right
 .
. - Click Apply.
The selected fields are linked to the field category and display in the Fields section.
Unlink a field or fields from a field category
To unlink a field or fields from a field category, do the following:
- Navigate to the Field Categories tab.
- Click on the desired field category in the list.
- Click the checkbox on the left side of the row for any fields you wish to unlink.
(Click to expand)

- Click Unlink.
- Click Unlink again in the pop-up.
The selected fields are no longer linked to the field category.
