Importing through the RDC
You can import document load files, as well as image and production files, through the Relativity Desktop Client (RDC). You need to install the RDC on your computer before you can perform an import.
You must be logged in to a Relativity environment in order to successfully import files.
You may also use the Windows Command Line to import documents into Relativity. With the Windows Command Line you can automate document importing along with other parts of your processing and integration process.
Watch the following Relativity Desktop Client (RDC) Importing video.
See these related pages:
- Load file specifications overview
- Importing document metadata, files, and extracted text
- Importing an image file
- Importing a production file
Importing RDC Permissions
The following permissions are required to use the importing feature in Relativity Desktop Client:
| Object Security | Tab Visibility | Admin Operations |
|---|---|---|
|
|
|
Changing root folder permissions during import is not a supported workflow.
Importing multiple load files simultaneously
You can safely import multiple load files into the same workspace simultaneously. For best results, use multiple machines and one active instance of the RDC per machine.
We recommend limiting this to four concurrent imports at a time into one workspace.
Handling errors
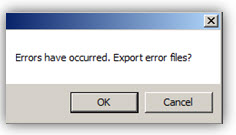
Relativity skips any records with errors that it encounters during the load process. It warns you about any errors that were encountered after all the correct records have loaded.

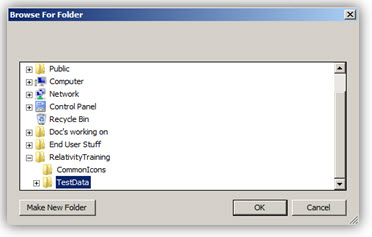
When you click OK in the error warning box, Relativity creates a new document-level load file with only the erroneous records. This file lists all the errors that occurred during the load process. You are prompted to save these records to prevent any loss of data. Choose a path to save your error file and click OK.

After you have saved your error file, you can make any necessary corrections to those records, and then perform an Append Load. A record of these errors is also available in the Errors tab, referencing the workspace name and Artifact ID.
Saving import settings
You can save the settings used to import a load file. This option is helpful if you frequently work with your own internal processing tools or with the same processing vendor. To save your import settings, point to the File menu, and then click Save Import Settings. Choose a location for the document load file (.kwe).
.kwe stands for kCura Win Edds.
The settings for the selected destination path and for copying files to a repository aren't saved in the .kwe file.
When you have an identically formatted load file, you can use your saved .kwe. In the RDC, open the .kwe file, and select the file being loaded.
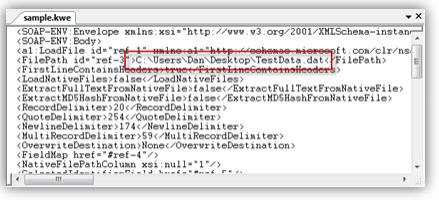
You can also update the path in the .kwe file. The following illustration displays the text of a .kwe file. The fourth line contains an absolute path to the document-level load file to be loaded. Update this section to point to your new load file. After you have updated your .kwe file, select File and Load Import Settings. Test for any errors, and then load the file.

Saving a field map
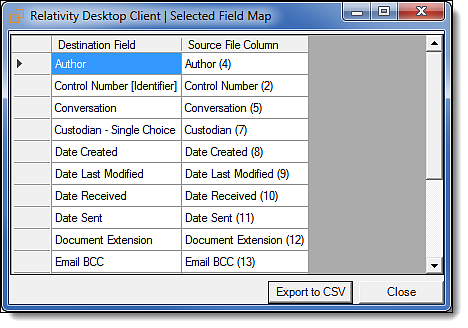
You can save the field mapping used to import a load file. The field map is exported as a CSV file that saves the mapping of the Relativity fields to those in the dat file being imported. You can save or view your field map from the Field Map tab or from the File menu in the Import Document Load File window. To save your field map:
- From the Import Document Load File window, click View/Save Field Map. The Selected Field Map window opens.
- Click Export to CSV.

When importing a CSV file with currencies, the formatted column must be Number.
Viewing audit information for an import
After you import your file, the RDC records and audits this instance in the History tab. Click Import to display the settings used for the import. To view the transfer rate of the load file, add the Execution Time field to the view, if necessary.


