


Feedback

The Relativity Desktop Client (RDC) provides the functionality for importing document load, image, and production files, as well as for exporting production sets, saved searches, and folders. You can also use this utility to import and export object data.
Watch the following Relativity Desktop Client (RDC) Overview video.
See these related pages:
The RDC menu bar appears above the workspace folder structure. It includes the following menu options:
File:
Tools - Import:
Tools - Export:
Options:
Help:
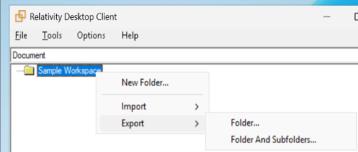
The RDC provides right-click options on folders, which you can use to build the workspace folder structure, or to import and/or export directly to and from a folder.
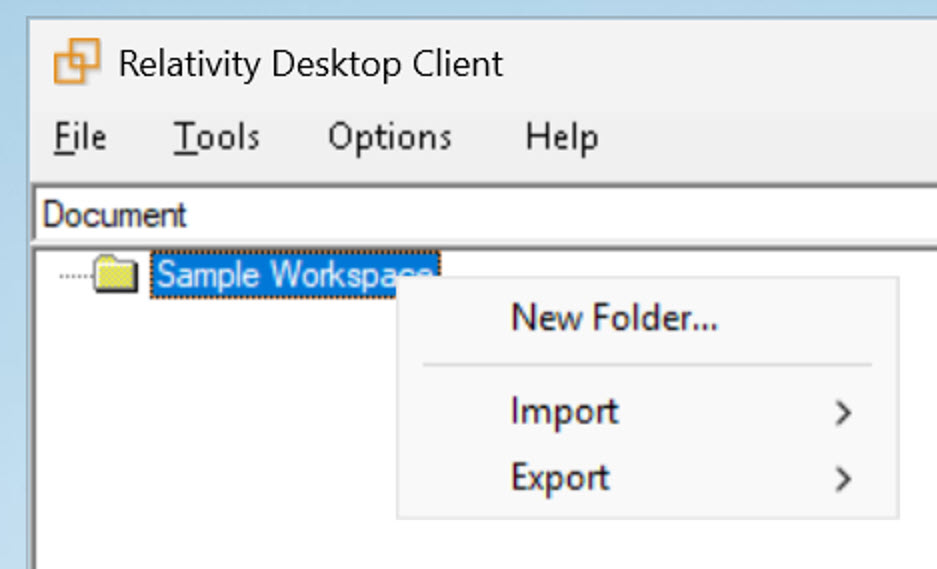
When you right-click on a workspace or folder, the following menu options display:
To open the RDC:
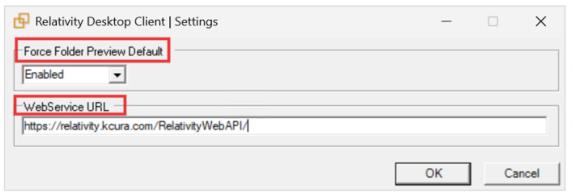
The WebService URL has the format http or https://<MyServiceName>/RelativityWebAPI/. When you display a Relativity page, you see the web service name listed in the address bar on the browser. For example, if the address bar displayed https://smith.com/Relativity, then your web service URL would be https://smith.com/ RelativityWebAPI/. In addition, you can confirm this URL with your system admin.
To log in to the RDC, enter your Username and click Continue. Then, enter your Password and click Login.
These are the same credentials you use to log in to Relativity. If the server certificate is untrusted, you can allow using untrusted certificate or close the RDC. Additionally, if you have difficulty displaying the login dialog, verify that Relativity is a trusted site in your browser.
Users log in to the Relativity Desktop Client (RDC) with the same provider method as they have with Relativity. The RDC supports most Relativity authentication providers, such as password, Integrated Authentication, and OpenID Connect, by displaying the Relativity login page within the RDC as a dialog window. The only provider that does not work with the RDC is SAML because the Relativity’s IdP-initiated SAML does not display the Relativity login page directly.
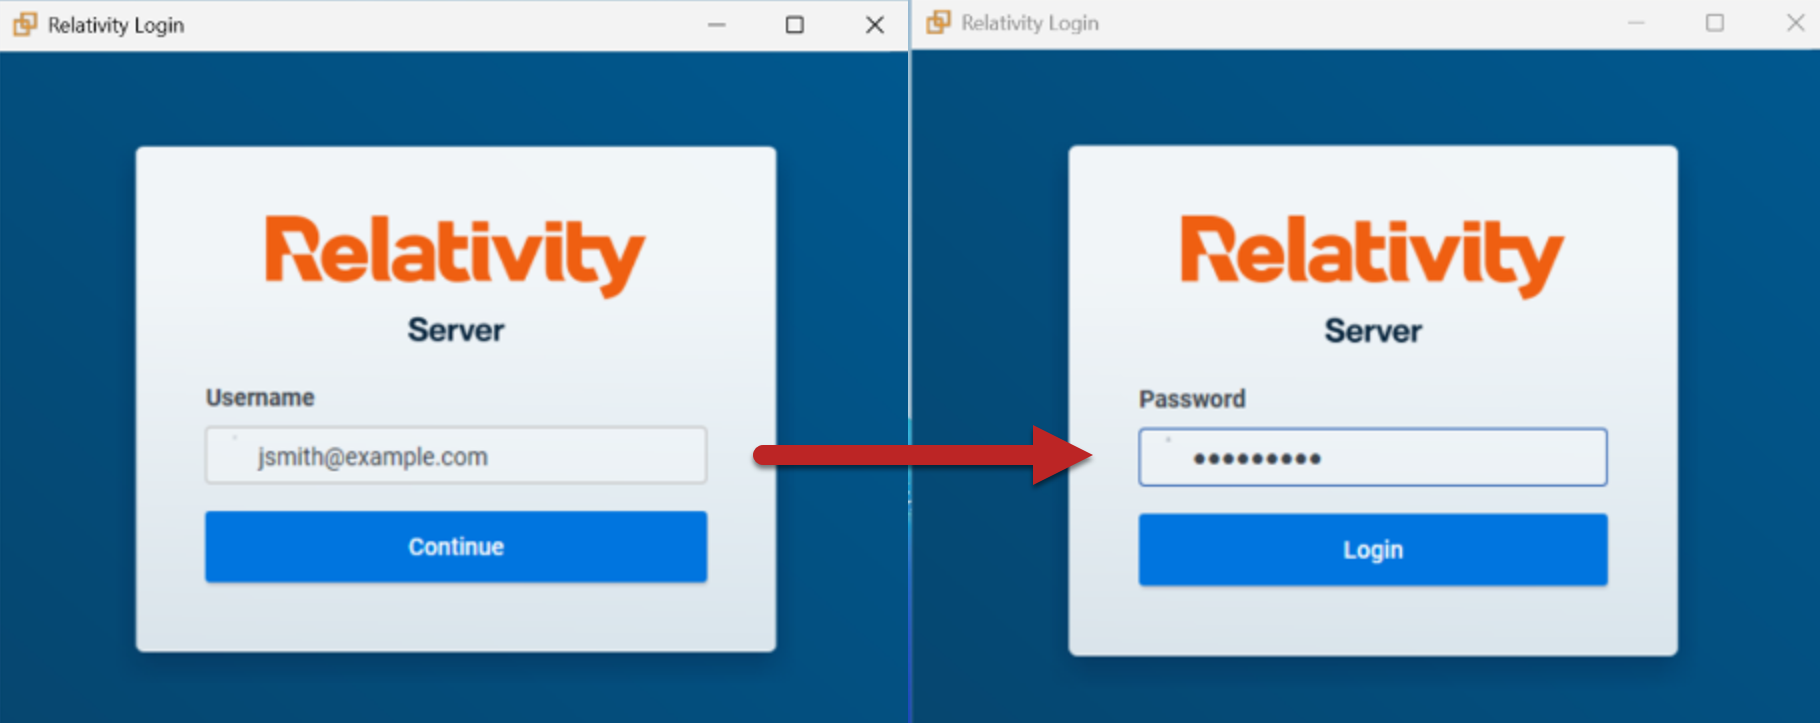
After you log in, the RDC displays a list of workspaces where you have access rights. Use the filter bar to narrow the list.
By default, Relativity uses a wildcard to filter workspaces in the RDC. For example, enter ELA to find workspaces named ELAN and Relativity.
Highlight your workspace and click OK to open it in the RDC. The folder structure of your workspace displays. A new workspace contains only a root folder, while an existing workspace may contain subfolders that you can display by clicking the plus sign.
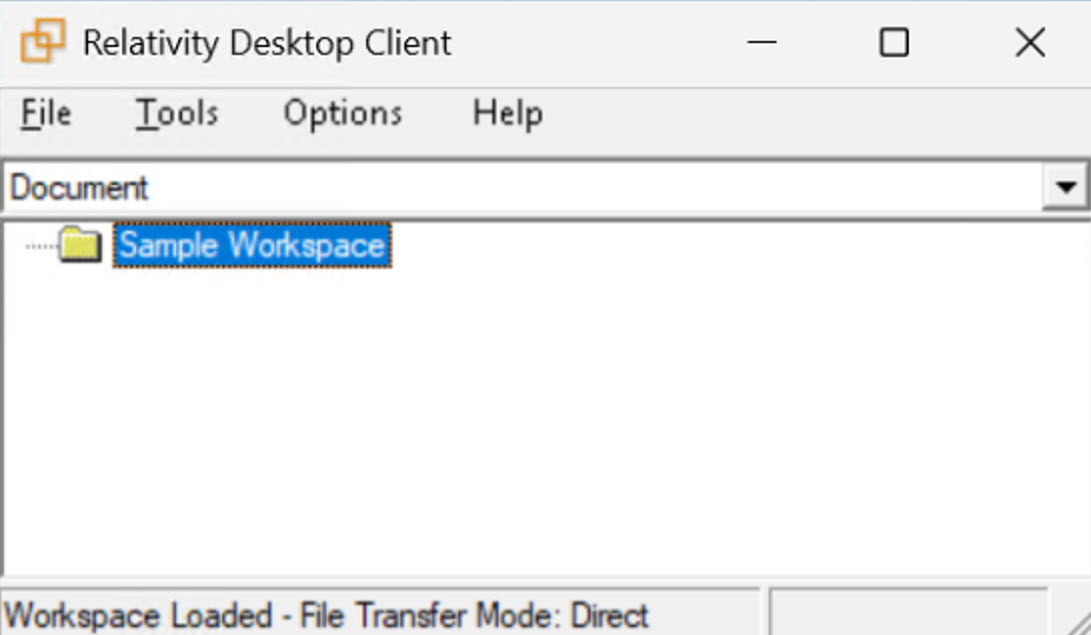
In Relativity Desktop Client, Document is selected by default as the type of object for data import or export. You can also select other object types, including Relativity Dynamic Objects.
The Relativity Desktop Client (RDC) verifies your identity before it connects to a workspace. In Next Gen Identity Server environments, the RDC authenticates through your default web browser using the OAuth 2.0 Authorization Code flow with PKCE (Proof Key for Code Exchange). In environments that use Identity Server v3, the RDC uses Windows (Integrated) Authentication instead.
Before you begin, confirm that the RDC is installed and that you have access rights to at least one Relativity workspace. For installation steps, see Installing the RDC.
Begin by logging in and selecting a workspace using the following steps.
Open the Relativity Desktop Client from the Start menu or your desktop shortcut. The RDC detects your environment's Identity Server configuration and authenticates accordingly:
In Next Gen Identity Server environments, complete the following steps in your browser:
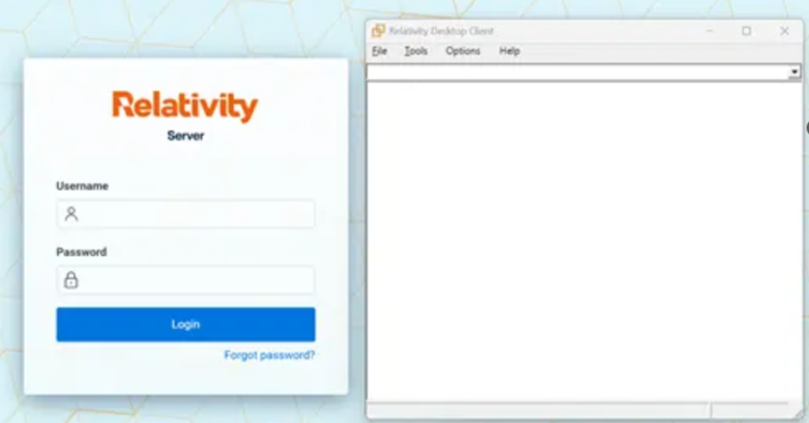
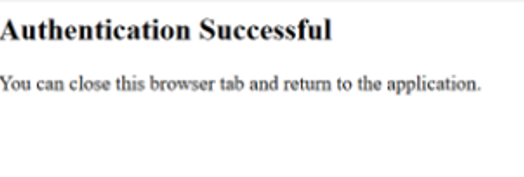
The RDC has 120 seconds to receive the authentication callback from your browser. If you do not complete the browser sign-in within that window, the login attempt fails. Start the sign-in again from the RDC.
The RDC opens a listener on a local port to receive the sign-in response from your browser. If that port is unavailable, restart the RDC. You can also ask your system admin to configure an alternate port. For more information, see OAuth2 Authorization Code flow with PKCE.
After you log in, the RDC displays a list of workspaces where you have access rights. Use the filter bar to narrow the list. By default, Relativity uses a wildcard to filter workspaces in the RDC. For example, enter ELA to find workspaces named ELAN and Relativity.
Select your workspace and click OK to open it in the RDC. The folder structure of your workspace appears. A new workspace contains only a root folder. An existing workspace may contain subfolders — click the plus sign to expand them.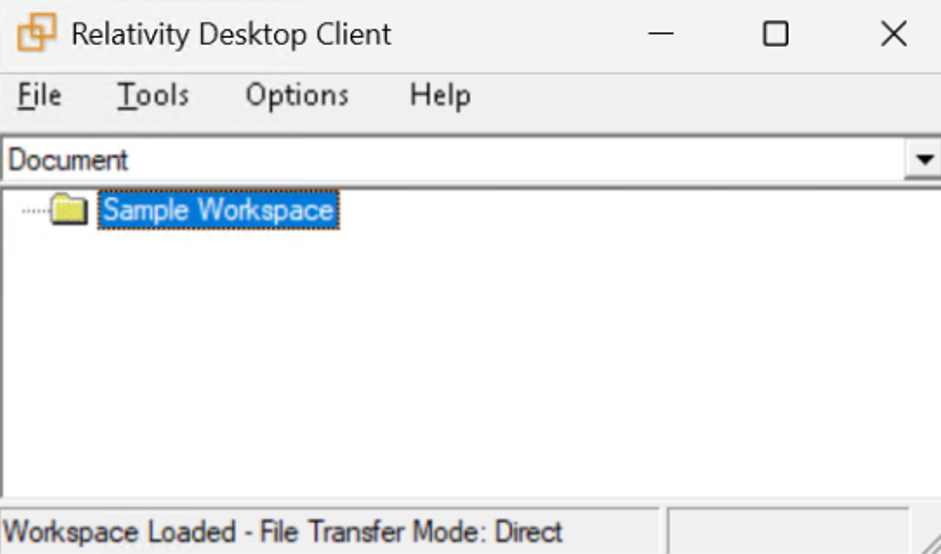
In the RDC, Document is selected by default as the type of object for data import or export. You can also select other object types, including Relativity Dynamic Objects. For more information, see Importing data into a Relativity Dynamic Object.
To switch workspaces, go to File > Open in the RDC menu bar, then select a workspace from the list.
The following issues can occur when authenticating to the RDC in environments that use the Next Gen Identity Server with OAuth 2.0 PKCE authentication.
| Symptom | Likely cause | Resolution |
|---|---|---|
| Browser does not open during login. | A firewall or group policy is preventing the RDC from launching the default browser. | Confirm that the machine allows applications to open web links. Verify network access to the Relativity environment. |
| The local authentication listener could not start. | The local port the RDC uses to receive the sign-in response is already in use by another process. | Close the conflicting process and restart the RDC, or ask your system admin to configure an alternate port in the RDC OAuth2 client settings and update the matching Identity Server redirect URI. |
| Sign-in timed out before completing. | The browser sign-in was not finished within the allowed window. | Start the sign-in again from the RDC and complete the browser prompts promptly. |
| Relativity did not redirect to an identity provider. | The configured Relativity Web API URL points to an environment that is not configured with a compatible Identity Server. | Verify the Relativity URL entered in the RDC and confirm the environment uses the Next Gen Identity Server. |
| The browser reports that authentication failed. | The Identity Server rejected the sign-in — for example, incorrect credentials, a locked account, or a failed MFA challenge. | Sign in again. If the problem continues, contact your Relativity system admin to verify the account and the Identity Server client configuration. |
| Sign-in fails on Identity Server v3 environments. | The Authorization Code flow with PKCE requires the Next Gen Identity Server and is not supported by Identity Server v3. | Upgrade the environment to the Next Gen Identity Server, or use a compatible earlier version of the RDC. |
If the steps above do not resolve the issue, contact your Relativity system admin and provide the following information:
The RDC uses the OAuth 2.0 authorization framework for verifying your login credentials. The OAuth 2 client offers increased security, because it uses an access token that is valid for only three days. After the token expires, you must log in to the RDC again. Any jobs currently in progress fail when the token expires.
On your SQL server, you can extend the token lifetime by editing the [AccessTokenLifetimeInMinutes] field in the [EDDS].[eddsdbo].[OAuth2Client] view.
In Next Gen Identity Server environments, the RDC uses the OAuth 2.0 Authorization Code flow with PKCE (Proof Key for Code Exchange) to authenticate users. This flow replaces the previous OAuth 2.0 implicit flow and removes the dependency on Internet Explorer for the sign-in experience.
The PKCE authentication flow requires the Next Gen Identity Server and does not support Identity Server v3. To use this version of the RDC, upgrade environments that still run Identity Server v3.
The RDC uses an OAuth 2.0 access token that expires after a limited period. When the token expires, log in again. Any jobs in progress at that time will fail. For general information about using OAuth2 in Relativity, see OAuth2 clients.
RDC supports the following data transfer modes:
When you select a Relativity workspace, the RDC queries the workspace and performs tests to determine the optimal transfer mode. You can see the details of the tests under Options > Check Connectivity:
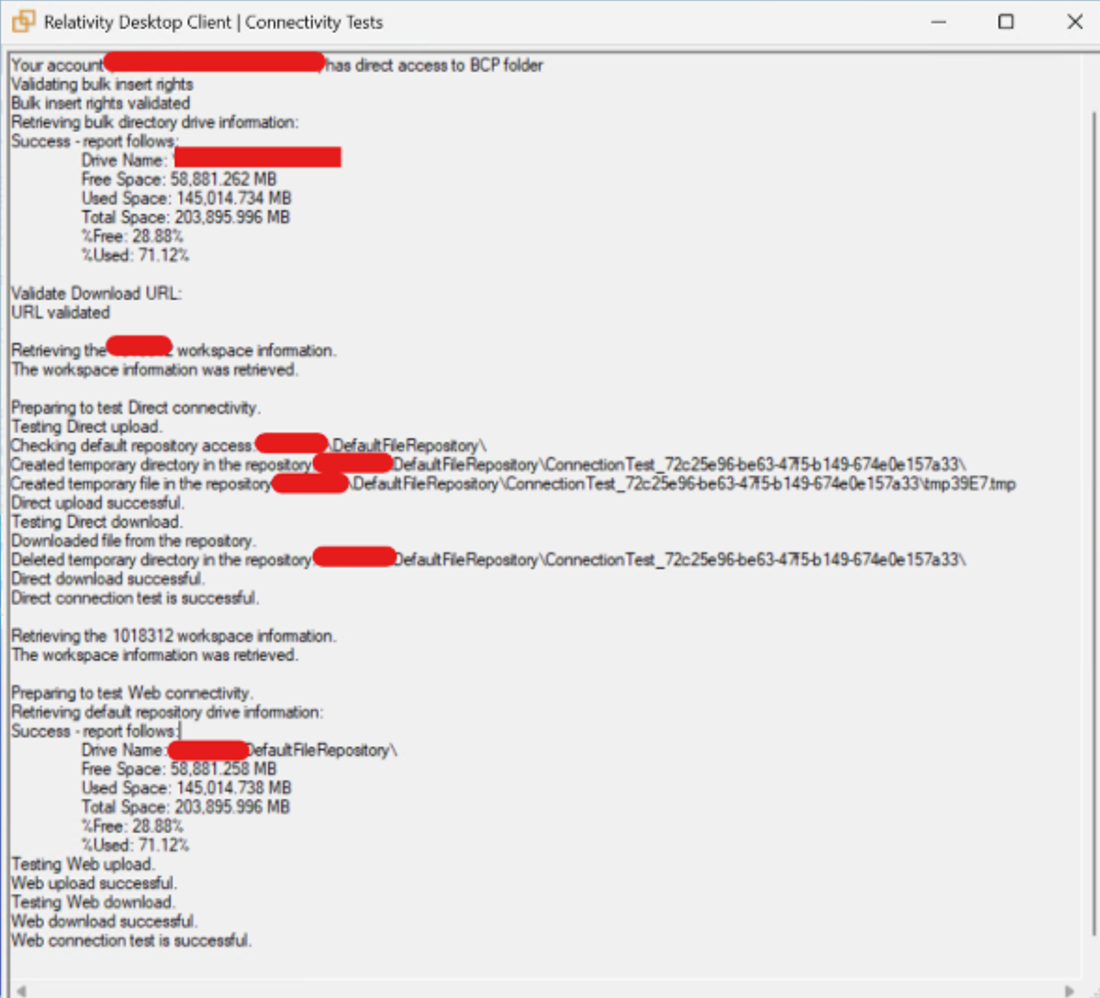
The RDC then automatically selects the optimal available mode for the transfer job.
You can select more than one mode for the transfer job based on your configuration. The fastest mode will be displayed first.
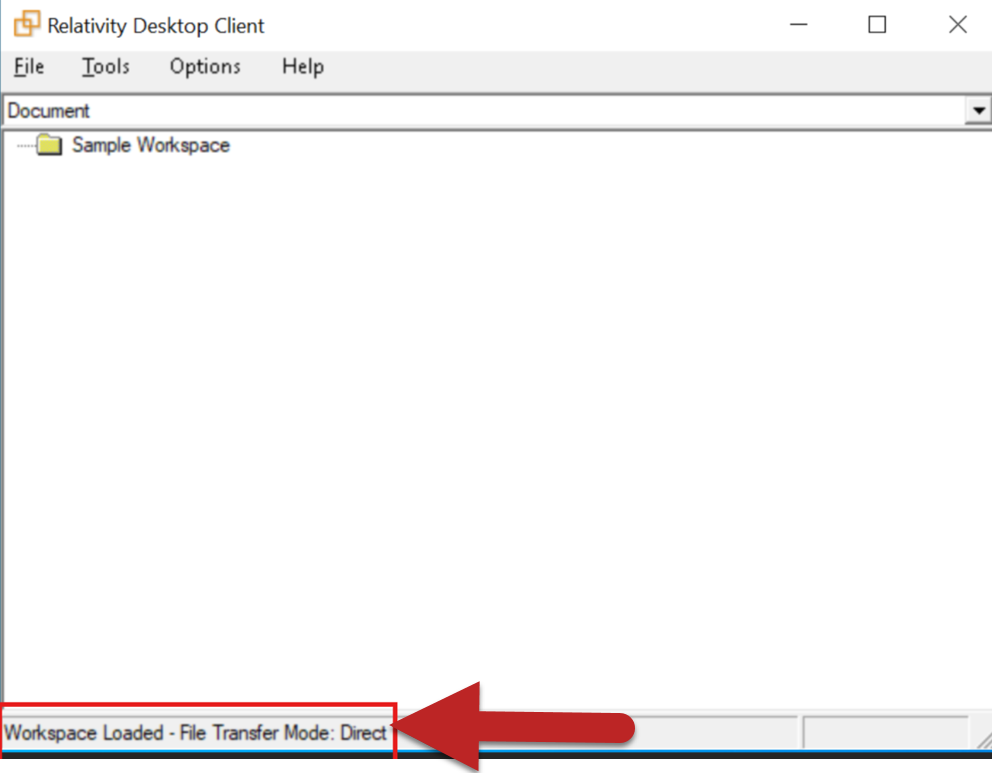
The mode initially selected based on the tests for the workspace may not be used in the actual transfer, for example due to a connection problem. If a problem occurs, RDC falls back to a different mode or displays an error.
The transfer mode also displays on the RDC progress window.
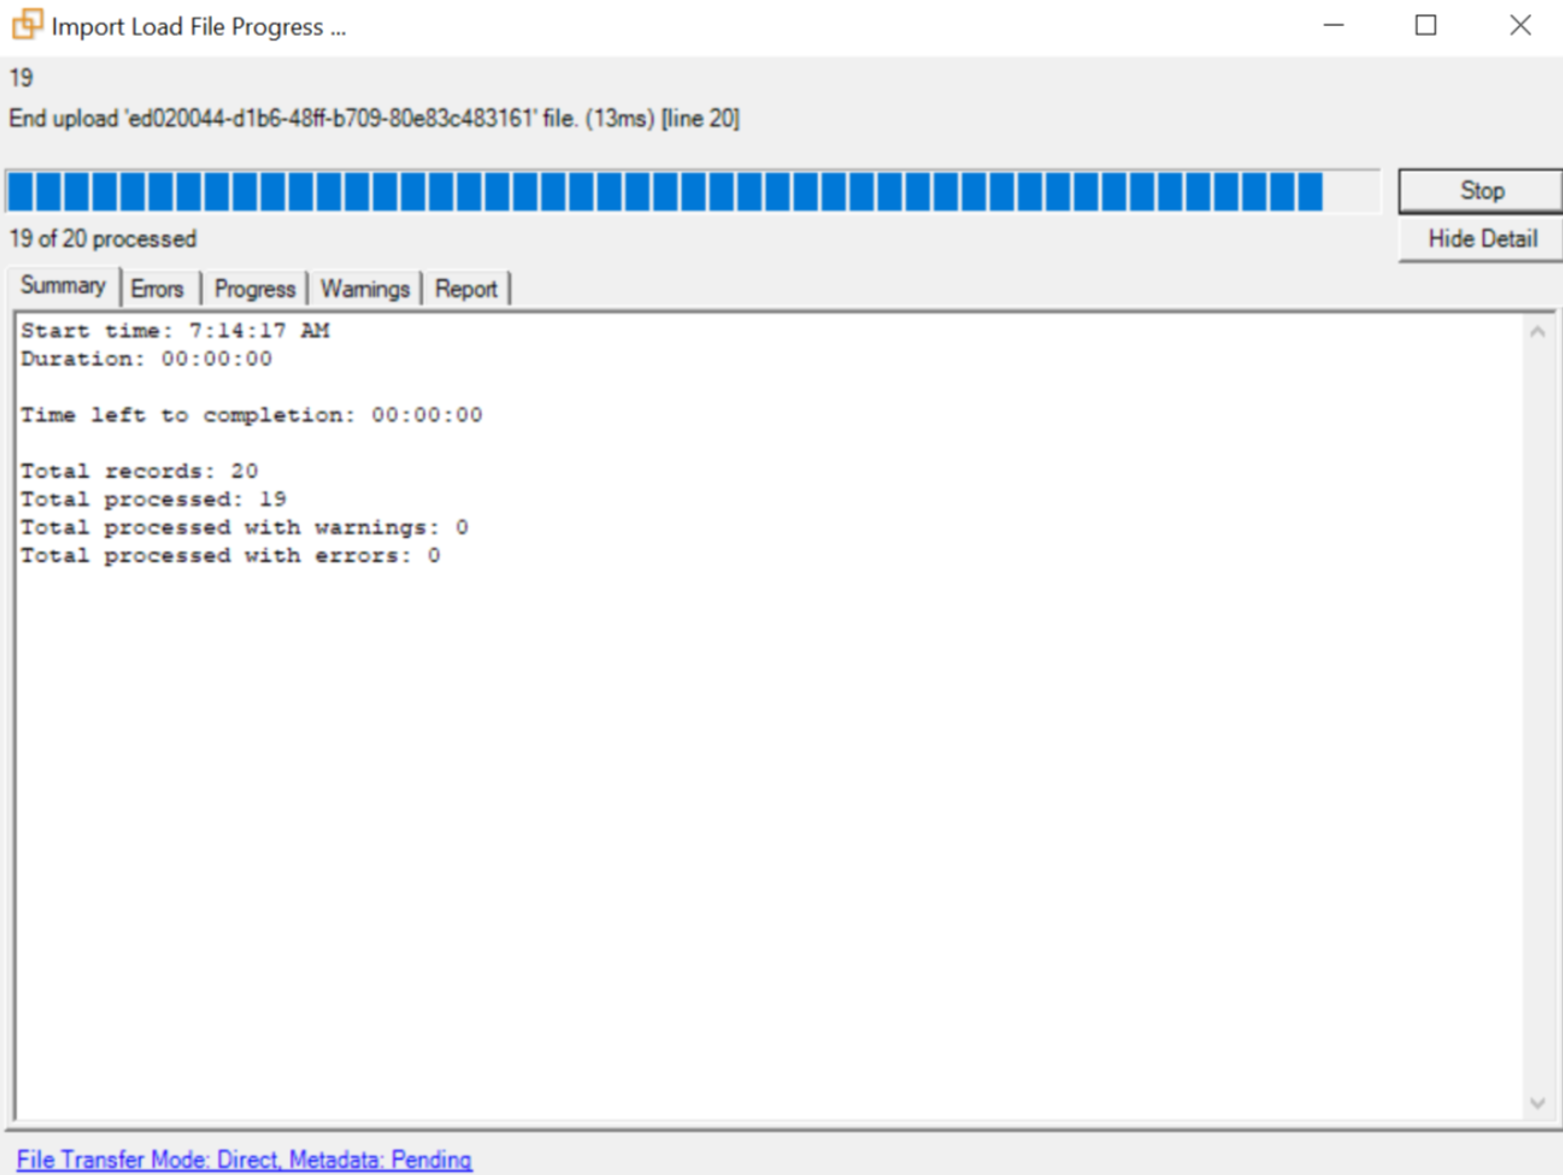
You can also force the RDC to use a specific mode.
The following statuses may display during the transfer:
Direct mode provides faster performance, but it requires a connection to the network hosting the data, as well as specific Windows group permissions. Direct mode has direct access to write to the file repository, which bypasses the need to go through the web server in order to ingest the data, saving a significant amount of time.
The following conditions must be met in order to load data using direct mode:
 My browser opened but closed before I could sign in.
Can I use a browser other than my system default?
My workspace does not appear in the list.
My browser opened but closed before I could sign in.
Can I use a browser other than my system default?
My workspace does not appear in the list.
