Legal Hold admin quick reference guide
This guide provides step-by-step instructions on the key tasks in administering a hold in Server 2024.
These tasks are:
- Setting up a hold
- Adding custodians to a hold
- Sending communications to custodians
- Creating a report of questionnaire responses
This guide makes the following assumptions:
- An existing Legal Hold Template ("Project") exists.
- The Legal Hold Template comes with existing template Communications.
- List of People is available in the Custodians tab.
Setting up a hold
Complete the following steps to create a hold from a template:
- Select your Legal Hold workspace in your Relativity instance.
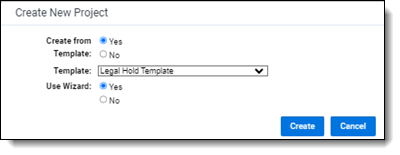
- Click New Project.
- Select the template of your choice.
- Select Yes to Use Wizard.
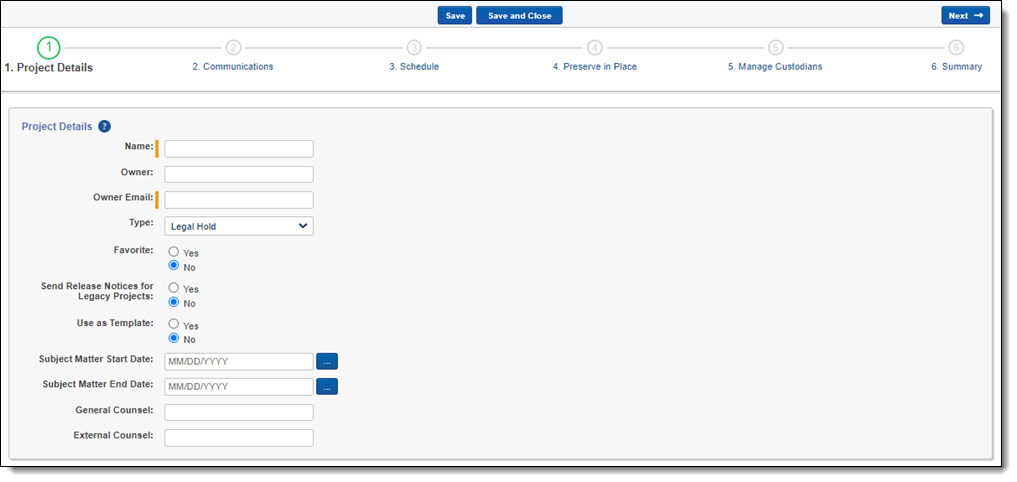
- Complete the Project Details Page step and click Next.
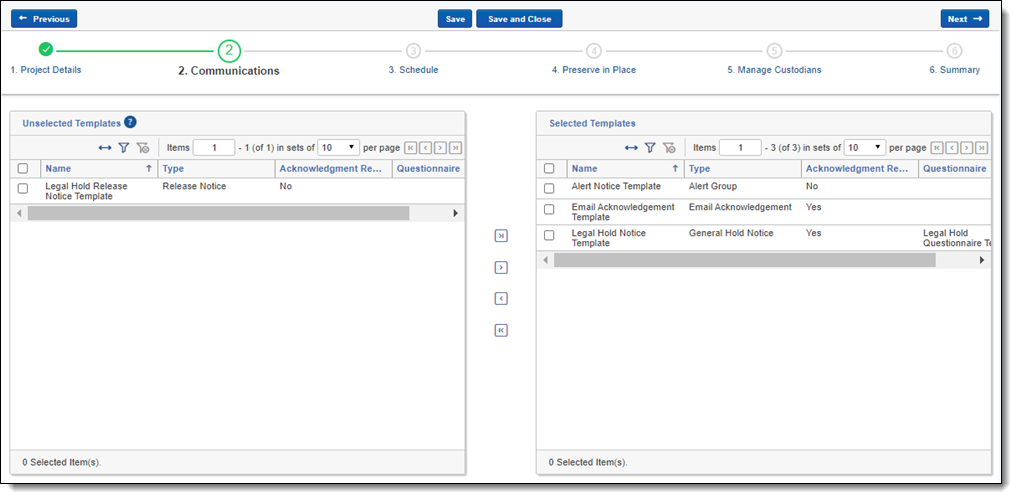
- Complete the Communications step and click Next.
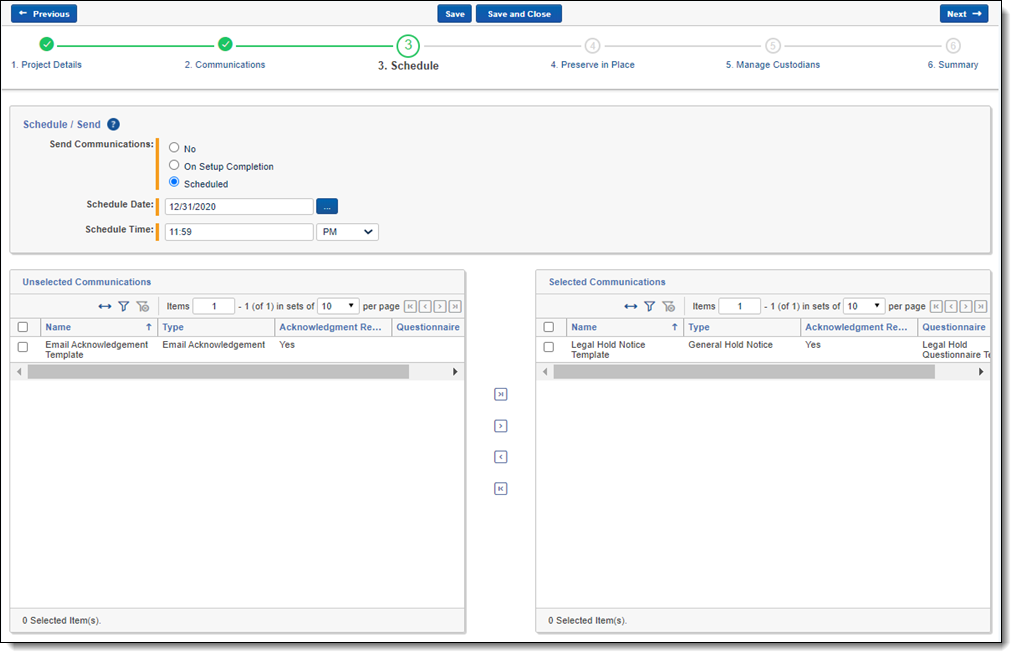
- Complete the Schedule step and click Next.
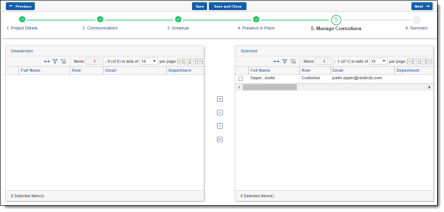
- Complete the Manage Custodians step and click Next.
- Assign a role when adding a custodian using the Assign Role drop-down menu. See Assigning roles to custodians.
- To assign a different roles, group a custodian or custodians by role when assigning custodians to a project.
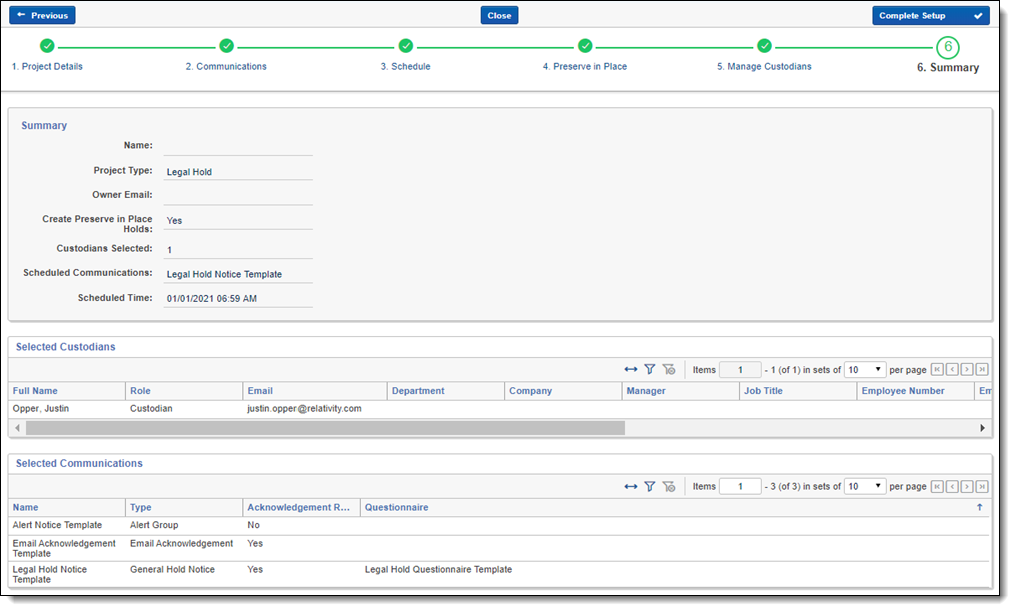
- Review the Summary and click Complete Setup.
Send a hold communication
Complete the following steps to send a communication for a hold:
Your project template should have a communication template included. If the template does not include a communication template, you must create a new communication. See the Relativity Documentation site for more information.
- >Click the name of your Legal Hold project to open the Project Details page.
- Click Edit next to the appropriate Communication Notice
- Make the necessary changes to the existing template communication, including (but not limited to) the following fields, and then click Save.
- Name
- Response Due Date
- Email || Subject
- Email || Body
- Portal Content || Acknowledgment Required
- Portal Content || Attachments
- Portal Content || Questionnaire
- Portal Content || Portal Detail
- Reminder and Escalation
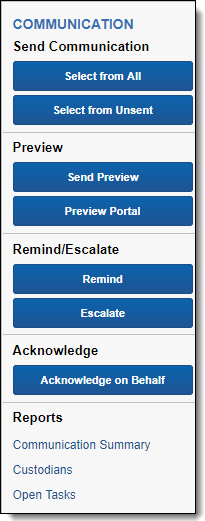
- Optionally, you can select the following from the console and make any necessary edits:
- Send a Preview Email
- Preview the content of the Portal (as would be seen by the custodians)
- Once the review from the previous step is complete, you can choose to send the communication by selecting one of the following:
- Selecting from All Custodians
- Selecting from Unsent Custodians
- Complete the following in the modal:
- Select the custodians from the list of people on the left. You can filter by various fields.
- Click Send to send the communication to those custodians.
Communications best practices
Here are some recommended best practices and options with your communications:
- Think about setting up Communications based on roles of the custodians. For example, set up a different communication for C-Level vs. Mid-management vs. Employees, etc. Some of the advantages of such a setup are:
- Distinct language for each tier of user.
- Different reminder and escalation schedules and frequencies.
- Different language for portal content.
- Take advantage of setting up communications that can be acknowledged via emails vs. the portal. You can also choose to layer this with the different tiers of custodians.
- Set up language for Reminders and Escalations, if needed, and configure them so the system will automatically send it out.
- Reminders and Escalations performed using the console buttons do not count to your Reminders and Escalations setup with your communications, so you can take advantage of them if necessary.
Reporting on questionnaire responses
Complete the following steps to create a report of questionnaire responses:
- Navigate to the Questions Responses tab (under the Legal Hold parent tab).
- By default, you land on the All Submitted Responses view.
This view provides all of the results of the responses submitted by custodians to all of your questionnaires across all holds in that workspace. - This is a recommended, but optional step, to setup Dashboards for easy analysis:
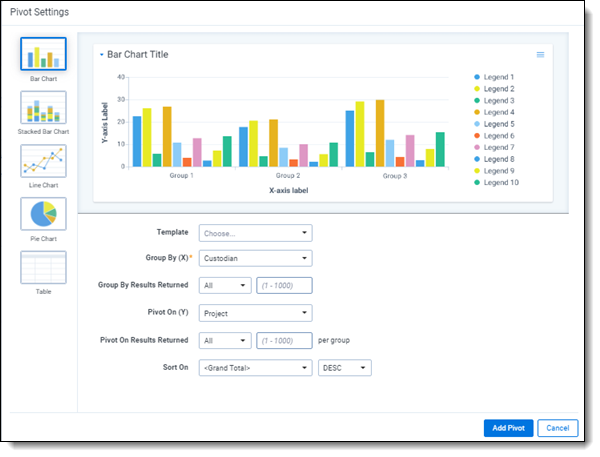
- Click Add Widget to create a pivot for Custodian by Project, and then click Add Pivot.
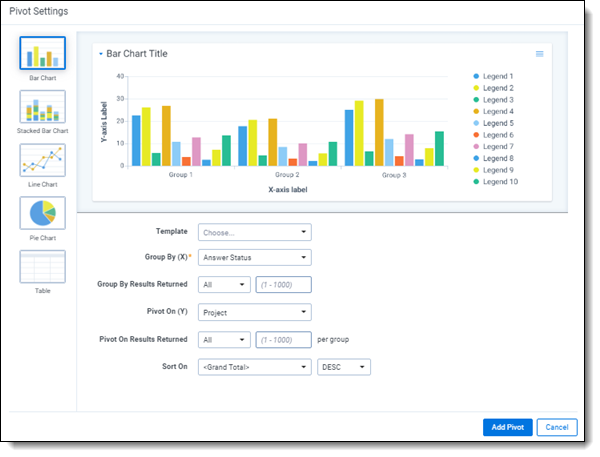
- Click Add Widget to create a pivot for Answer Status by Project, and then click Add Pivot.
- Once these pivots above are setup, you can save them to a dashboard by clicking on Save As under the Dashboards drop-down menu.
- Click Add Widget to create a pivot for Custodian by Project, and then click Add Pivot.
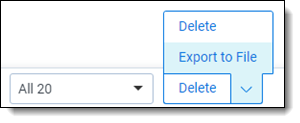
Setting up the dashboards provides an easy way to analyze and interact with the results using the filters available on the views. Once you narrow down the results to the subset of data you are interested in, you can export the information to Excel using the Export to File mass operation at the bottom left of the screen.
